As your website gains more visitors, heavier content, and increasingly complex features, shared hosting often starts cracking under the pressure. You might notice sluggish page loads, random 500 errors, or worse, frequent downtime during peak traffic hours. Shared hosting, by design, splits server resources among dozens or even hundreds of users. That means your site’s performance is only as stable as the least resource-hungry neighbor on your server.
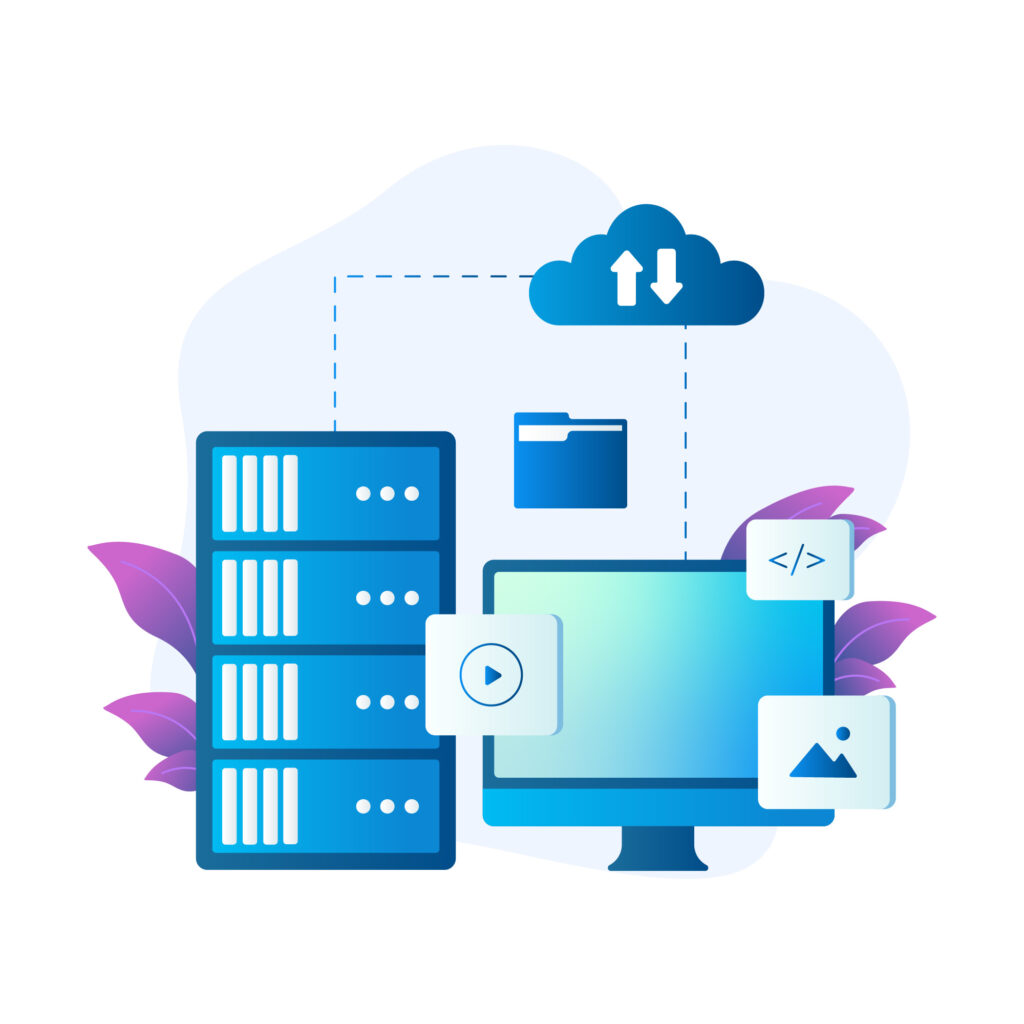
One of the most effective and future-ready upgrades? Migrating to a cloud server and hosting. Unlike traditional hosting models, cloud hosting gives your site on-demand resources, flexible scalability, and high availability.
This guide will walk you through the full transition: how to know it’s time, how to prepare, and how to confidently launch your website in a more powerful cloud environment, without breaking anything.
Why Scale from Shared to Cloud Server Hosting?
Shared hosting is perfect for beginners as it’s affordable, beginner-friendly, and good enough for lightweight websites. But as your online presence starts attracting more traffic, serving dynamic content, or running advanced frameworks, shared hosting becomes a bottleneck.
Here are some unmistakable signs that it’s time to move up:
- Frequent Downtimes During Traffic Spikes
If your site goes offline every time a blog post goes viral or you run a promotion, that’s your host saying: “You’ve outgrown me.” Shared hosting lacks elasticity, when traffic rises, there’s no buffer. - Sluggish Page Loading
Your site starts feeling like it’s loading through a dial-up modem. This isn’t just annoying; Google penalizes slow sites in search rankings, and visitors bounce fast. - Limited Customization
Want to install a background worker, enable a Laravel queue, or fine-tune PHP-FPM settings? On shared hosting, good luck. You don’t get root access or server-level control, making it tough to run custom setups or tweak performance. - No Resource Scalability
Shared plans have hard limits. Need more RAM or CPU? You can’t scale vertically or horizontally, you can only upgrade to a higher plan (which is still limited). - Hitting Your Monthly Bandwidth Limit
Many shared hosts put quiet cap on monthly data transfer. When you hit it, your site might throttle or even go offline.
In contrast, cloud hosting offers what shared hosting can’t: dedicated resources, on-demand scaling, and the ability to grow without migrating every time you hit a ceiling. It’s the logical next step for any serious project aiming to grow beyond its starter setup.
Step-by-Step Guide to Scaling Up
1. Evaluate Your Current Resource Usage
Before jumping to a shiny new cloud server, you need to understand exactly what your site consumes right now. Think of this like checking your fuel, tire pressure, and oil before a road trip, which helps you avoid surprises down the road.
What to Analyze:
- CPU and Memory Usage
Is your site consistently hitting CPU or RAM limits? On cPanel, you’ll often see 100% spikes if you’re running a CMS like WordPress with multiple plugins or an eCommerce setup (e.g., WooCommerce).
Use:- cPanel > Resource Usage
- CloudLinux LVE Stats (if enabled)
- Plugins like Query Monitor (for WordPress)
- Bandwidth Consumption
Check how much traffic you’re handling monthly. Look at both pageviews and data transfer. If you’ve been getting “bandwidth exceeded” emails, that’s a red flag.
Use:- cPanel > Bandwidth
- Google Analytics (Traffic Sources > Sessions/Pageviews)
- Disk Space Usage
Are backups, media files, or logs filling up your disk quota? Some sites (especially image-heavy portfolios or video blogs) hit storage limits fast.
Use:- cPanel > Disk Usage
- SSH command: du -sh /home/username/* (for deeper Linux-based check)
- Application Requirements
Does your website use a specific stack that performs better in certain environments?
Examples:- WordPress with heavy plugins → needs caching & object cache
- Laravel apps → better on NGINX, Redis, and PHP 8+
- Custom Node.js/React apps → prefer isolated, scalable environments
Tools You Can Use:
- GTmetrix / PageSpeed Insights
See where your performance bottlenecks are, slow TTFB? Large images? These give clues about server strain. - UptimeRobot or BetterStack
Track downtime or slow response times across the last 30 days. - Google Analytics
Look at average session duration, bounce rate, and page load behavior per device type.
The Goal:
Get a crystal-clear snapshot of your website’s need for CPU, memory, disk, bandwidth, and software stack, so you can right-size your cloud server instead of blindly overpaying.
2. Choose the Right Cloud Hosting Provider
- Once you know what your site consumes and needs, the next step is to pick a cloud host that matches both your technical comfort and your scaling goals.
First, Know Your Category:
- Depending on your skills and needs, cloud providers fall into 3 main categories:
Beginner-Friendly (Managed Cloud Hosting)
- Perfect if you’re moving from cPanel shared hosting and want something intuitive.
| Local support in Nepali, great for small businesses scaling up. Includes custom control panel, daily backups, and NVMe SSDs. | Highlights |
| Nest Nepal Cloud | Combines performance with affordability. Comes with hPanel, daily backups, and LiteSpeed for speed. |
| Cloudways | UI-based management for DigitalOcean, AWS, etc. Great performance + 1-click WordPress tools. |
| Hostinger Cloud | Combines performance with affordability. Comes with hPanel, daily backups, and Litespeed for speed. |
Best For: Blogs, SMEs, eCommerce, agencies that don’t want to mess with terminal commands.
Developer-Focused (Self-Managed VPS/Cloud)
Great if you want full root access and control.
| Provider | Highlights |
| DigitalOcean | Simple UI, predictable pricing, huge community. Best for devs and SaaS starters. |
| Vultr | Has both VPS and bare metal. Their “High Frequency” plans are great for WordPress & Laravel apps. |
| Linode (now Akamai Cloud) | Stable, clean, no fluff. Ideal for technical users who like hands-on server management. |
Best For: Developers, Laravel/Node.js apps, and lean SaaS startups who know their way around SSH.
Enterprise-Level (Big Guns)
You’ll need these if you’re planning for serious growth, app-level scaling, or multi-region deployment.
| Provider | Highlights |
| AWS EC2 | Powerhouse. Full IaaS flexibility. Can be overkill for small sites but great for large apps. |
| Google Cloud Platform | Optimized for global delivery, AI, and GKE (Kubernetes). |
| Microsoft Azure | Ideal for enterprise stacks and Microsoft ecosystem integrations. |
Best For: Large organizations, SaaS at scale, big-data apps.
What to Look for (Checklist):
| Feature | Why It Matters |
| Vertical & Horizontal Scaling | Add RAM/CPU instantly or distribute load across instances. |
| Pay-as-you-go Pricing | Avoid fixed pricing, pay only for what you use. |
| Stack Compatibility | Supports LAMP, Node.js, PHP 8, Docker, etc. |
| Backups & Snapshots | Easy rollback in case something breaks. |
| Security Controls | SSH access, firewalls, fail2ban, 2FA support. |
| Support Options | SSH access, firewalls, fail2ban, and 2FA support. |
💡 Pro Tip:
If you’re unsure, start with a managed cloud like Nest Nepal Cloud or Cloudways, then gradually move to self-managed as your confidence and app complexity grow.
3. Create a Backup of Your Entire Site
Before you touch a single DNS record or start deploying to the cloud, back everything up like your digital life depends on it (because it kinda does 😅).
We’re talking files, databases, emails – the whole stack. Here’s how:
🧰 Backup Tools by Stack
| Site Type | Tools to Use |
| WordPress | 🔸 UpdraftPlus – easy cloud backup🔸 All-in-One WP Migration, 1-click export/import🔸 cPanel’s JetBackup, file + DB + email |
| Laravel/Custom PHP | 🔸 Manual via FTP + MySQL export🔸 rsync for file syncing🔸 mysqldump or phpMyAdmin for DB |
| Static Sites | 🔸 Zip the directory🔸 scp or rsync to download locally |
| Emails | 🔸 cPanel’s Email Backup (if available)🔸 imapsync for account-to-account transfer |
What to Backup
| Component | Description |
| public_html/ or root dir | All your site files (images, scripts, themes, plugins) |
| wp-content/ (if WP) | Core themes, plugins, and uploaded media |
| Databases | Use phpMyAdmin or CLI (mysqldump) to export .sql files |
| Email Accounts | Back up inboxes, especially if using cPanel-hosted mail |
| Cron Jobs | Note or export scheduled tasks |
| .htaccess, robots.txt, configs | Tiny files : but critical if lost |
Backup Storage Locations
Don’t just keep your backups in one place: redundancy = safety.
- 🖥️ Local Machine – Manual downloads via FTP or File Manager
- ☁️ Cloud Storage – Google Drive, Dropbox, OneDrive
- 🧲 External Disk – Especially useful for long-term archives
Pro Tip: Use multiple locations for different backup versions: one fresh, one fallback, one archive.
🛑 Before You Proceed…
✅ Backup?
✅ Verified that backups are complete and restorable?
✅ You know where they are stored?
Cool. You’re now disaster-proof.
4. Set Up Your Cloud Server
You’re leaving the cozy-but-cramped world of shared hosting. Now it’s time to build your cloud-powered fortress, i.e., customized to your exact needs.
Whether you’re going with AWS, Nest Nepal Cloud, or DigitalOcean, the setup process follows the same fundamentals.
1. Launch Your Server (Instance/VM)
Pick your stack and deploy:
| Option | Details |
| Based on your audit: Start with 1–2 vCPU, 2–4 GB RAM, 40 GB SSD (scalable later) | Ubuntu 22.04 LTS is a solid, secure default |
| Control Panel | ✅ Beginners: CyberPanel, CloudPanel⚙️ Familiar with cPanel? Choose providers offering cPanel add-ons🧠 Devs: No panel, raw SSH control |
| Specs | Based on your audit:Start with 1–2 vCPU, 2–4 GB RAM, 40 GB SSD (scalable later) |
| Based on your audit: Start with 1–2 vCPU, 2–4 GB RAM, 40 GB SSD (scalable later) | Choose the closest server location to your target audience |
2. Secure the Server Immediately
Don’t go live without locking it down. First things first:
- ✅ Set up SSH key authentication (disable password logins)
- 🔥 Install firewall (e.g., ufw, CSF, or from your panel)
- 🚫 Block unused ports (only open ports 22, 80, 443 initially)
- 🧱 Use Fail2Ban to protect from brute-force attacks
- 📛 Change default ports if needed (optional but good practice)
⚠️ Don’t leave your server exposed while you’re still setting things up.
3. Set Up a Temporary Domain/Subdomain for Testing
Before pointing to your actual domain:
- Use a temporary subdomain like staging.yoursite.com
- OR use the cloud IP + hosts file trick (/etc/hosts) for private testing
- Helps debug before real users hit the new server
4. Install Required Stack & Packages
Depending on your website stack:
| Stack | What to Install |
| WordPress | NGINX or Apache + PHP 8.x + MySQL/MariaDB |
| Laravel | PHP-FPM, Composer, MySQL/PostgreSQL, NGINX |
| Static Site | Just NGINX or Apache |
| Email (optional) | Postfix + Dovecot or use a third-party mail service (recommended) |
Or go with a panel that does this for you (e.g., CyberPanel installs OpenLiteSpeed + Mail + DNS).
5. Prepare the Environment
- 🗂️ Create folders for site files
- 🐘 Create databases and DB users
- 👤 Set file permissions and ownership
- 🌐 Configure NGINX/Apache virtual hosts
- 🔁 Enable server caching (Redis, Memcached, or OPcache)
✅ Checklist Before Migration
- The server is deployed and secure
- The software stack is installed
- The test domain is working
- You can SSH/SFTP in
- All dependencies (PHP extensions, DB, email) are set up
🎉 You’ve built your cloud home. Now it’s time to move in.
5. Migrate Your Website
You’ve built the new cloud server, now it’s time to move your entire digital life into it. This step is about migrating files, databases, and email without breaking anything.
1. Choose Your Migration Method
🟡 For WordPress
| Method | Tools |
| 🧙♂️ Easiest | All-in-One WP Migration, Migrate Guru |
| 🔧 Manual | SFTP for files + phpMyAdmin for database |
| 🧰 Advanced | WP-CLI, Duplicator plugin, or rsync |
Bonus: If you’re using CyberPanel or cPanel on both servers, many panels offer 1-click clone or transfer features.
For Laravel or Custom Apps
Use rsync or SFTP to copy files:
bash
rsync -avz /path/to/site user@cloud-server:/var/www/html
Export and import database via:
mysqldump -u user -p database > backup.sql
mysql -u user -p newdb < backup.sql
- Check .env files and adjust DB credentials, APP_URL, etc.
🔵 For Static Sites
- Upload files directly via SFTP or your panel file manager.
Set proper permissions:
bash
chown -R www-data:www-data /var/www/html
chmod -R 755 /var/www/html
📩 2. Email Migration (If Applicable)
If you’re hosting email and don’t want to lose mailboxes:
- Use cPanel’s email migration tool if you’re moving from another cPanel host
- For IMAP-based email (like Gmail or Zoho):
- Use imapsync (CLI)
- Or third-party tools like Mailstore Home or MigrationWiz
🧠 Pro Tip: Consider moving to a hosted email provider (Zoho Mail, Google Workspace) for better deliverability.
🧪 3. Test the Site on Cloud Before Going Live
🧱 Before DNS update:
Use your temporary domain or edit your /etc/hosts file:
123.456.78.90 yoursite.com
- Check:
- ✅ Homepage loads?
- ✅ Admin panel accessible?
- ✅ Links, images, CSS/JS working?
- ✅ Forms & emails functional?
- ✅ No 500/404 errors?
💡Use GTmetrix or Pingdom to test speed and compare before vs after.
🛡️ 4. Secure Your New Site
- Enable HTTPS with Let’s Encrypt
- Add security headers (Content Security Policy, X-Frame-Options)
- Check the firewall and IP rules are still intact
- Reinstall security plugins/tools (e.g., Wordfence for WP)
✅ Once it’s all working perfectly on the new server…
6. Update DNS Settings
This is the moment of truth, pointing your domain to your shiny new cloud server so visitors land on the upgraded site.
🔄 1. Lower Your TTL (Time to Live) in Advance
- TTL controls how long DNS info is cached.
- Lower it to 300 seconds (5 minutes) or less at least 24 hours before migration.
- This speeds up DNS propagation when you switch IPs.
🧭 2. Update Your DNS Records
- Log in to your domain registrar or DNS provider (GoDaddy, Namecheap, Cloudflare, etc)
- Change the A record for your domain (and www) to the new cloud server IP.
- If you use Cloudflare, update records in their dashboard, and consider toggling “Development Mode” to bypass the cache.
⏳ 3. Wait for DNS to Propagate
- DNS changes can take anywhere from a few minutes to 48 hours, but usually, with TTL lowered, it’s quick.
- Use tools like WhatsMyDNS.net to check if your domain points to the new IP globally.
⚠️ 4. Keep Monitoring
- Keep your old server running for at least 48 hours to catch any straggling traffic.
- Monitor error logs, performance metrics, and user feedback.
- Be ready to roll back if needed (with backups in hand, you’re covered).
🎉 5. Celebrate Your Successful Migration!
Your website now runs on scalable, reliable cloud infrastructure, which is faster, more secure, and ready to grow.
7. Monitor & Optimize Post-Migration
Your site is live on the cloud, but the work doesn’t stop there. This step is all about making sure your new setup is running smoothly and ready for whatever traffic comes your way.
1. Monitor Resource Usage
- Use your cloud provider’s dashboard or monitoring tools like New Relic, Datadog, or built-in metrics to keep an eye on CPU, RAM, bandwidth, and disk I/O.
- Watch for spikes or bottlenecks: early detection means faster fixes.
2. Enable Auto-Scaling or Set Alerts
- If your provider supports auto-scaling, configure it to add or remove resources automatically based on traffic.
- Set up alerts to get notified if your server is maxing out or if uptime dips.
3. Optimize Caching and CDN
- Leverage caching plugins (like WP Rocket for WordPress) or built-in server caches (like Redis or Varnish).
- Use a Content Delivery Network (CDN) like Cloudflare, BunnyCDN, or AWS CloudFront to serve static content faster globally.
🔍 4. Database Performance
- Optimize your database by cleaning up unused data and running queries efficiently.
- Consider managed database services or using caching layers like Memcached to reduce load.
🧪 5. Run Load Tests
- Use tools like Loader.io, Apache JMeter, or K6 to simulate traffic and test how your cloud setup handles high loads.
- Identify weak points and tune resources accordingly.
🔐 6. Review Security Settings
- Check firewall rules, SSL certificates, and access controls.
- Update your software regularly and patch vulnerabilities ASAP.
Shared Hosting vs Cloud Hosting
| Feature | Shared Hosting | Cloud Hosting |
| Performance | Limited | High, scalable |
| Control | Minimal | Full (root access) |
| Security | Shared environment | Isolated containers |
| Uptime | 98–99% | 99.9%+ |
| Ideal For | Small websites | Growing & high-traffic sites |
Final Thoughts
Scaling up your website from shared hosting to cloud isn’t just a tech upgrade; it’s a game-changer for your online journey. Think of it like moving from a cramped apartment to a spacious home where you have room to grow, invite more guests, and throw bigger parties without worrying about running out of space.
Cloud hosting gives you the freedom to control your resources, handle traffic spikes like a pro, and keep your site running smoothly 24/7. Whether you’re running a personal blog, launching an eCommerce store, or building a SaaS app, this move sets you up for success, with fewer headaches and more time to focus on what you love.
Remember, every big website started small. When you’re ready to scale, just follow the steps, take it one move at a time, and soon enough, you’ll be rocking that cloud like a boss.
Here’s to your website’s growth: smooth, steady, and unstoppable!