Introduction
Whether you’re setting up Zoho Mail, Zoho CRM, or the full Zoho Workplace, one crucial step comes first: domain verification. This process confirms that you own the domain name you want to use for email hosting, CRM, and other Zoho apps. Without domain verification, you can’t send or receive emails from your business domain (e.g., [email protected]), and your services will remain inactive.

In this guide, we’ll walk you through the domain verification process in Zoho — with step-by-step instructions, screenshots (optional), DNS record examples, and tailored tips for users in Nepal or those using domain providers like Nest Nepal, GoDaddy, Namecheap, or Cloudflare.
1. What Is Domain Verification in Zoho?
Domain verification is the process of proving to Zoho that you own the domain name you want to use with its services. Think of it as digital identity verification for your domain.
When you register for Zoho Mail or Zoho Workplace, you’re asked to enter your domain name. To activate email hosting or CRM functionality, you must then verify ownership by adding a DNS record to your domain’s DNS settings.
2. Why Is Domain Verification Important?
- Unlocks Zoho Mail Services: Without verification, your custom email ([email protected]) won’t work.
- Secures Domain Ownership: Prevents misuse or unauthorized domain registration by others.
- Activates Collaboration Tools: Apps like Zoho Cliq, Zoho Connect, and Zoho CRM depend on verified domains to sync users.
- Improves Brand Credibility: A custom domain email looks professional and boosts trust with clients.
3. Prerequisites Before You Begin
Before verifying your domain, make sure:
- You have a Zoho account (Zoho Mail or Workplace).
- Your domain is registered (e.g., via GoDaddy, Nest Nepal, Namecheap).
- You have admin access to your domain DNS panel.
- You can add TXT or CNAME records to your domain.
4. Step-by-Step Zoho Domain Verification Guide
Step 1: Log in to Zoho Admin Console
- Go to: https://mail.zoho.com or https://admin.zoho.com
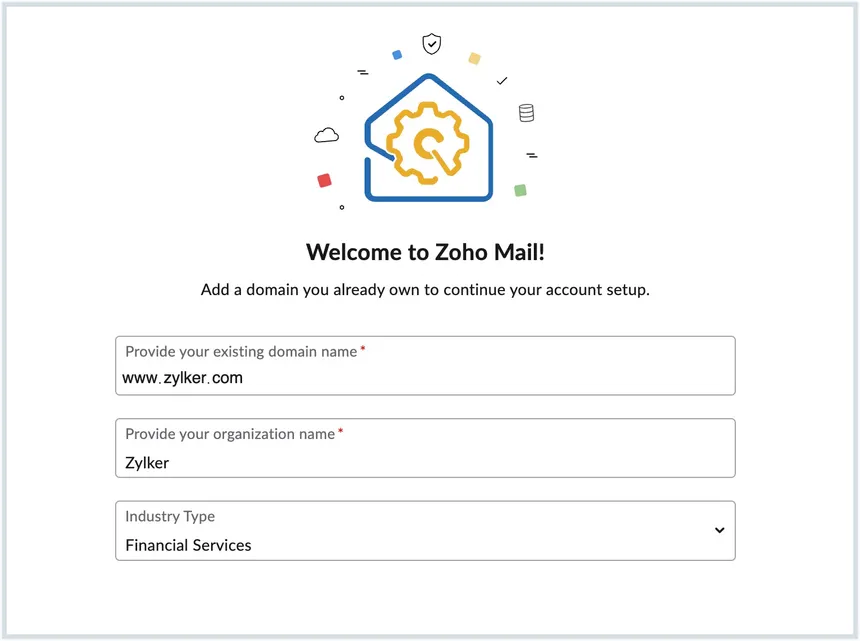
- Click on Add Domain
- Enter your domain name (e.g., yourbusiness.com)
- Click Proceed to begin verification.
Step 2: Choose a Verification Method
Zoho provides 3 ways to verify your domain:
Method 1: TXT Record (Most Recommended)
- Go to your domain DNS provider (e.g., GoDaddy, Cloudflare, Nest Nepal).
- Add the TXT record provided by Zoho:
- Host: @
- Type: TXT
- Value: zoho-verification=zbxxxxxxxxxx
- TTL: 3600 or default
- Save the record.
- Return to Zoho Admin Console and click Verify TXT Record.
⏱ Note: DNS propagation can take 10 minutes to 24 hours.
Method 2: CNAME Record
- In your DNS settings, add a CNAME record:
- Host: zbxxxxxxxxxx (from Zoho)
- Type: CNAME
- Points To: zmverify.zoho.com
- Save it, then verify with Zoho.
This is an alternative if TXT records are not supported by your domain registrar.
Method 3: HTML File Upload
This is available only if you have a live website hosted on the domain.
- Zoho gives you an HTML file.
- Download it and upload it to your website’s root directory.
- Visit the file URL (yourdomain.com/zohoverify/filename.html) to test.
- Click Verify in Zoho.
⚠️ Only use this if you’re managing the website files directly.
5. How to Add DNS Records on Common Registrars
A. GoDaddy
- Log in to GoDaddy.com
- Go to “My Domains” → DNS → Manage DNS
- Click Add Record → Choose TXT or CNAME
- Paste values from Zoho
B. Cloudflare
- Go to Cloudflare Dashboard
- Select your domain → DNS
- Click Add Record, choose TXT
- Enter host: @, and paste Zoho’s value
C. Nest Nepal (Custom Panel)
- Log in to Nest Nepal’s domain dashboard
- Find DNS or Zone Editor
- Click “Add TXT Record”
- Paste the Zoho verification code
6. Troubleshooting Tips
- Still not verified? Wait for up to 24 hours for DNS to propagate.
- Wrong record type? Double-check you’re not mixing CNAME with TXT.
- Multiple TXT records? Make sure there are no conflicting entries.
- Use tools like https://dnschecker.org to verify if the record is live globally.
7. Domain Verification with Nest Nepal
If you’ve registered your domain with Nest Nepal, here’s a custom workflow:
- Visit: https://client.nestnepal.com
- Log in to your client area → Click on Domains
- Choose your domain → Manage DNS
- Add a TXT Record as per Zoho instructions
- Save and wait 5–15 minutes
- Head back to Zoho Admin and click Verify
If you’re unsure, Nest Nepal’s support team offers free help for Zoho configuration.
8. Final Steps After Domain Verification
Once verified, Zoho will prompt you to:
- Add MX Records to activate email hosting
- Set SPF, DKIM, and DMARC for email authentication
- Create email aliases and mailboxes
- Start using Zoho Mail or Workspace
9. Conclusion
Domain verification is the essential first step to unlocking the full power of Zoho’s cloud ecosystem — from professional email with Zoho Mail to integrated business tools with Zoho Workplace and CRM. By verifying your domain correctly, you ensure security, brand authenticity, and seamless communication.
Whether you’re a small startup in Nepal or an established enterprise, this guide will help you set up Zoho with confidence and clarity.
Need help verifying your domain? Reach out to your domain registrar or a Zoho Authorized Partner like Nest Nepal for hands-on support.