
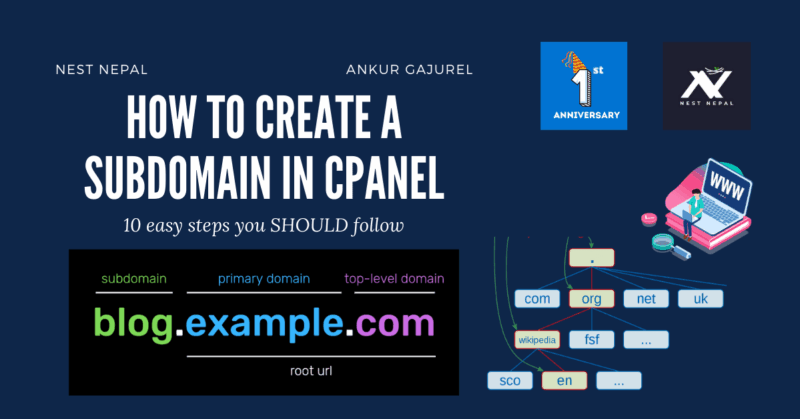
In this blog, we are going to see how we can create a subdomain in cPanel using hosting and cPanel provided by Nest Nepal. The steps are very simple and you will not need to do any coding or scripting. Even a person from non-computer science background can conduct this installation.
What is a subdomain?
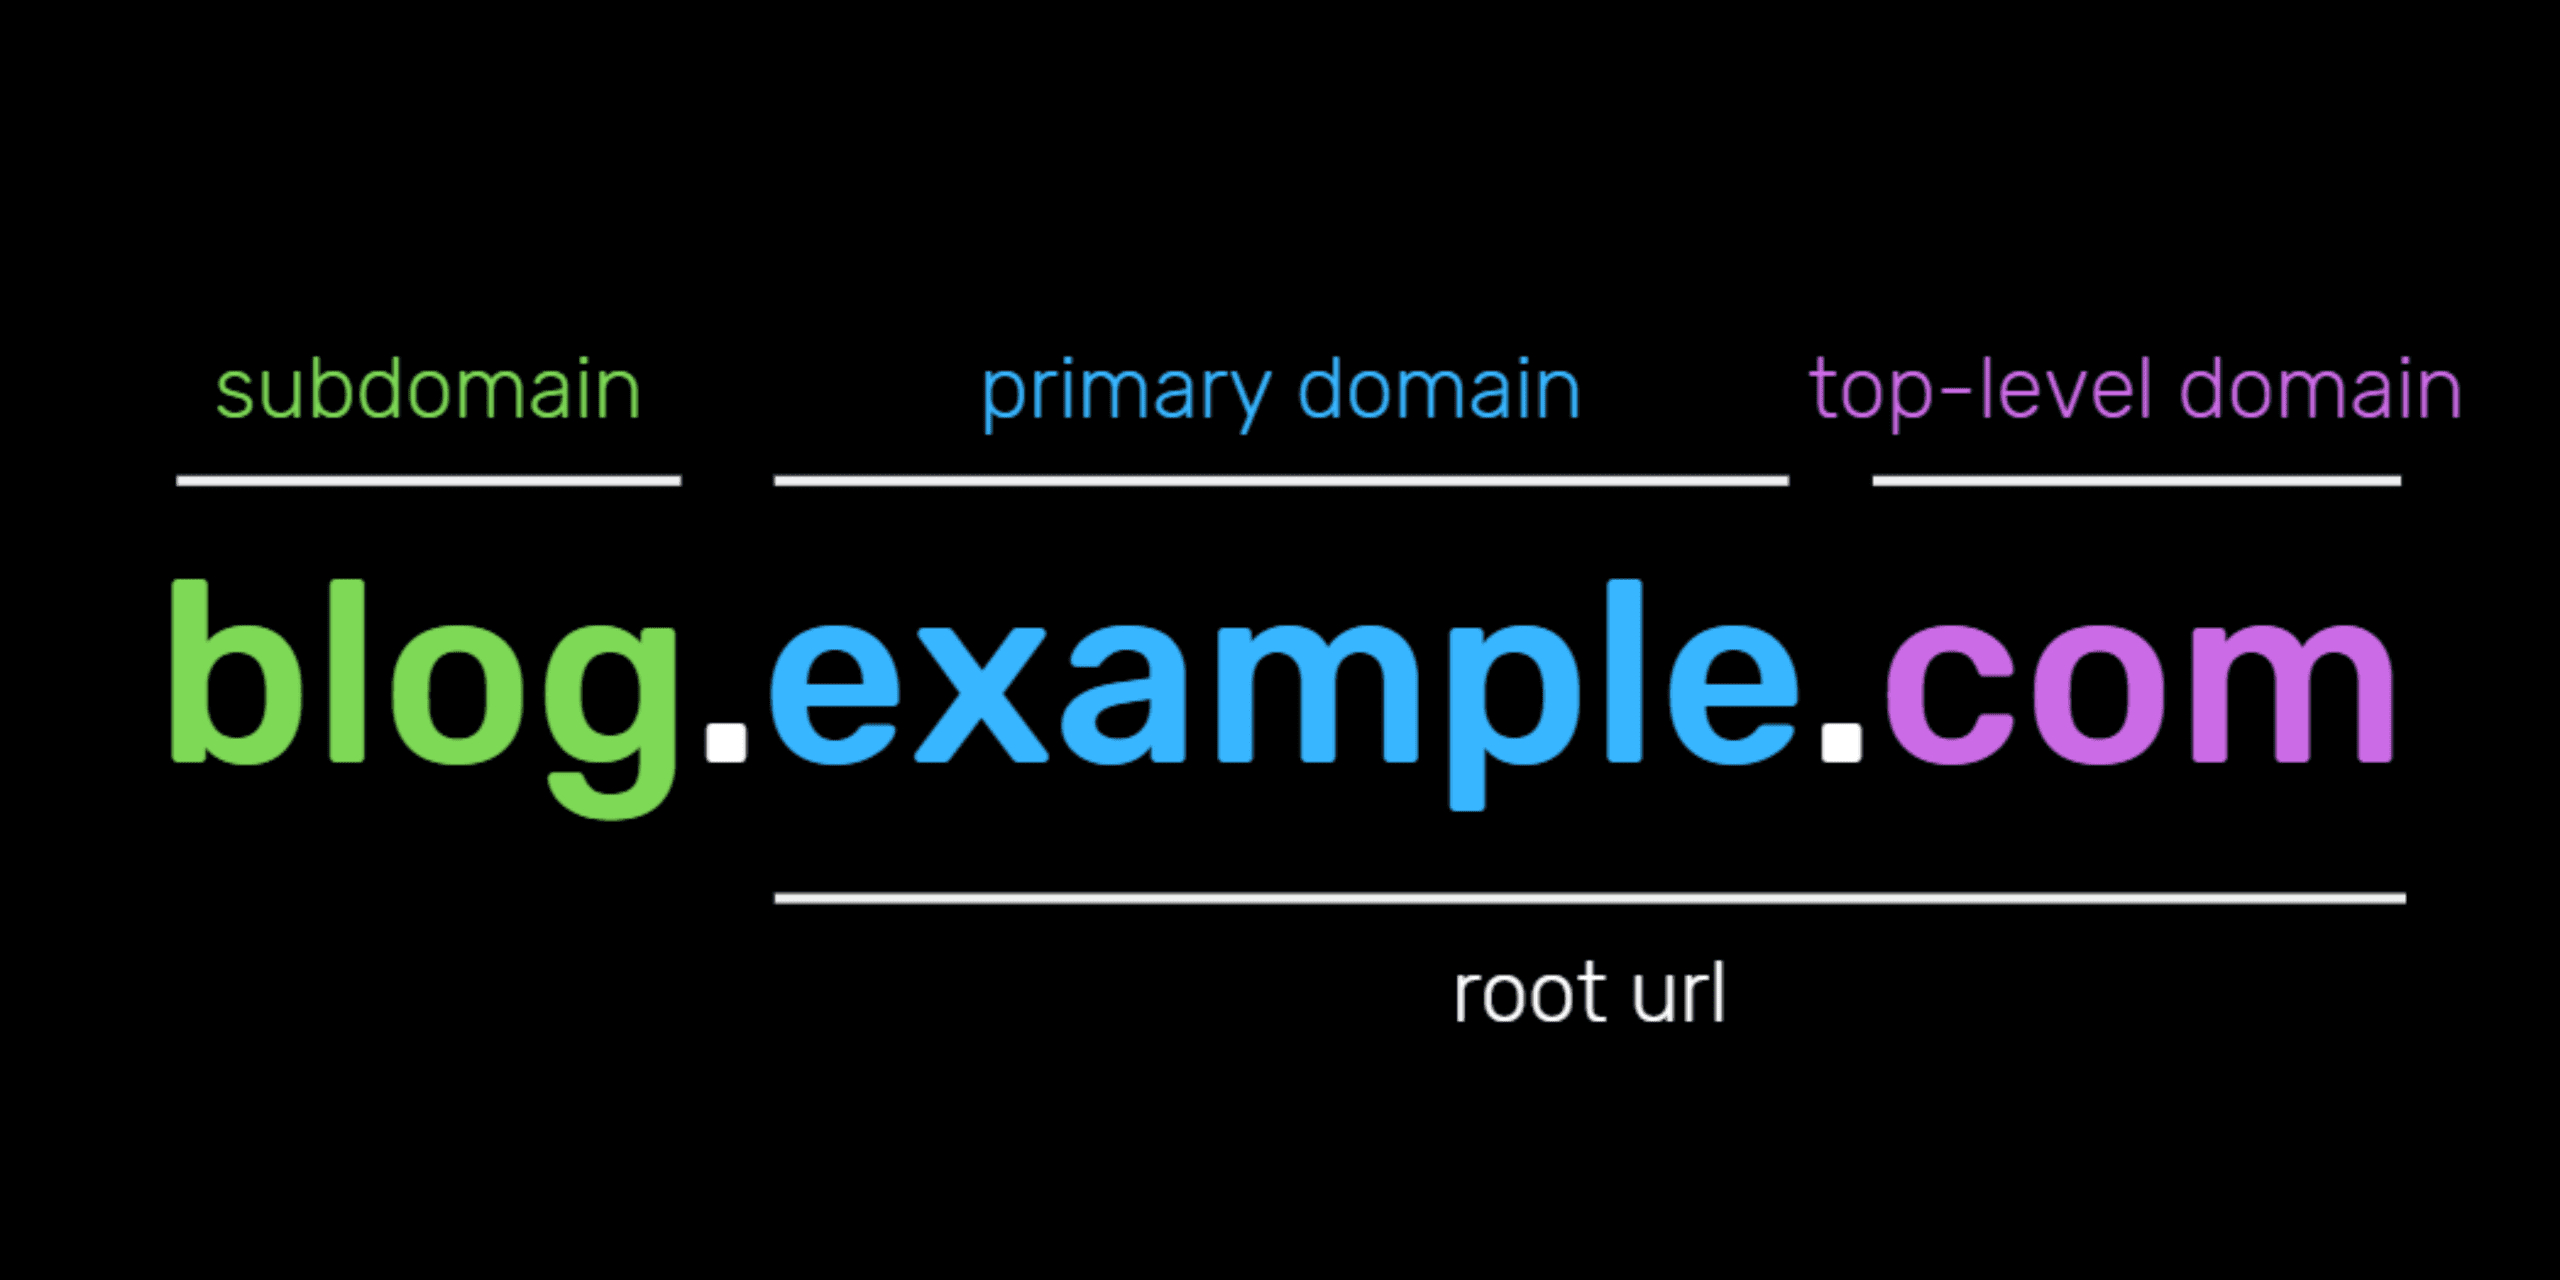
A subdomain is another part of the main domain which is created to manage different sections or different apps of a website. For example, the “subdomain.maindomain.com” has three parts in it. The first is the subdomain which will denote a sub-section or a sub-app of a website. The next one is the main domain and “.com” is the top-level domain. A subdomain is also known as the child domain.
How to create a subdomain in cPanel?
Follow this 10 easy steps:
1. Firstly, open the link of cPanel given to you by Nest Nepal while creating a new account which is sent to you in your email. After opening the page, log in with the credentials given to you.
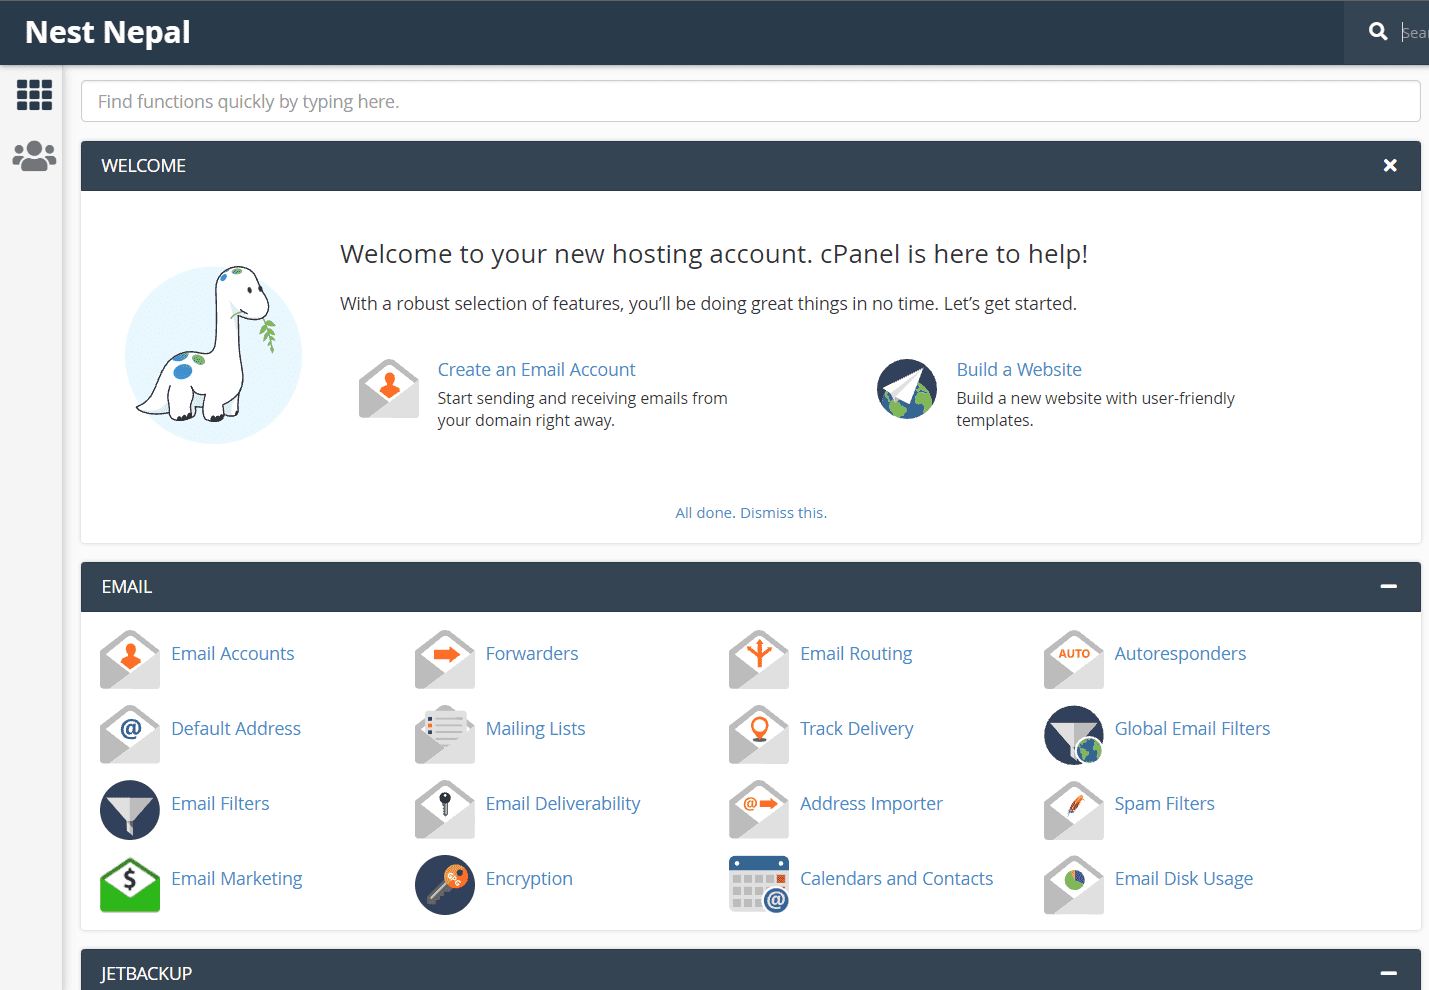
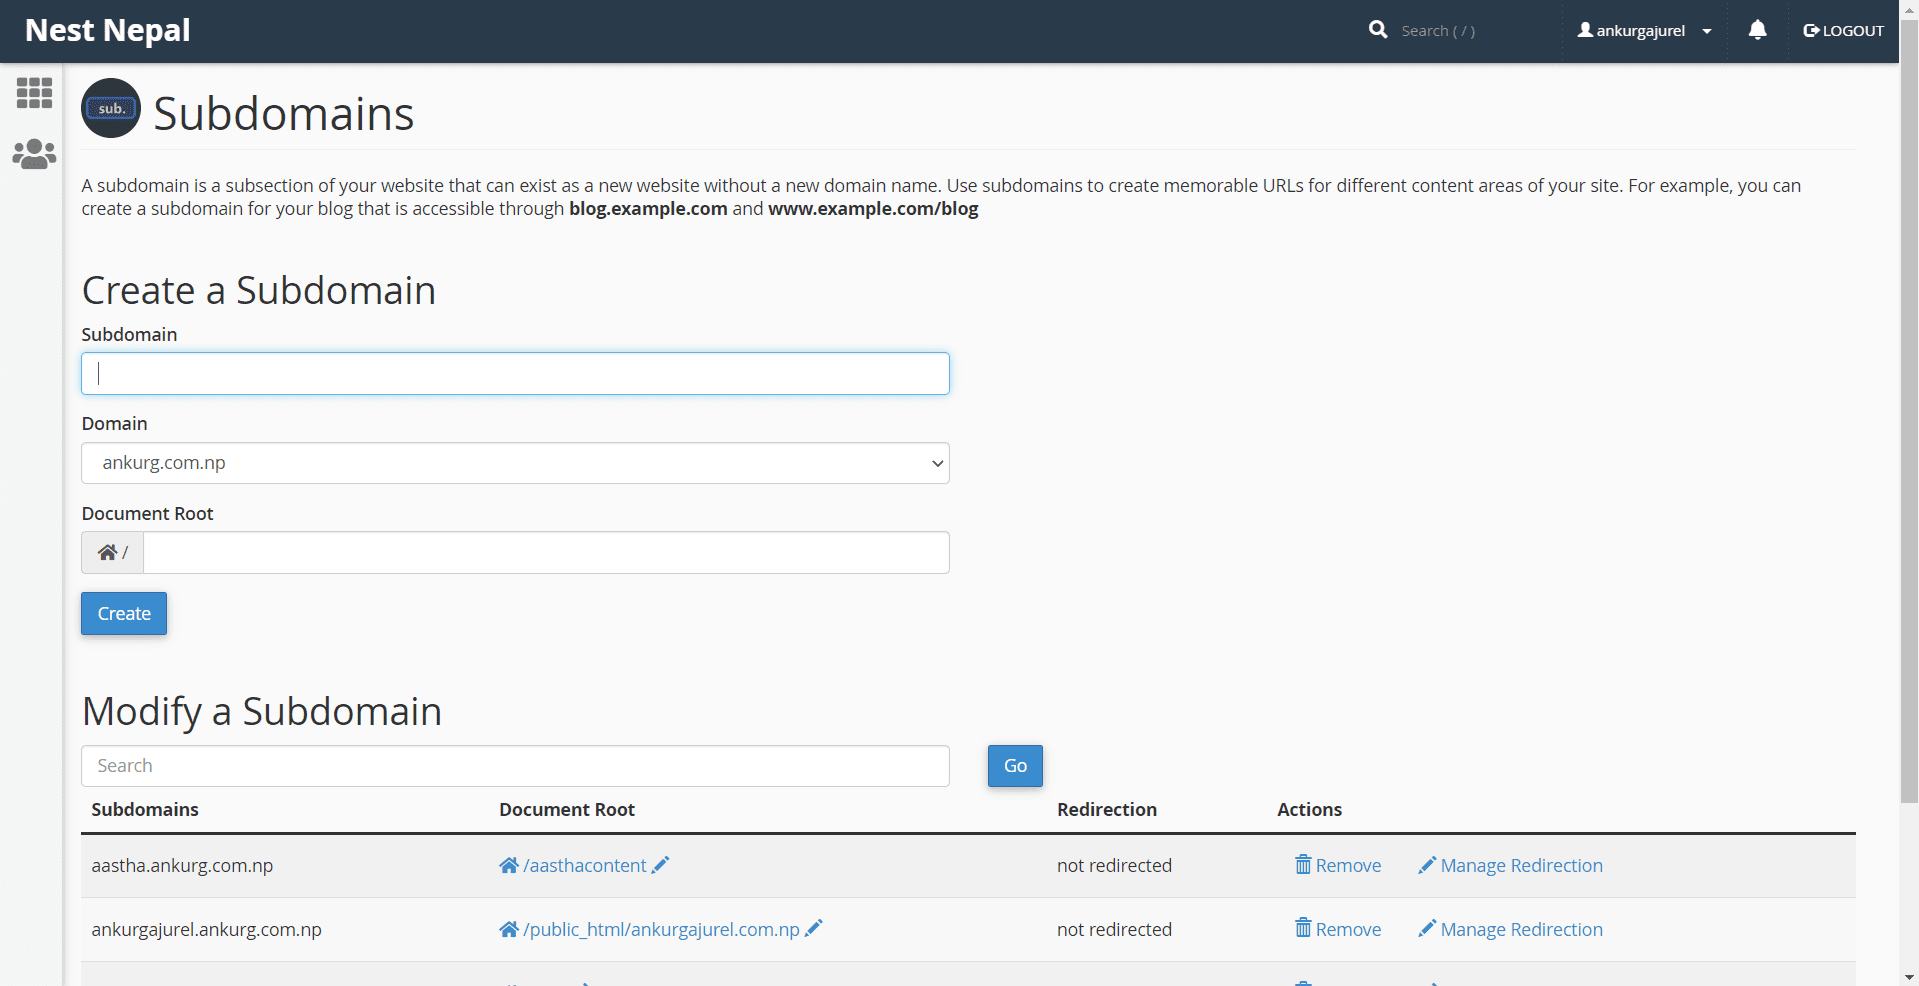
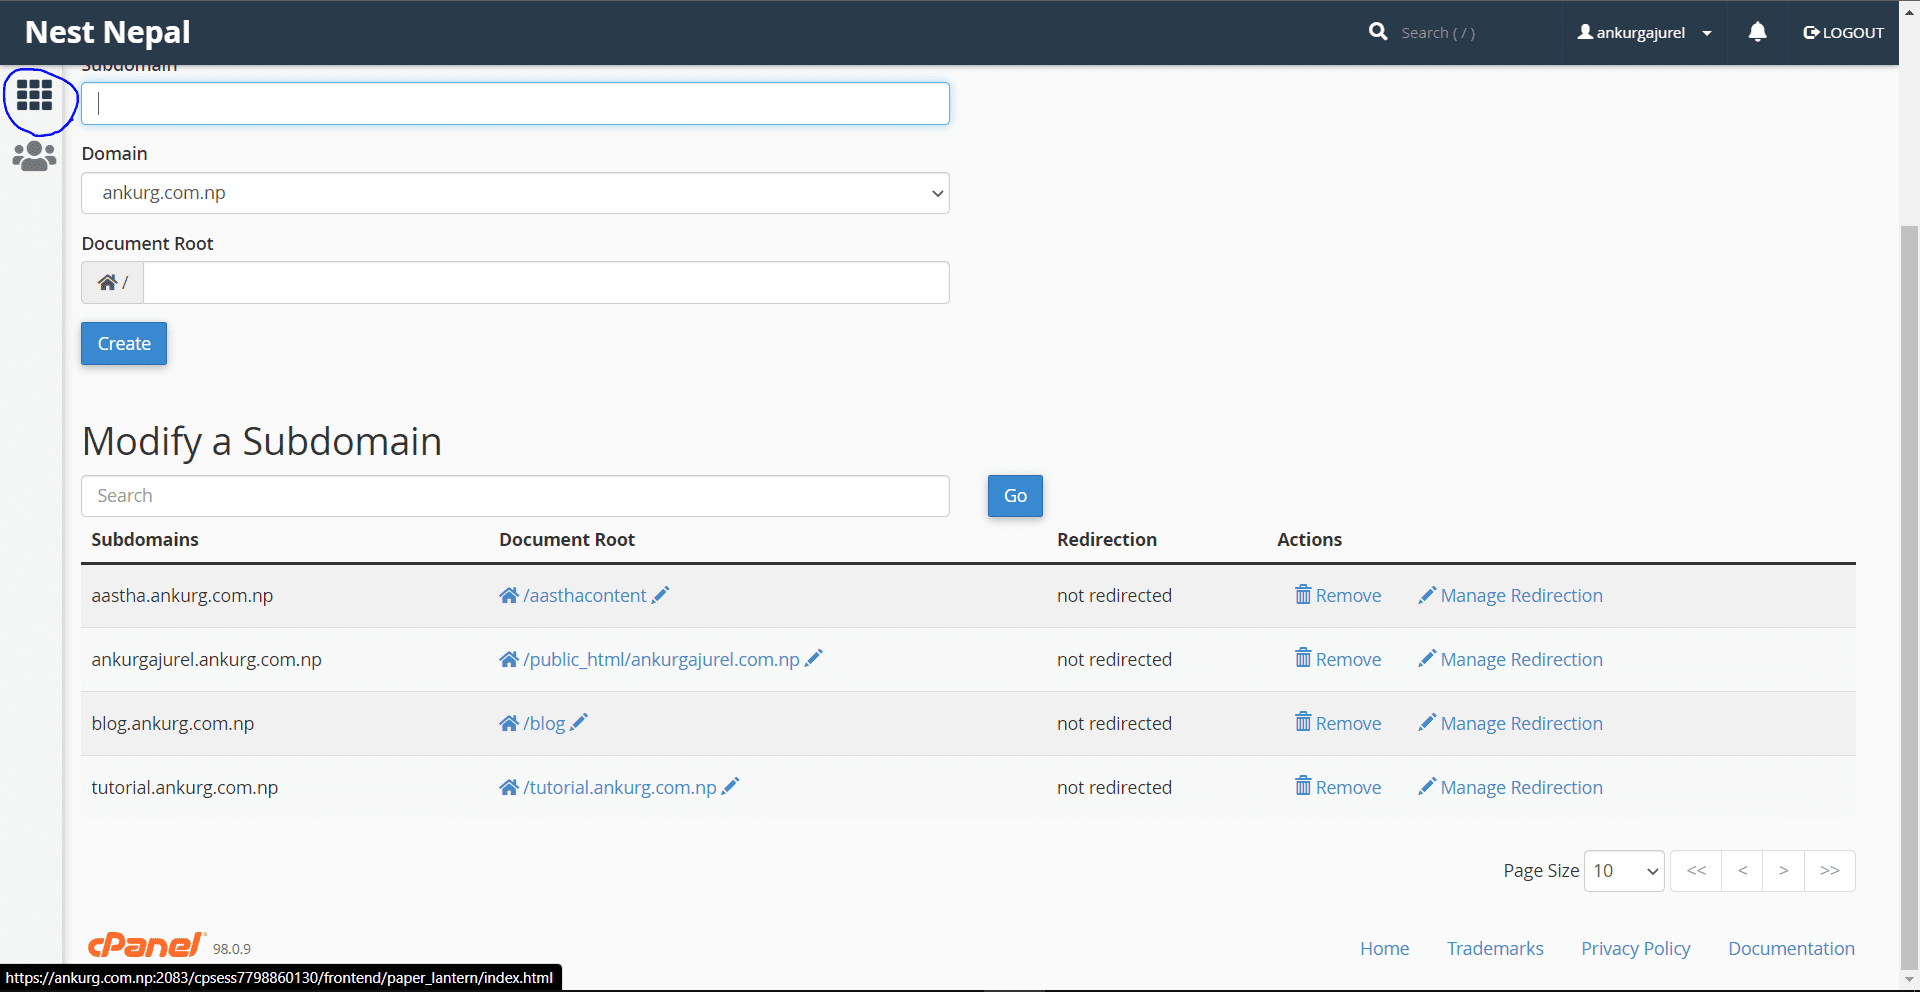
2. Now, you will see the homepage of the cPanel by Nest Nepal. Scroll down to the “Domains” section where you will see the “Subdomains” button. Click on it.

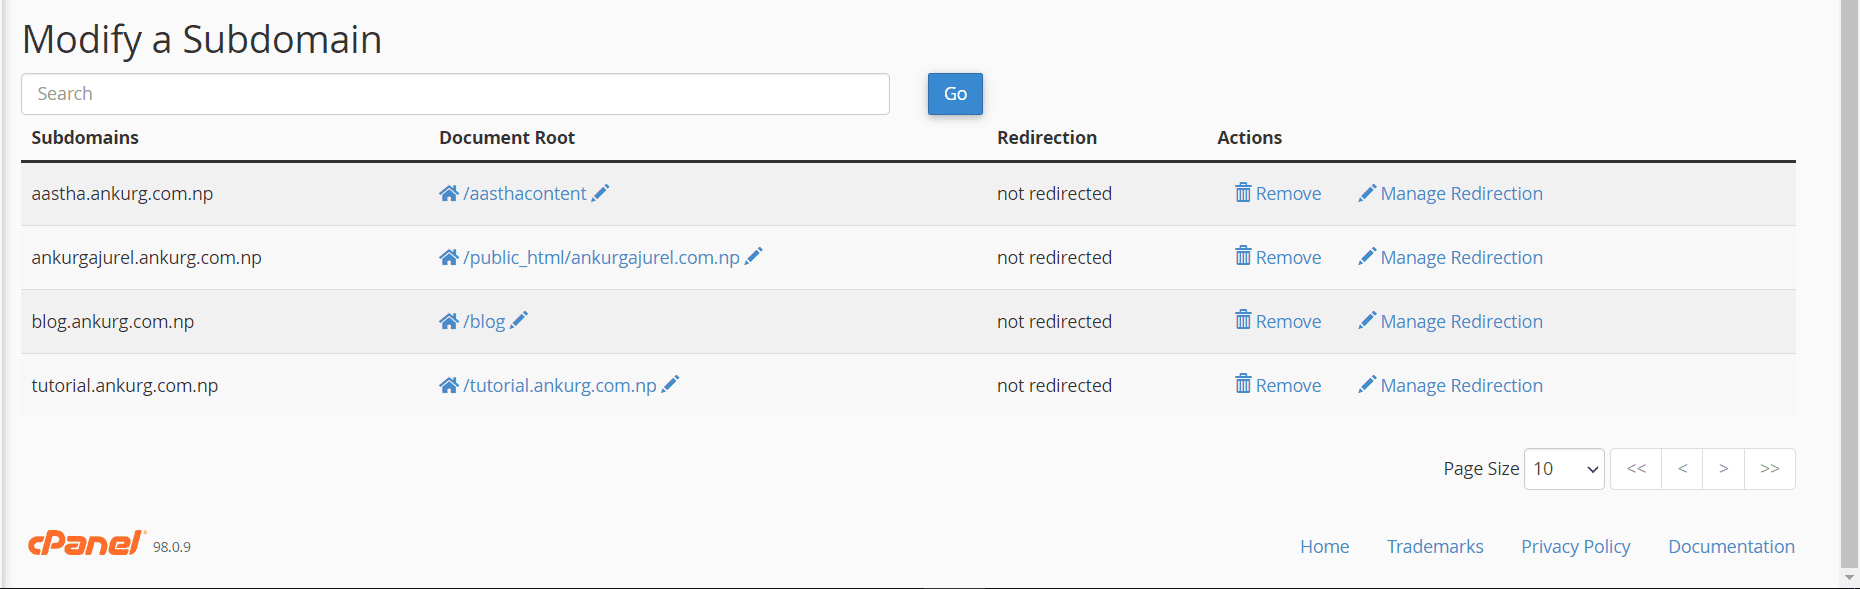
3. Now, you will be redirected to the Subdomains page like in the picture given below.
4. Likewise, click on the “subdomain” placeholder where you will enter your desired name. For this blog, I will be writing “tutorial” as a subdomain. In the “Domain” placeholder, leave as it is. The next one is Document root which will be the name of the folder where the files for the website in the given subdomain will be hosted.
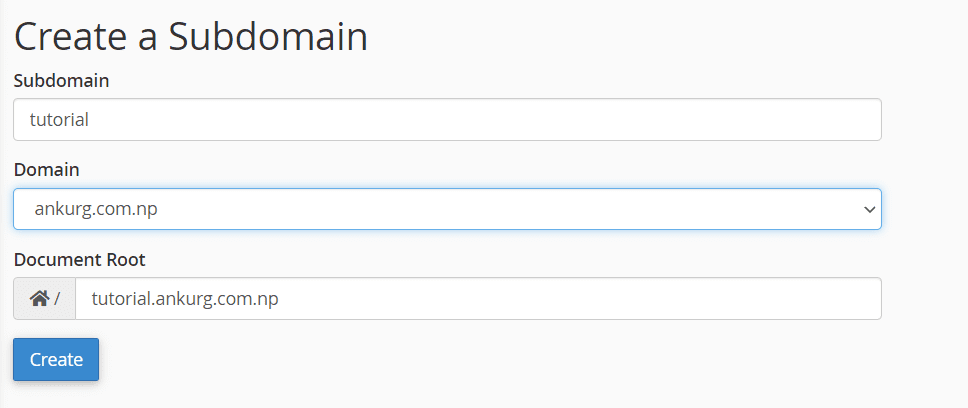
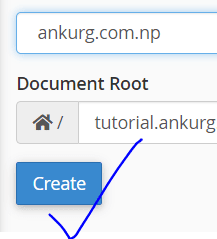
5. After entering the details, click on the create button.
6. After you click on create, you will be shown as shown below.
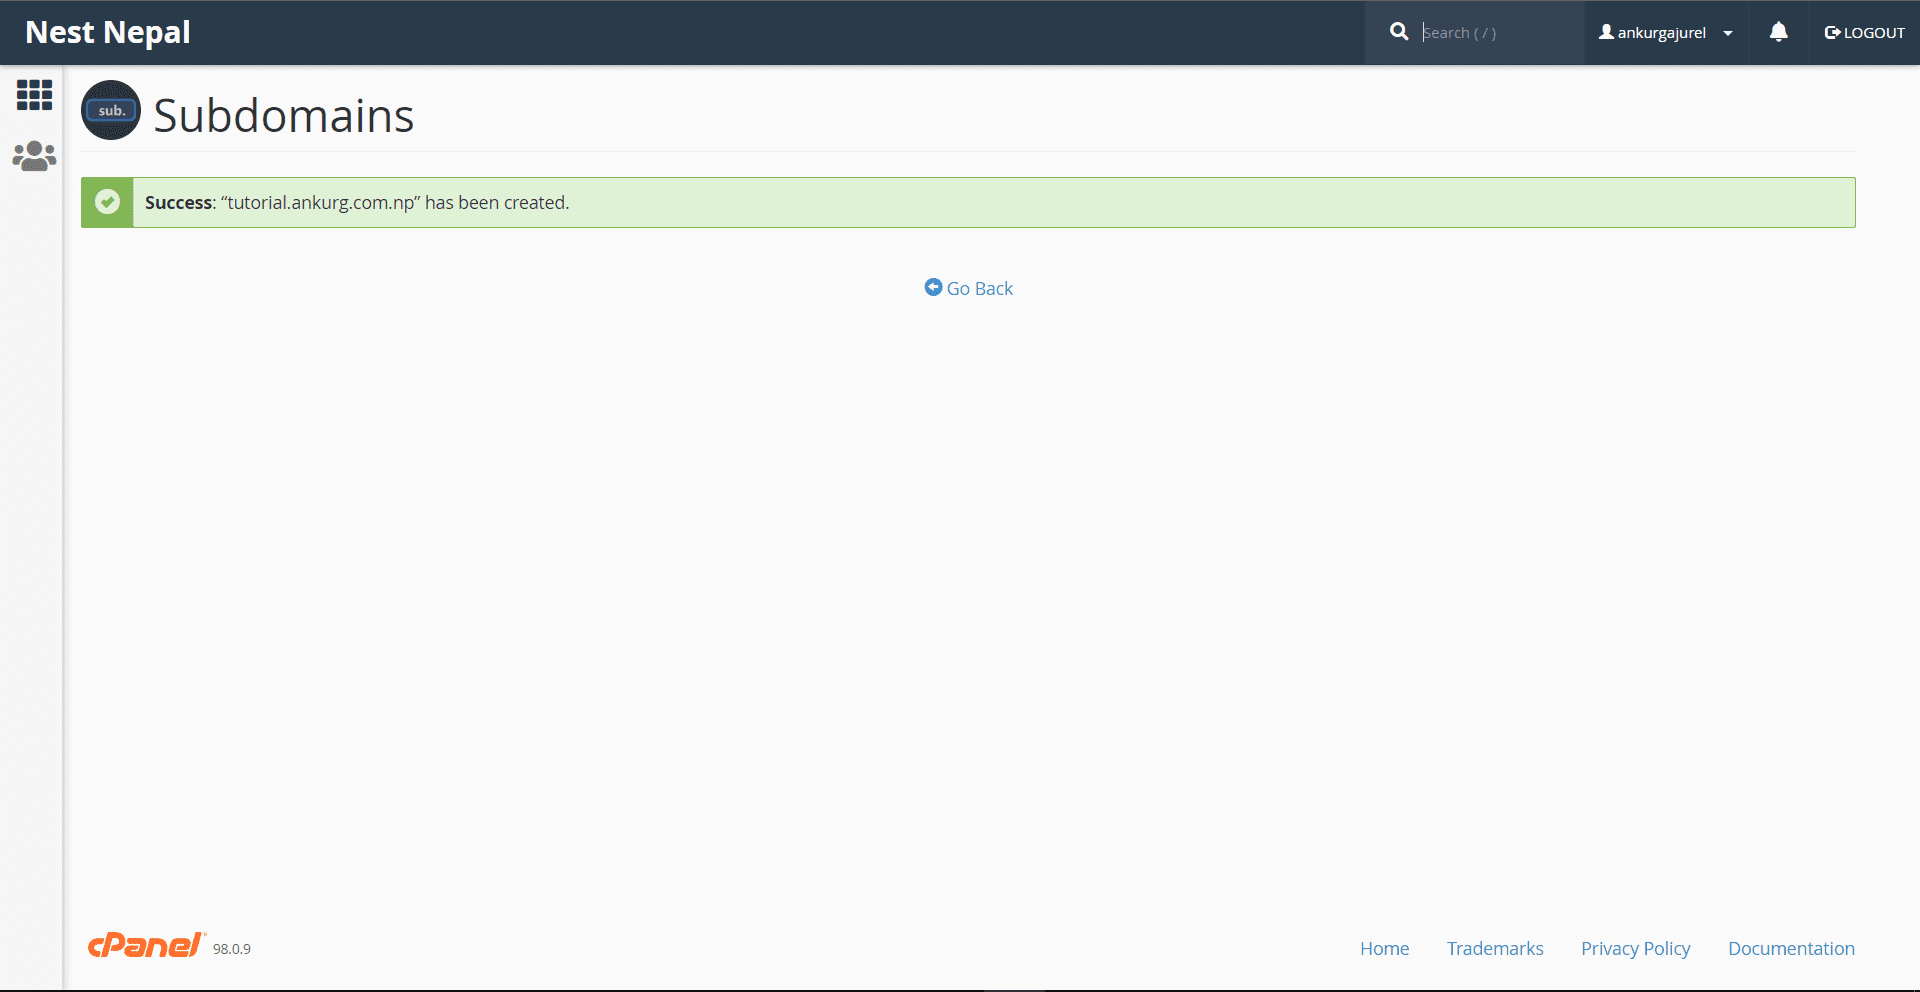
7. Now, click on go back and you will be shown all the subdomains you have created.
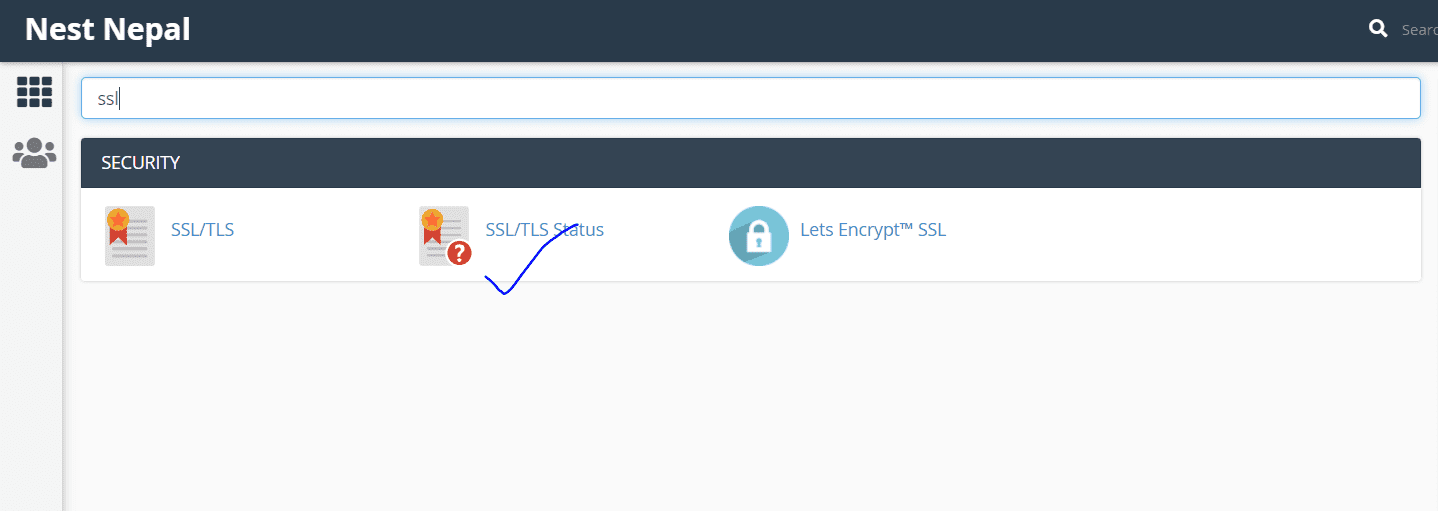
8. Now, click on the menu option on the top left of the page.
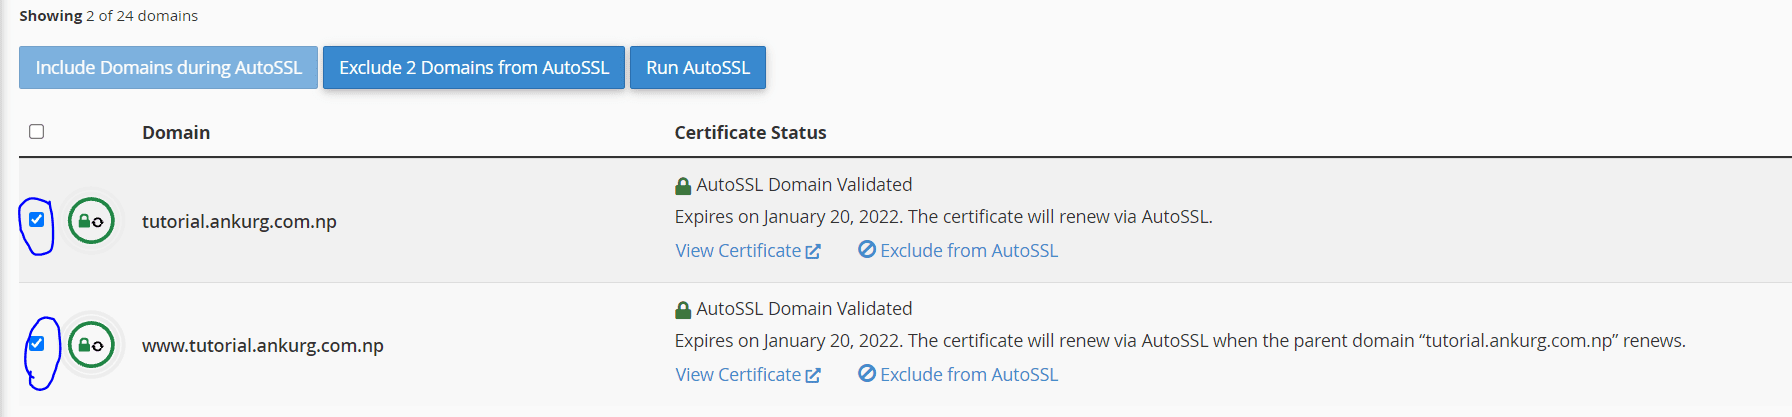
9. Now, on the search bar, type in “SSL” which will show you “SSL/TLS Status”. You will now be shown the SSL page. Again, on this page, click on the search bar and type the subdomain name you entered before. I will be typing in “tutorial”.

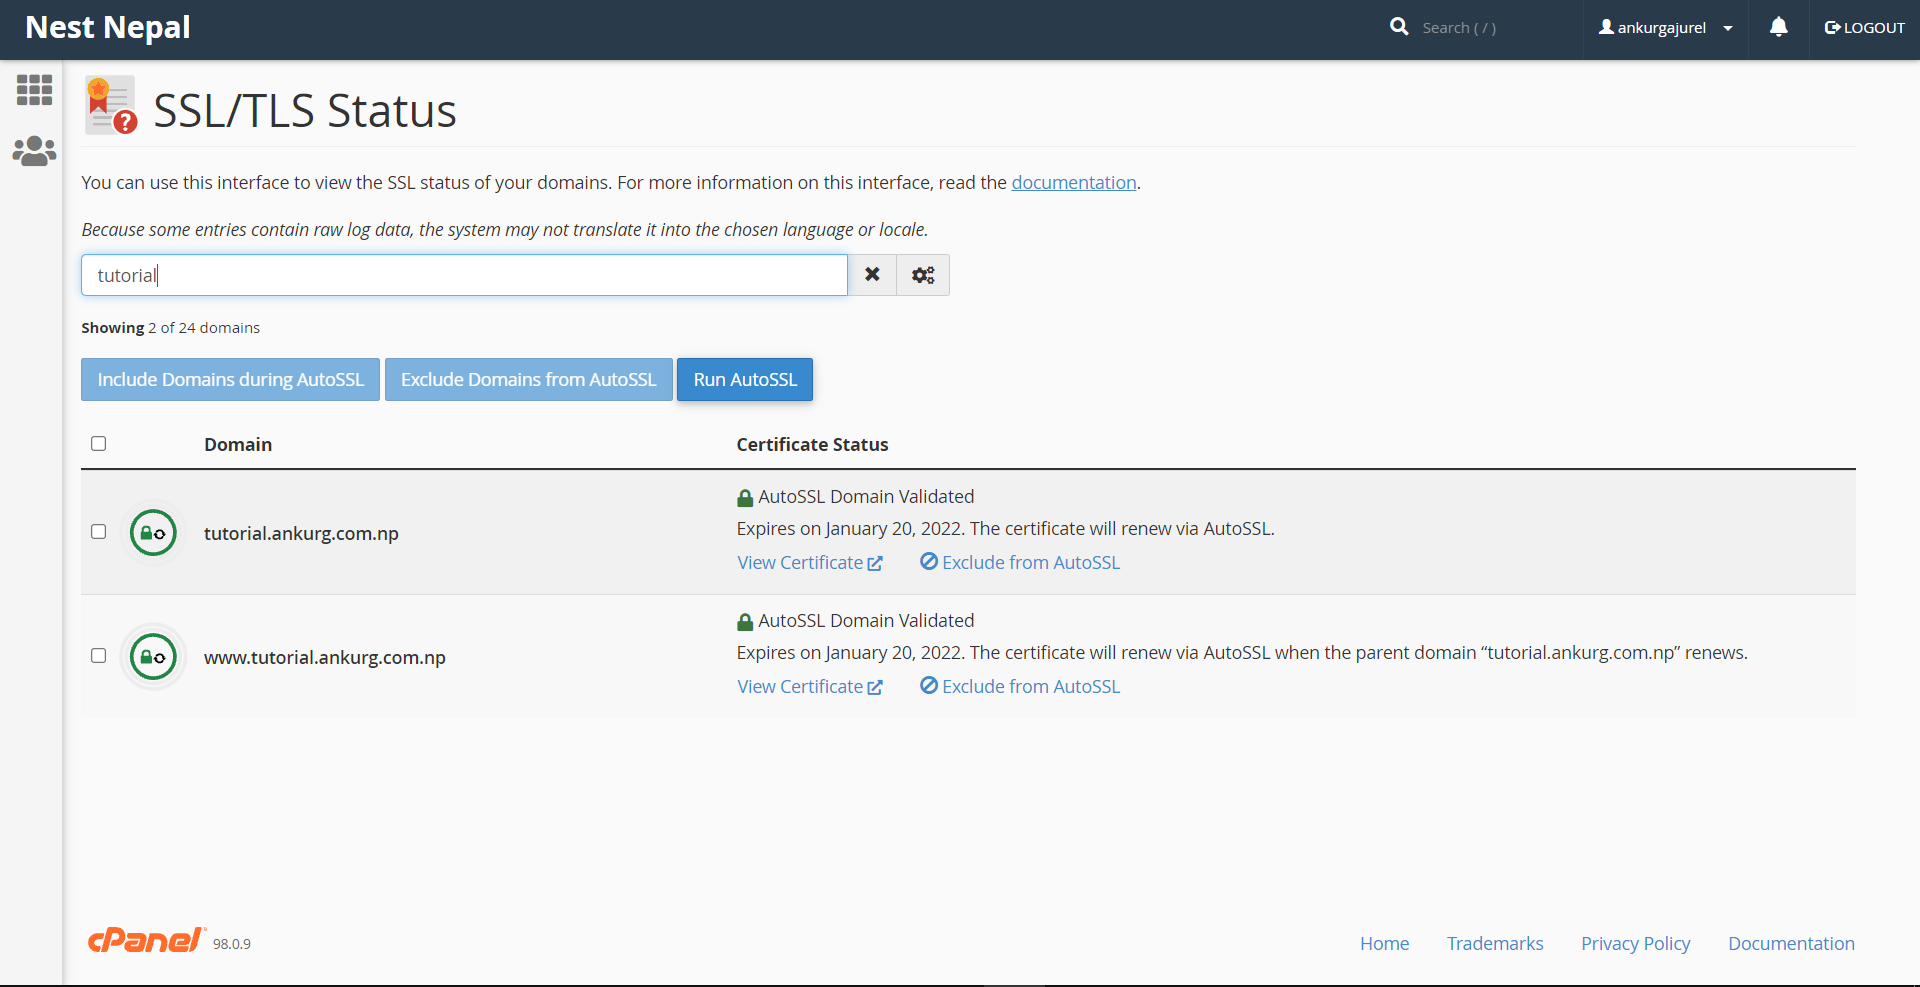
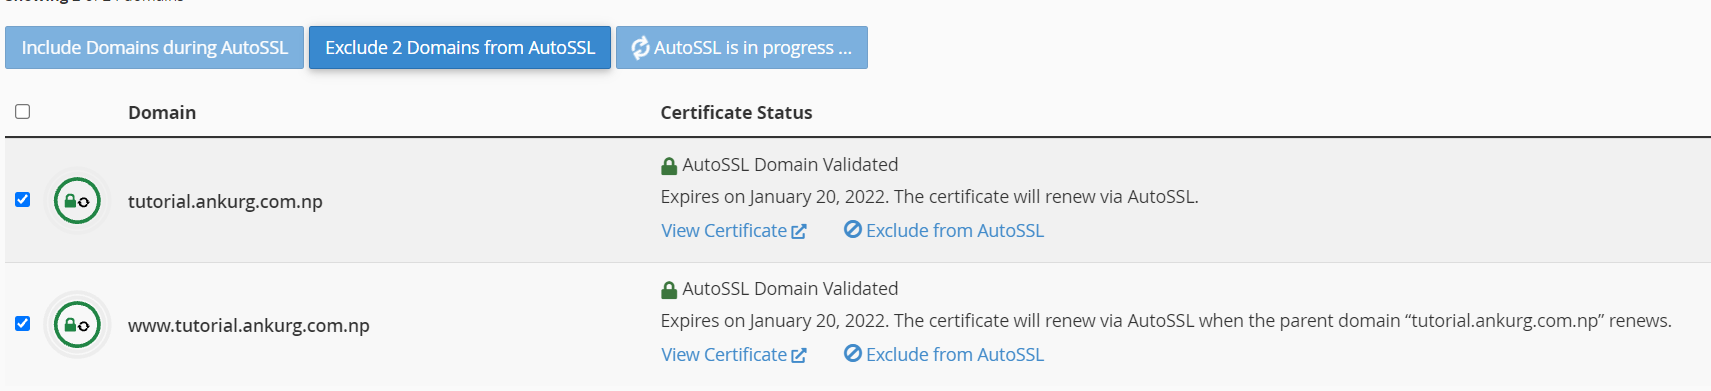
10. Click on the select options on both domains and click on Run Auto SSL. This automatically keeps SSL in the domain.

“Create a subdomain in cPanel” has been completed.
Hurray! You have created a subdomain in cPanel. See! wasn’t that easy? Look around Nest Nepal for more educational content.
If you want to learn more about creating an email in cpanel, check this blog out: https://nestnepal.com/blog/how-to-create-an-email-in-cpanel-easy-steps/
You can also follow us on Facebook: https://facebook.com/nestnepalofficial