


In this blog, we will see how we can we install a WordPress website with cPanel in a domain using hosting and cPanel provided by Nest Nepal. The steps are straightforward, and you will not need to do any coding or scripting. Even a person from non-computer science background can conduct this installation.
Steps to Install WordPress Website with cPanel:
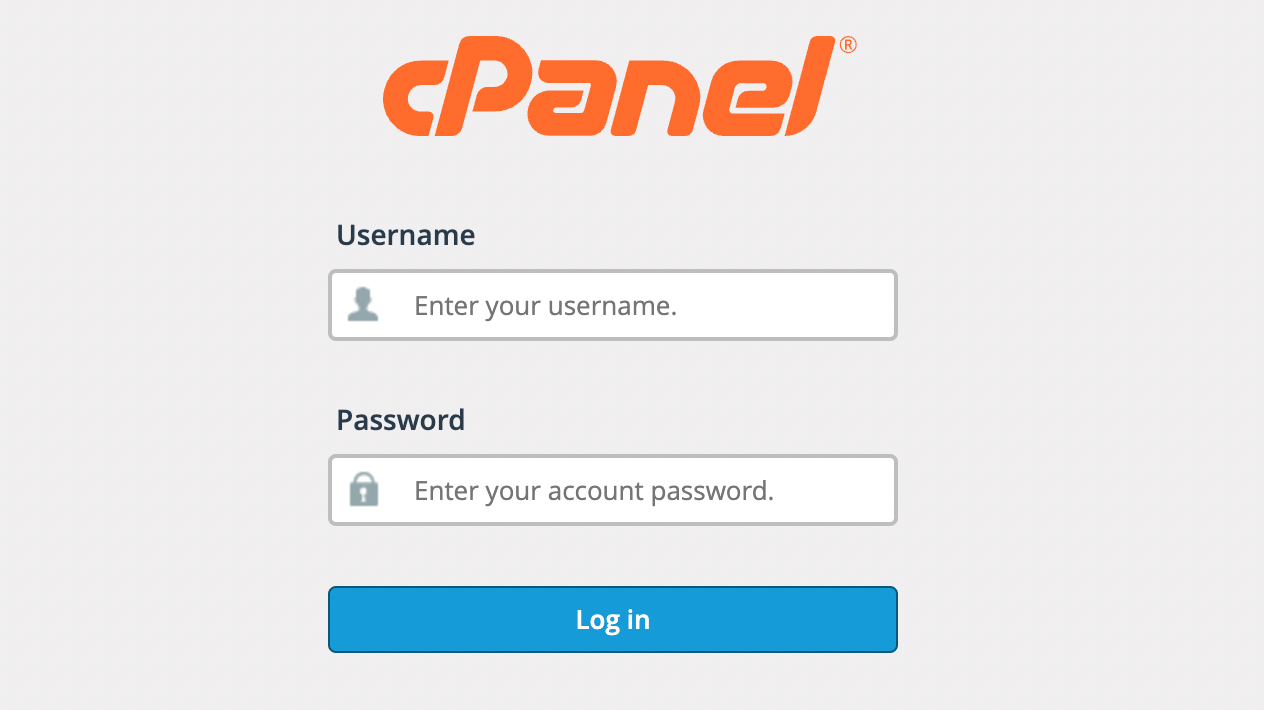
1. Open the Login Page
Open the link for cPanel given to you by Nest Nepal. Nest will provide this link in the email sent during the notice of account activation or renewal.
2. Log in and get redirected to the dashboard
After you fill in the credentials and log in, you will be redirected to a page like this, as shown in the picture below. This is the homepage of your cPanel.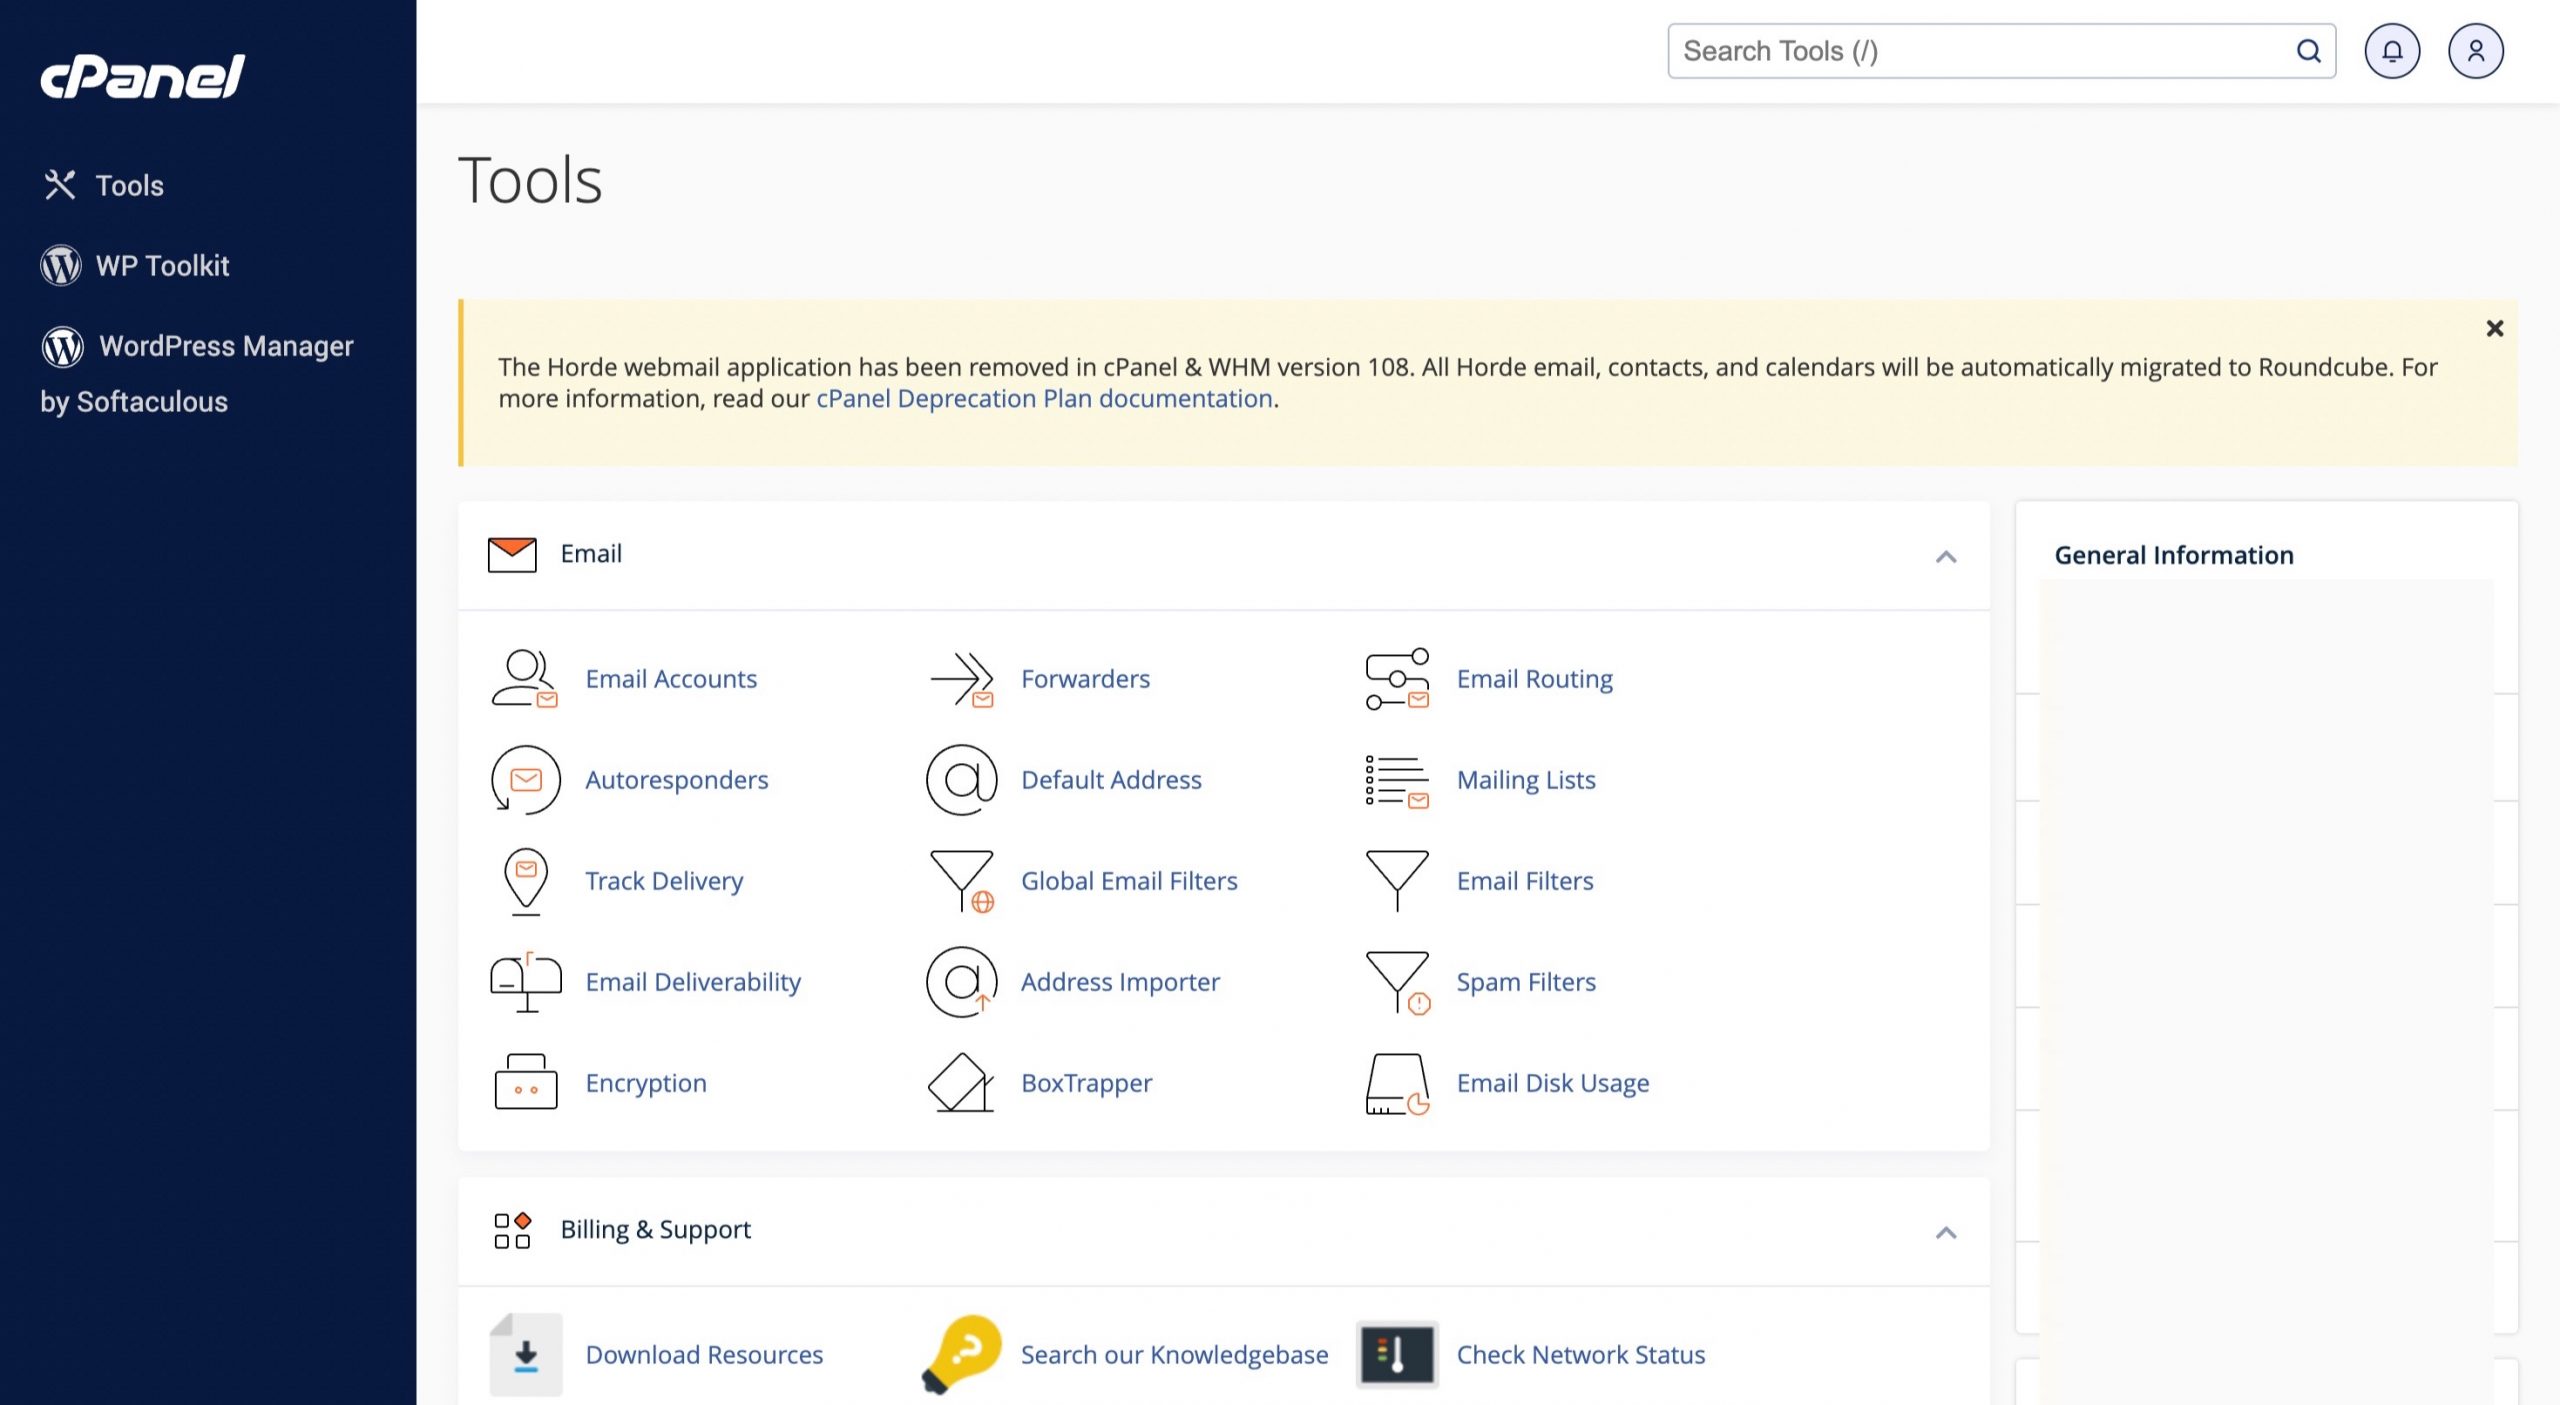
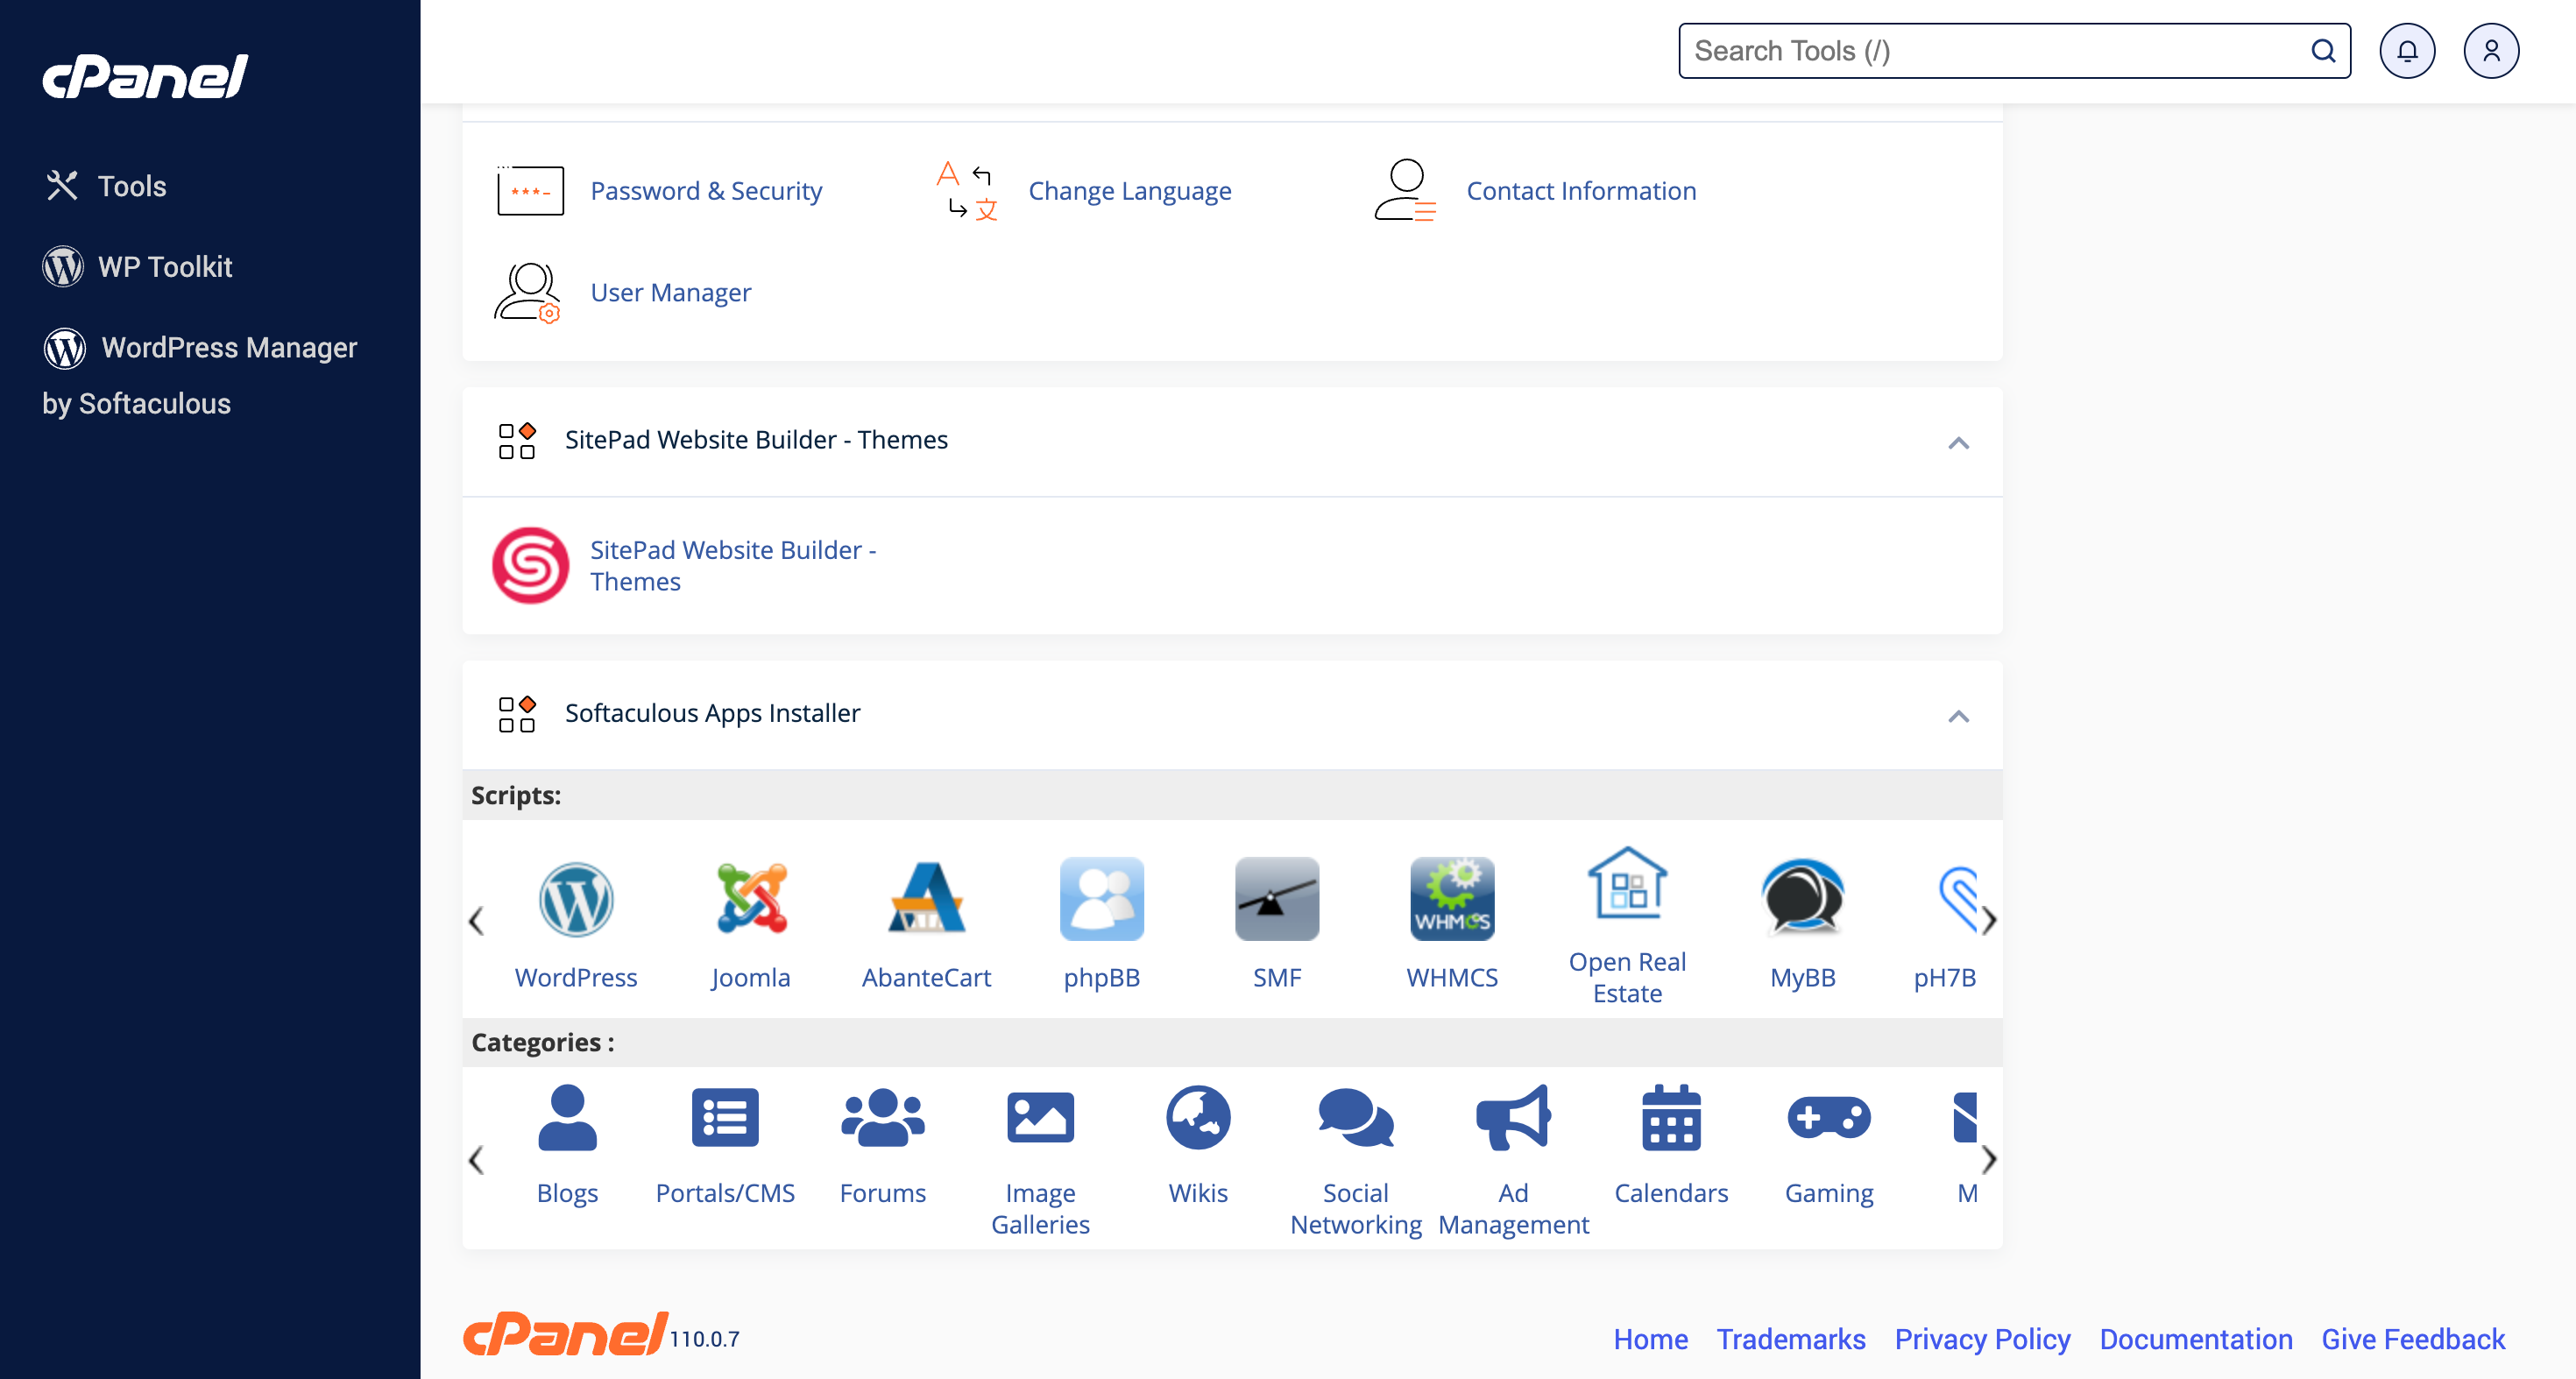
3. Softaculus Apps Installer
Now, scroll down until you see the “Scripts” section and click on WordPress.
4. Index of Softaculus Apps Installer
After you click the WordPress, you will be redirected to a page, as shown in the image below.
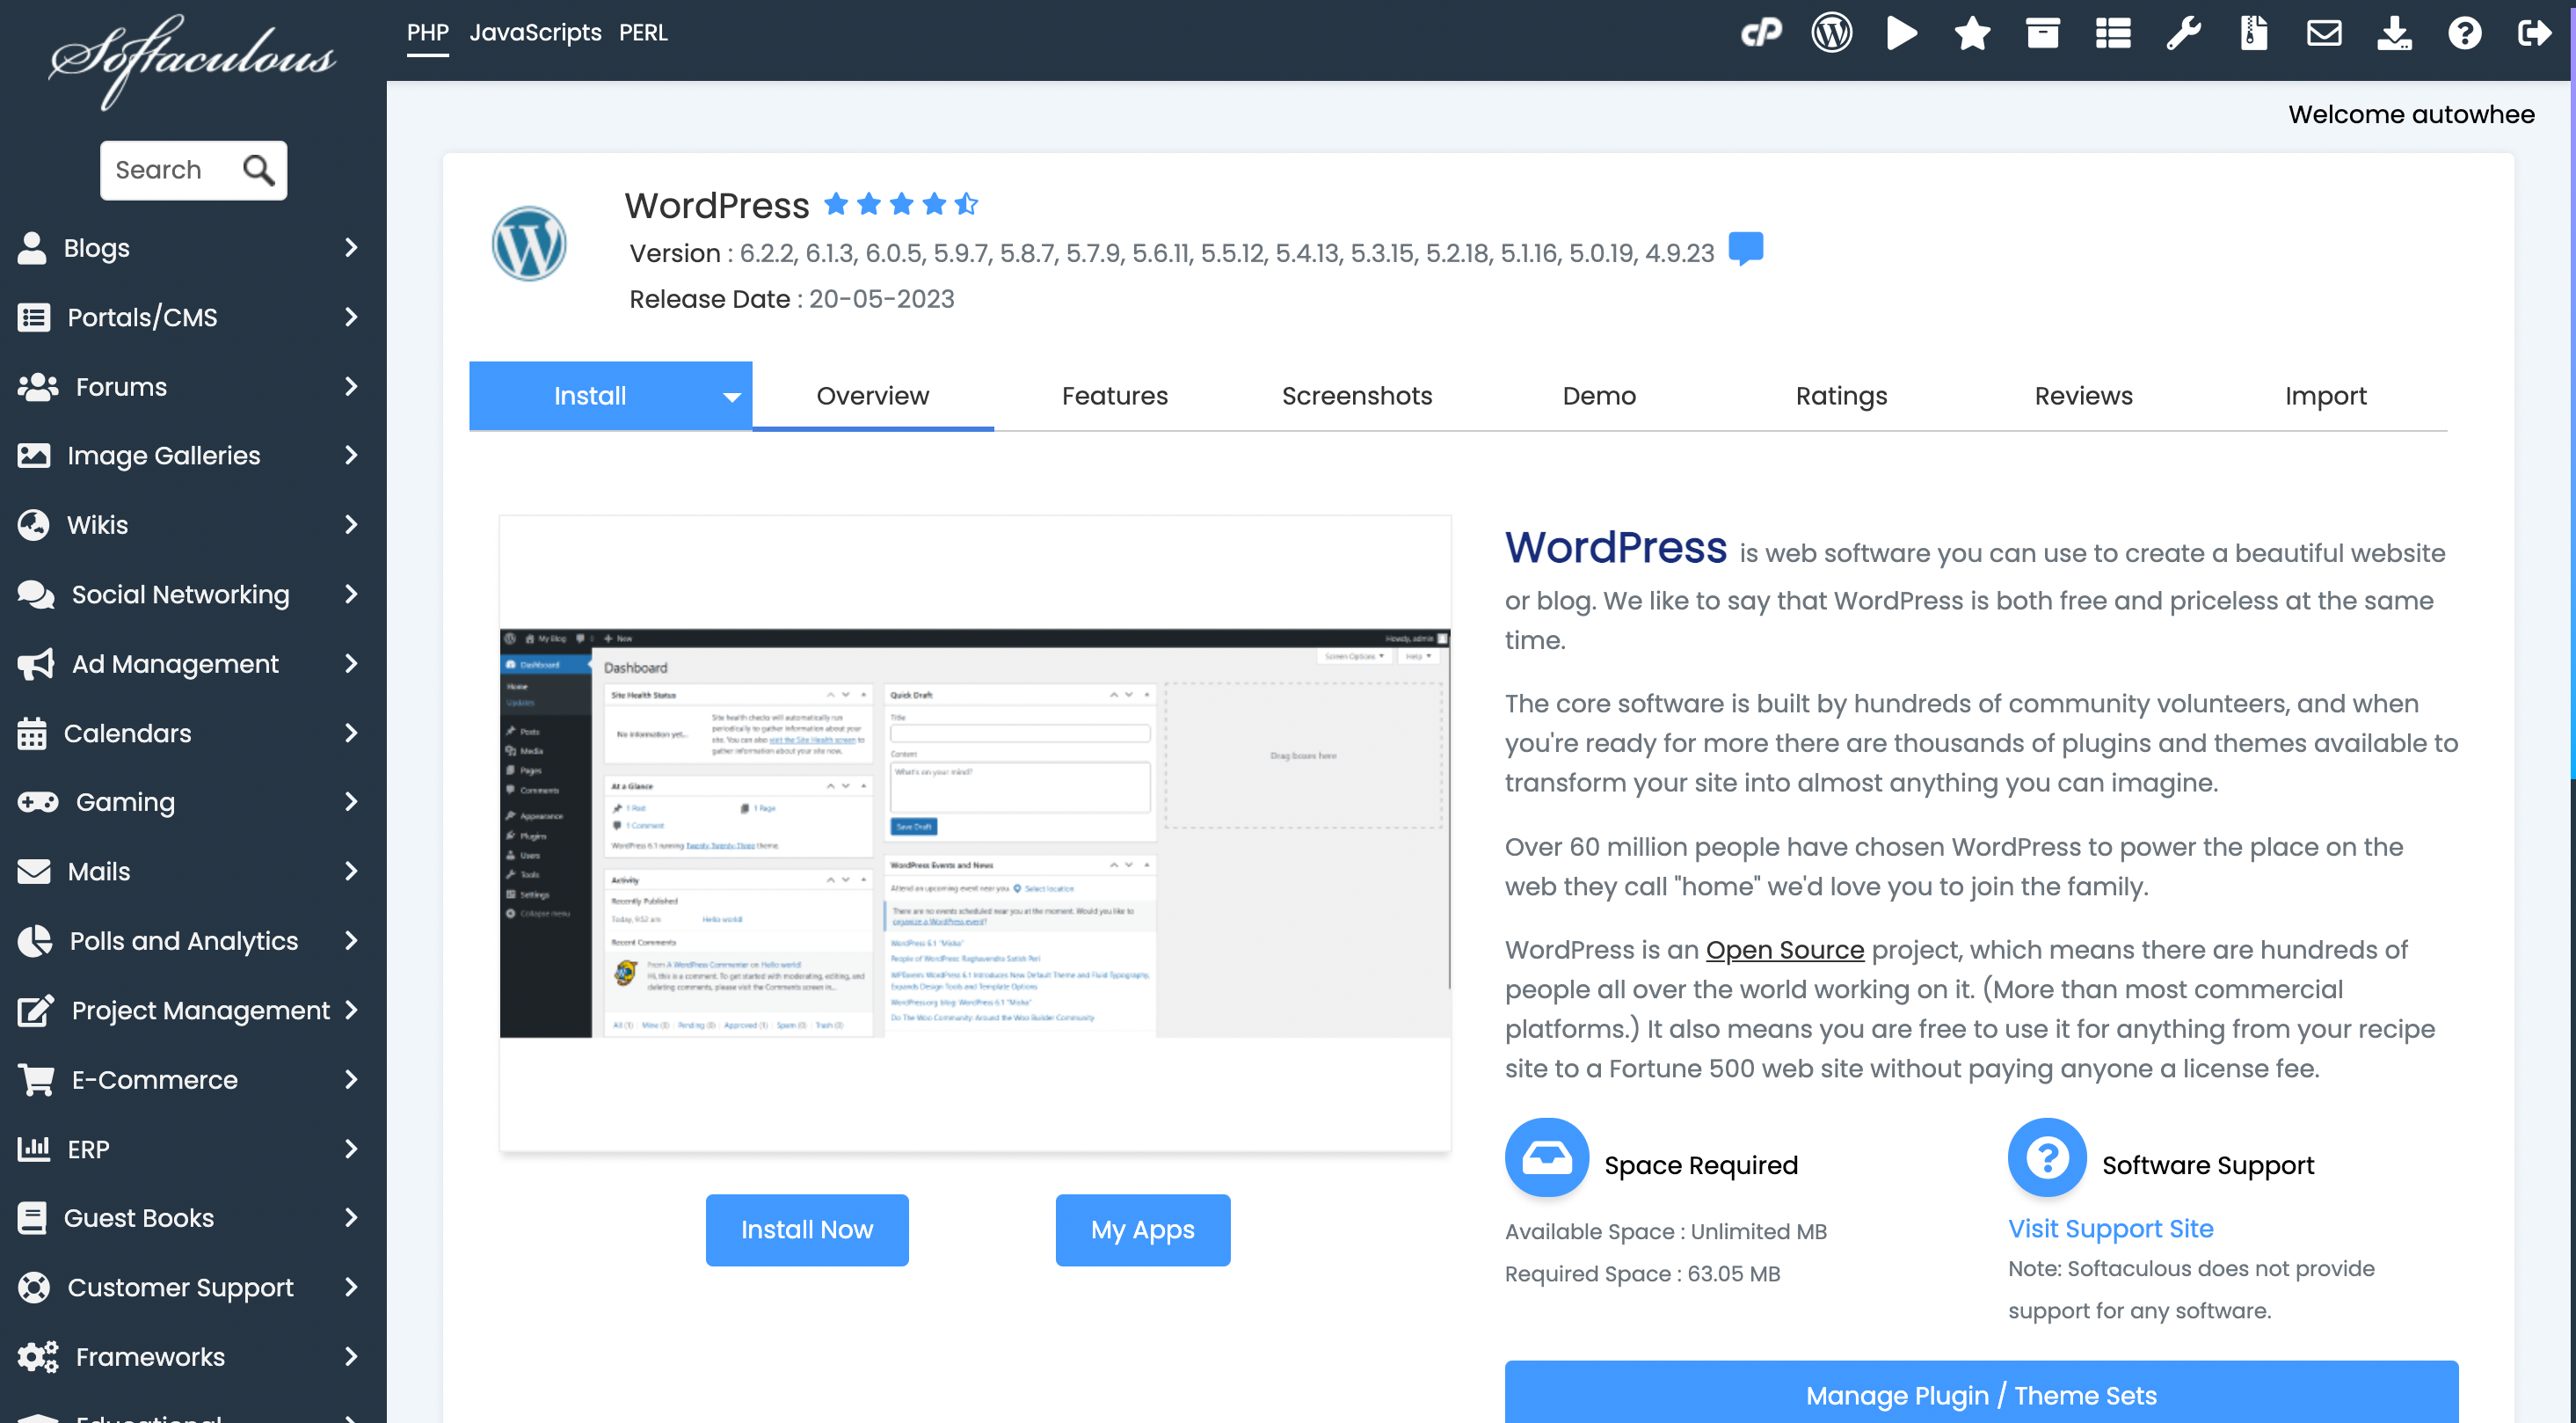
5. WordPress
Now, click on the highlighted “Install” button.

6. Install
Likewise, when you click the “Install” button, you will be redirected to a page like below.
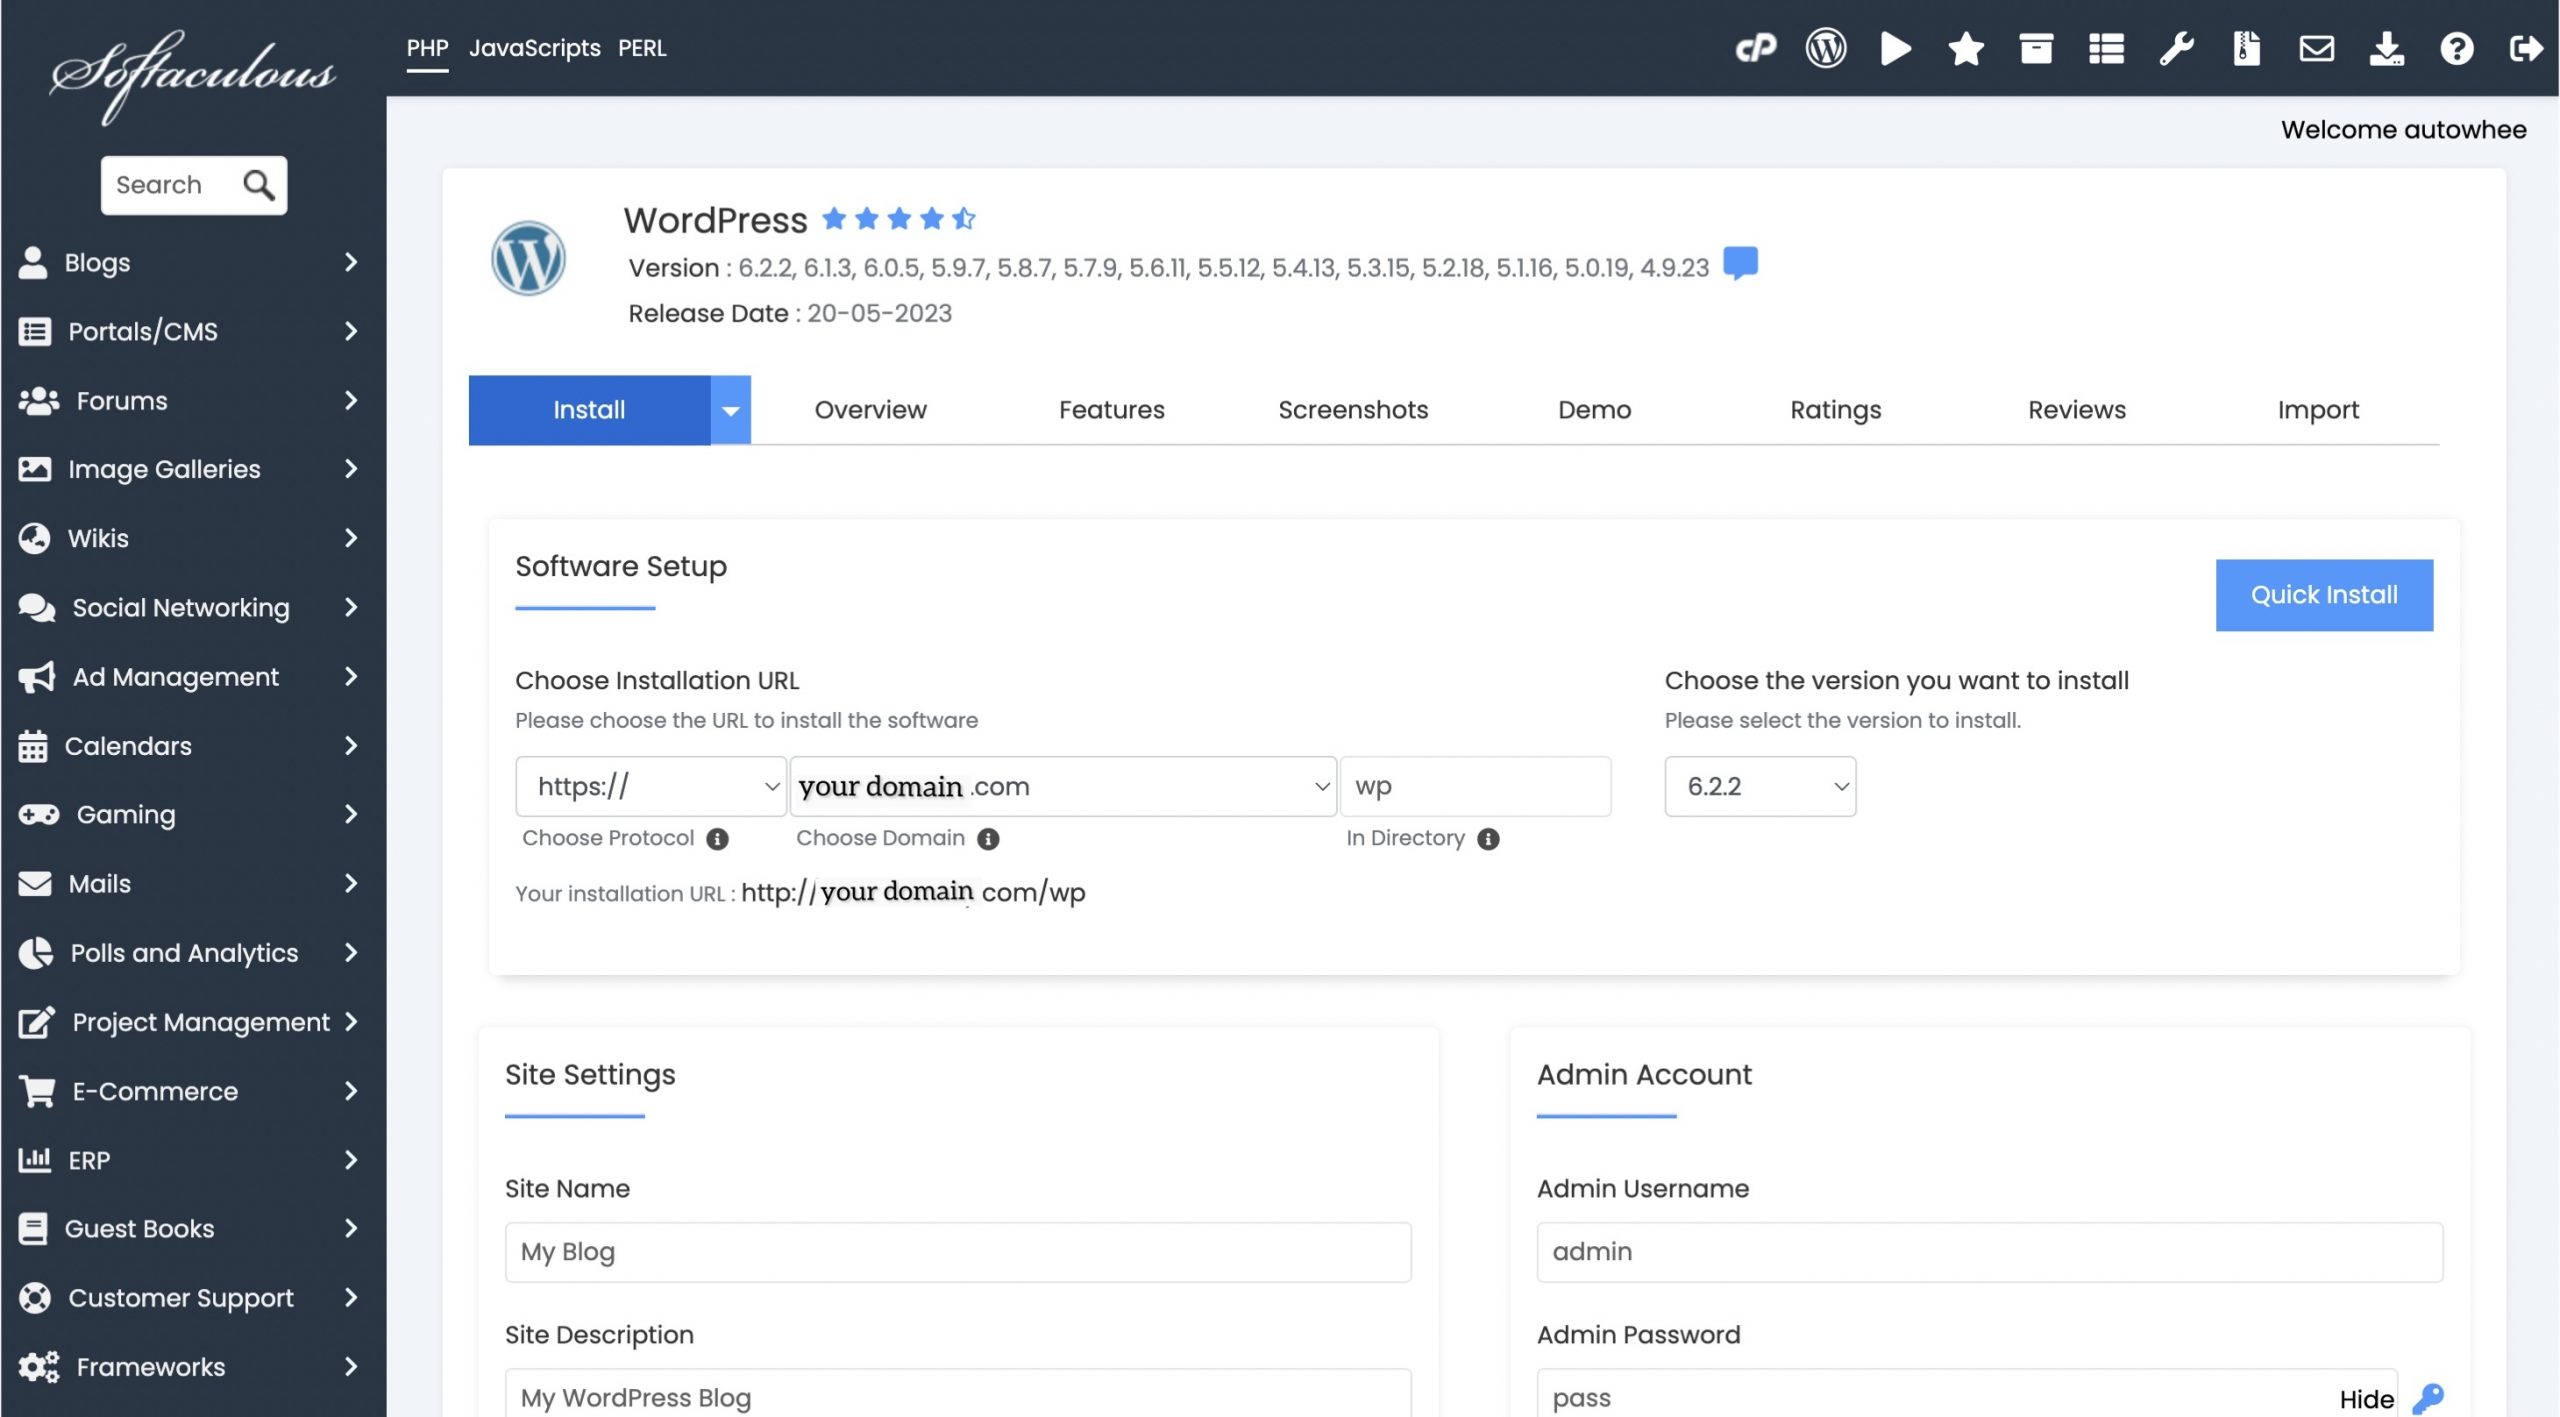
7. Fill the necessary fields
Similarly, if you scroll down, you will see that you can edit the credentials. Most of the credentials are already filled in for you. If you want to change the placeholders, you can enter them as you want.
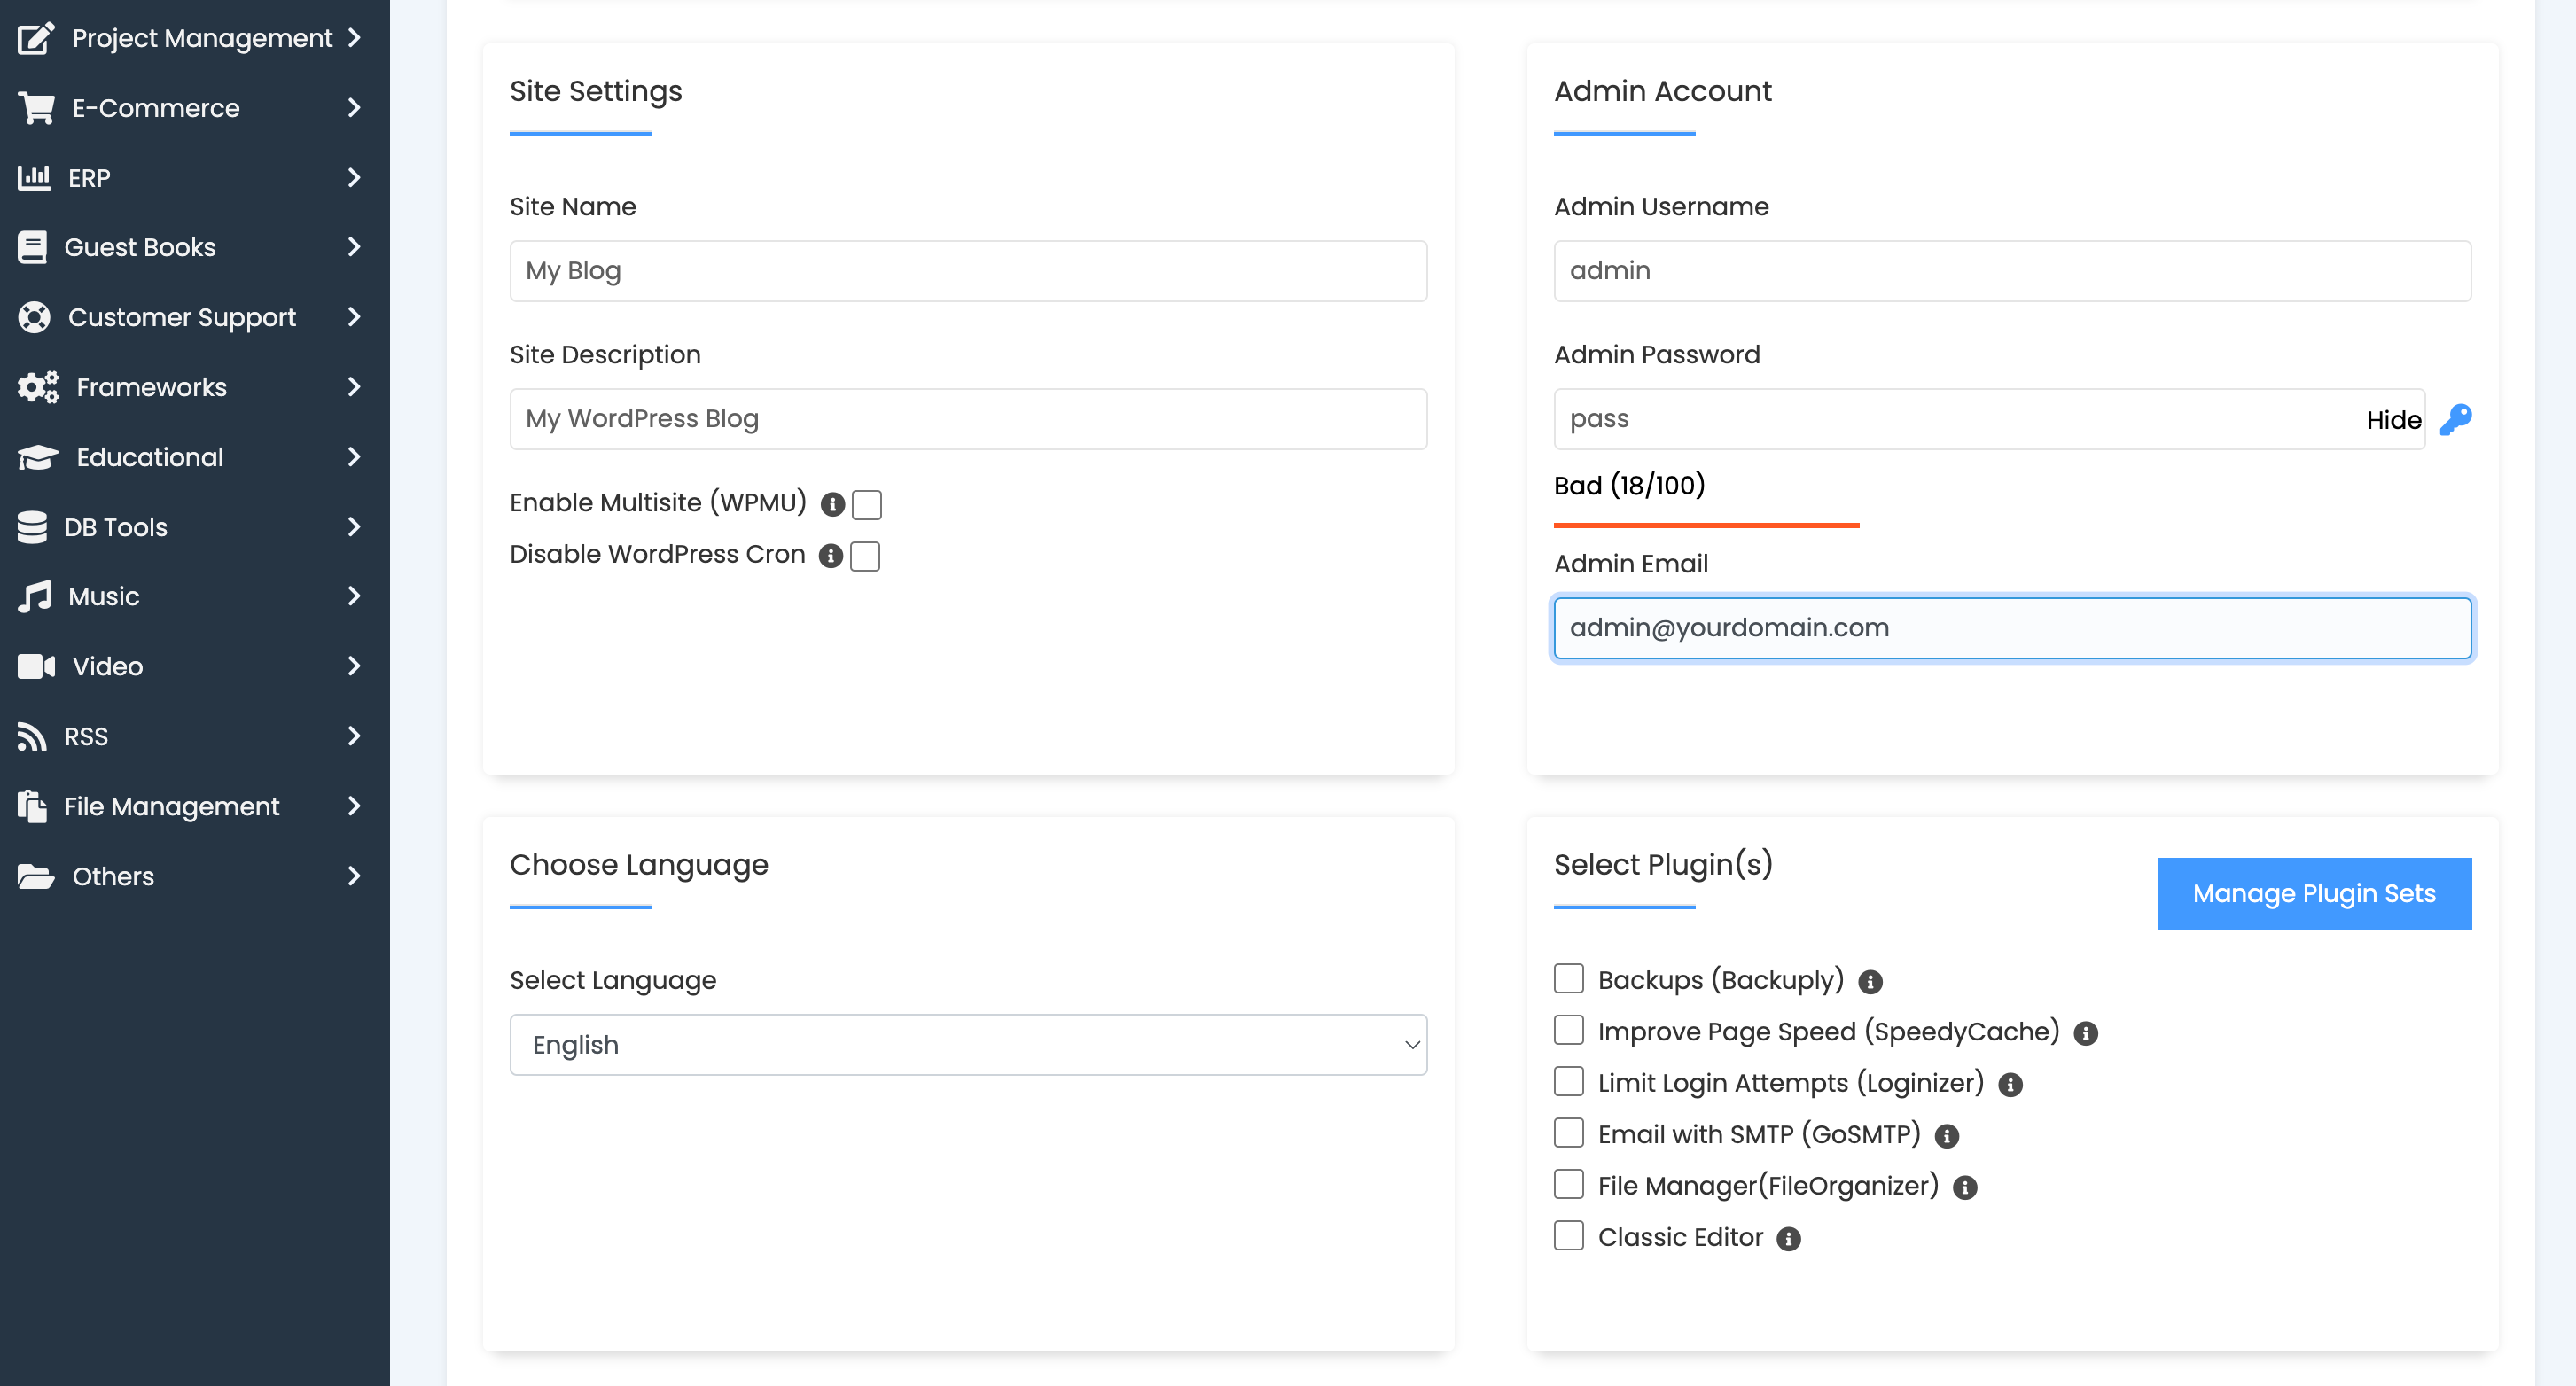
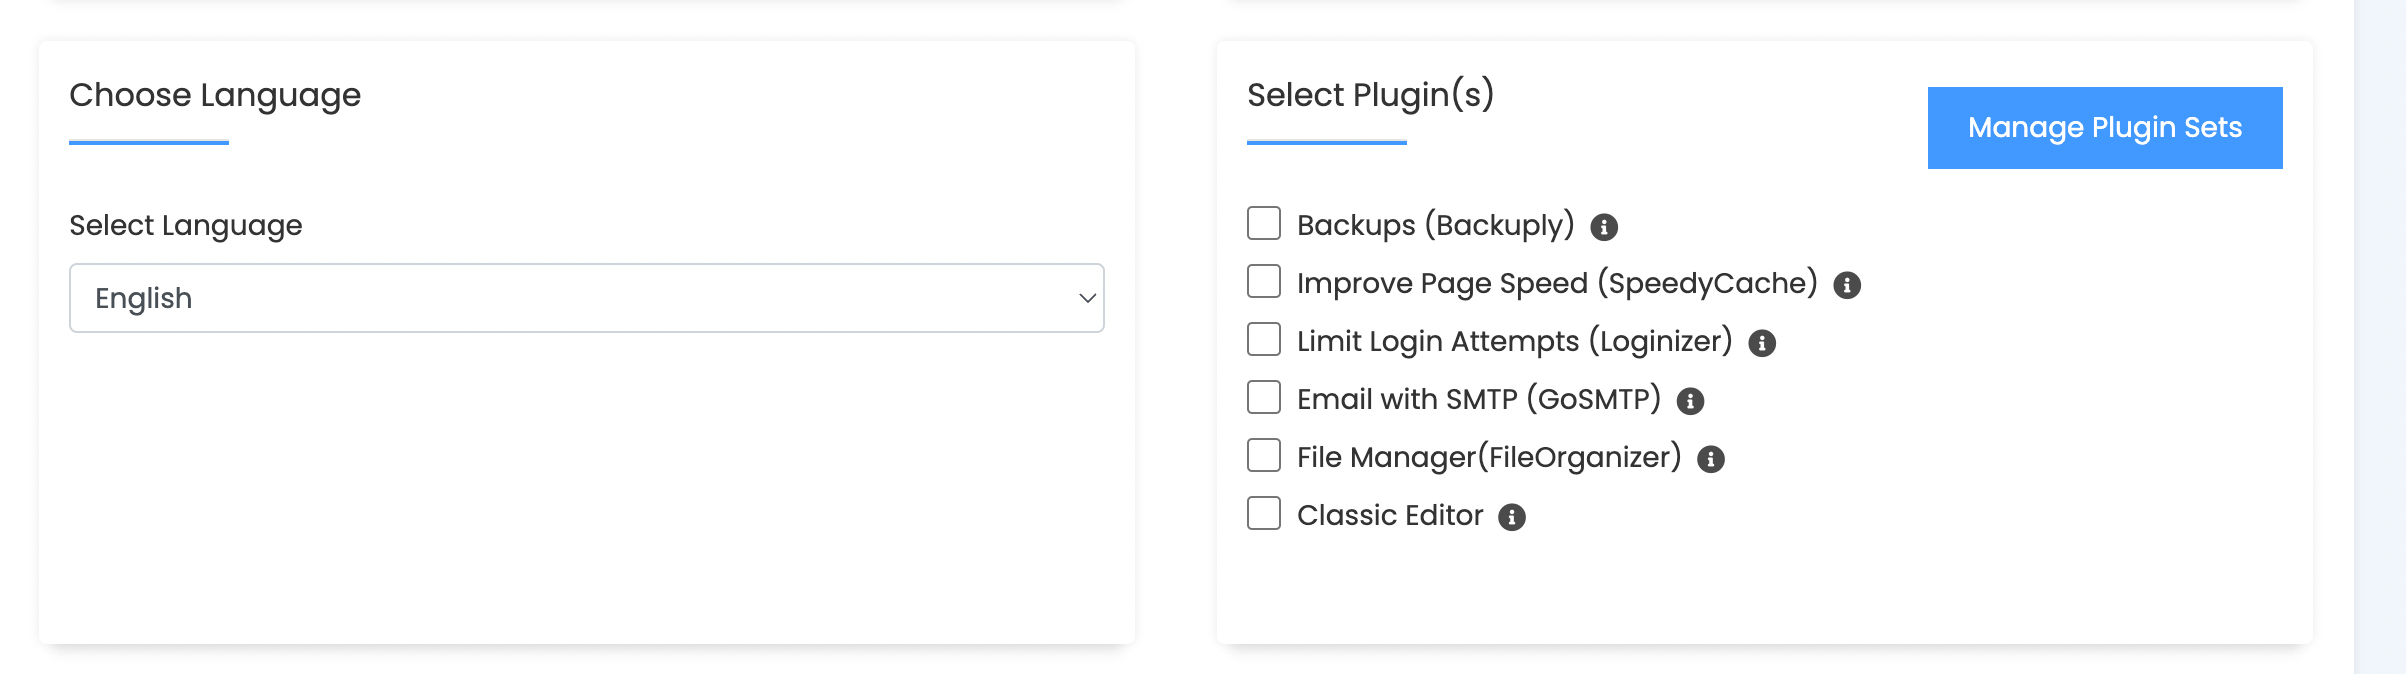
8. Plugins and Themes
Likewise, you can see the sections about the language, plugins, and advanced options if you go down. You will not need to worry about any of these. Leave them as they are.
9. Temporary Default Theme
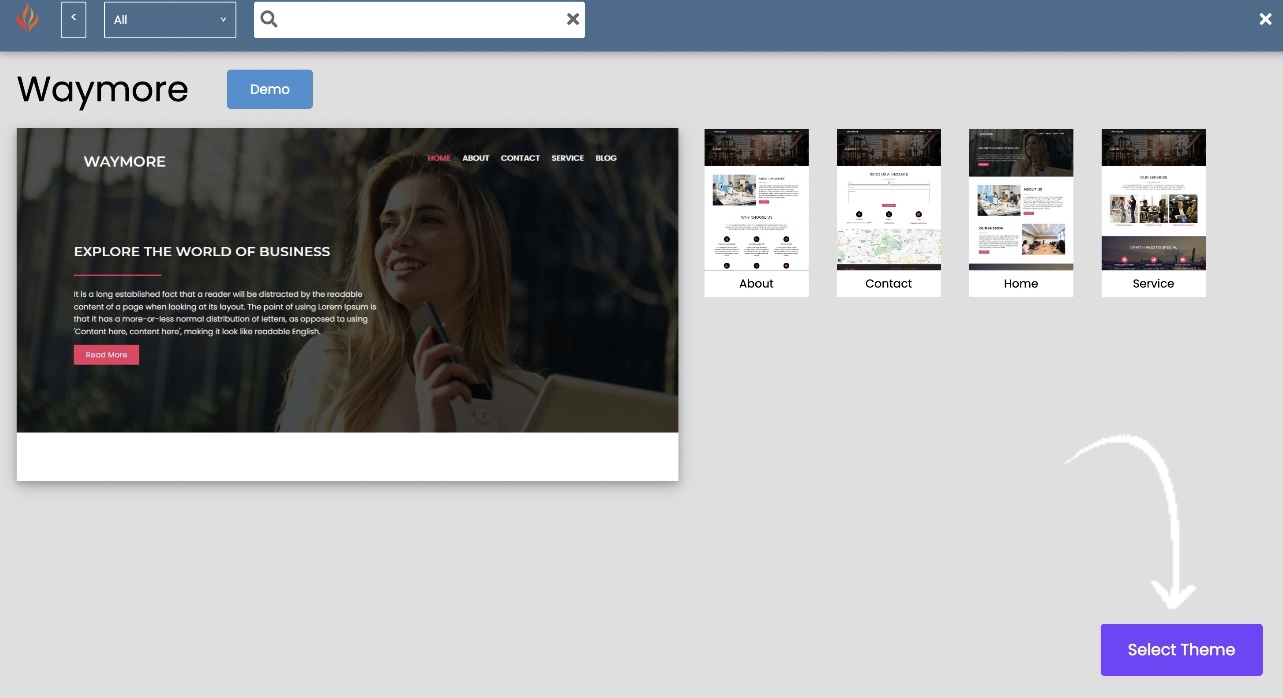
The page will now ask you to choose the theme you want your website to follow. Click on one of them.
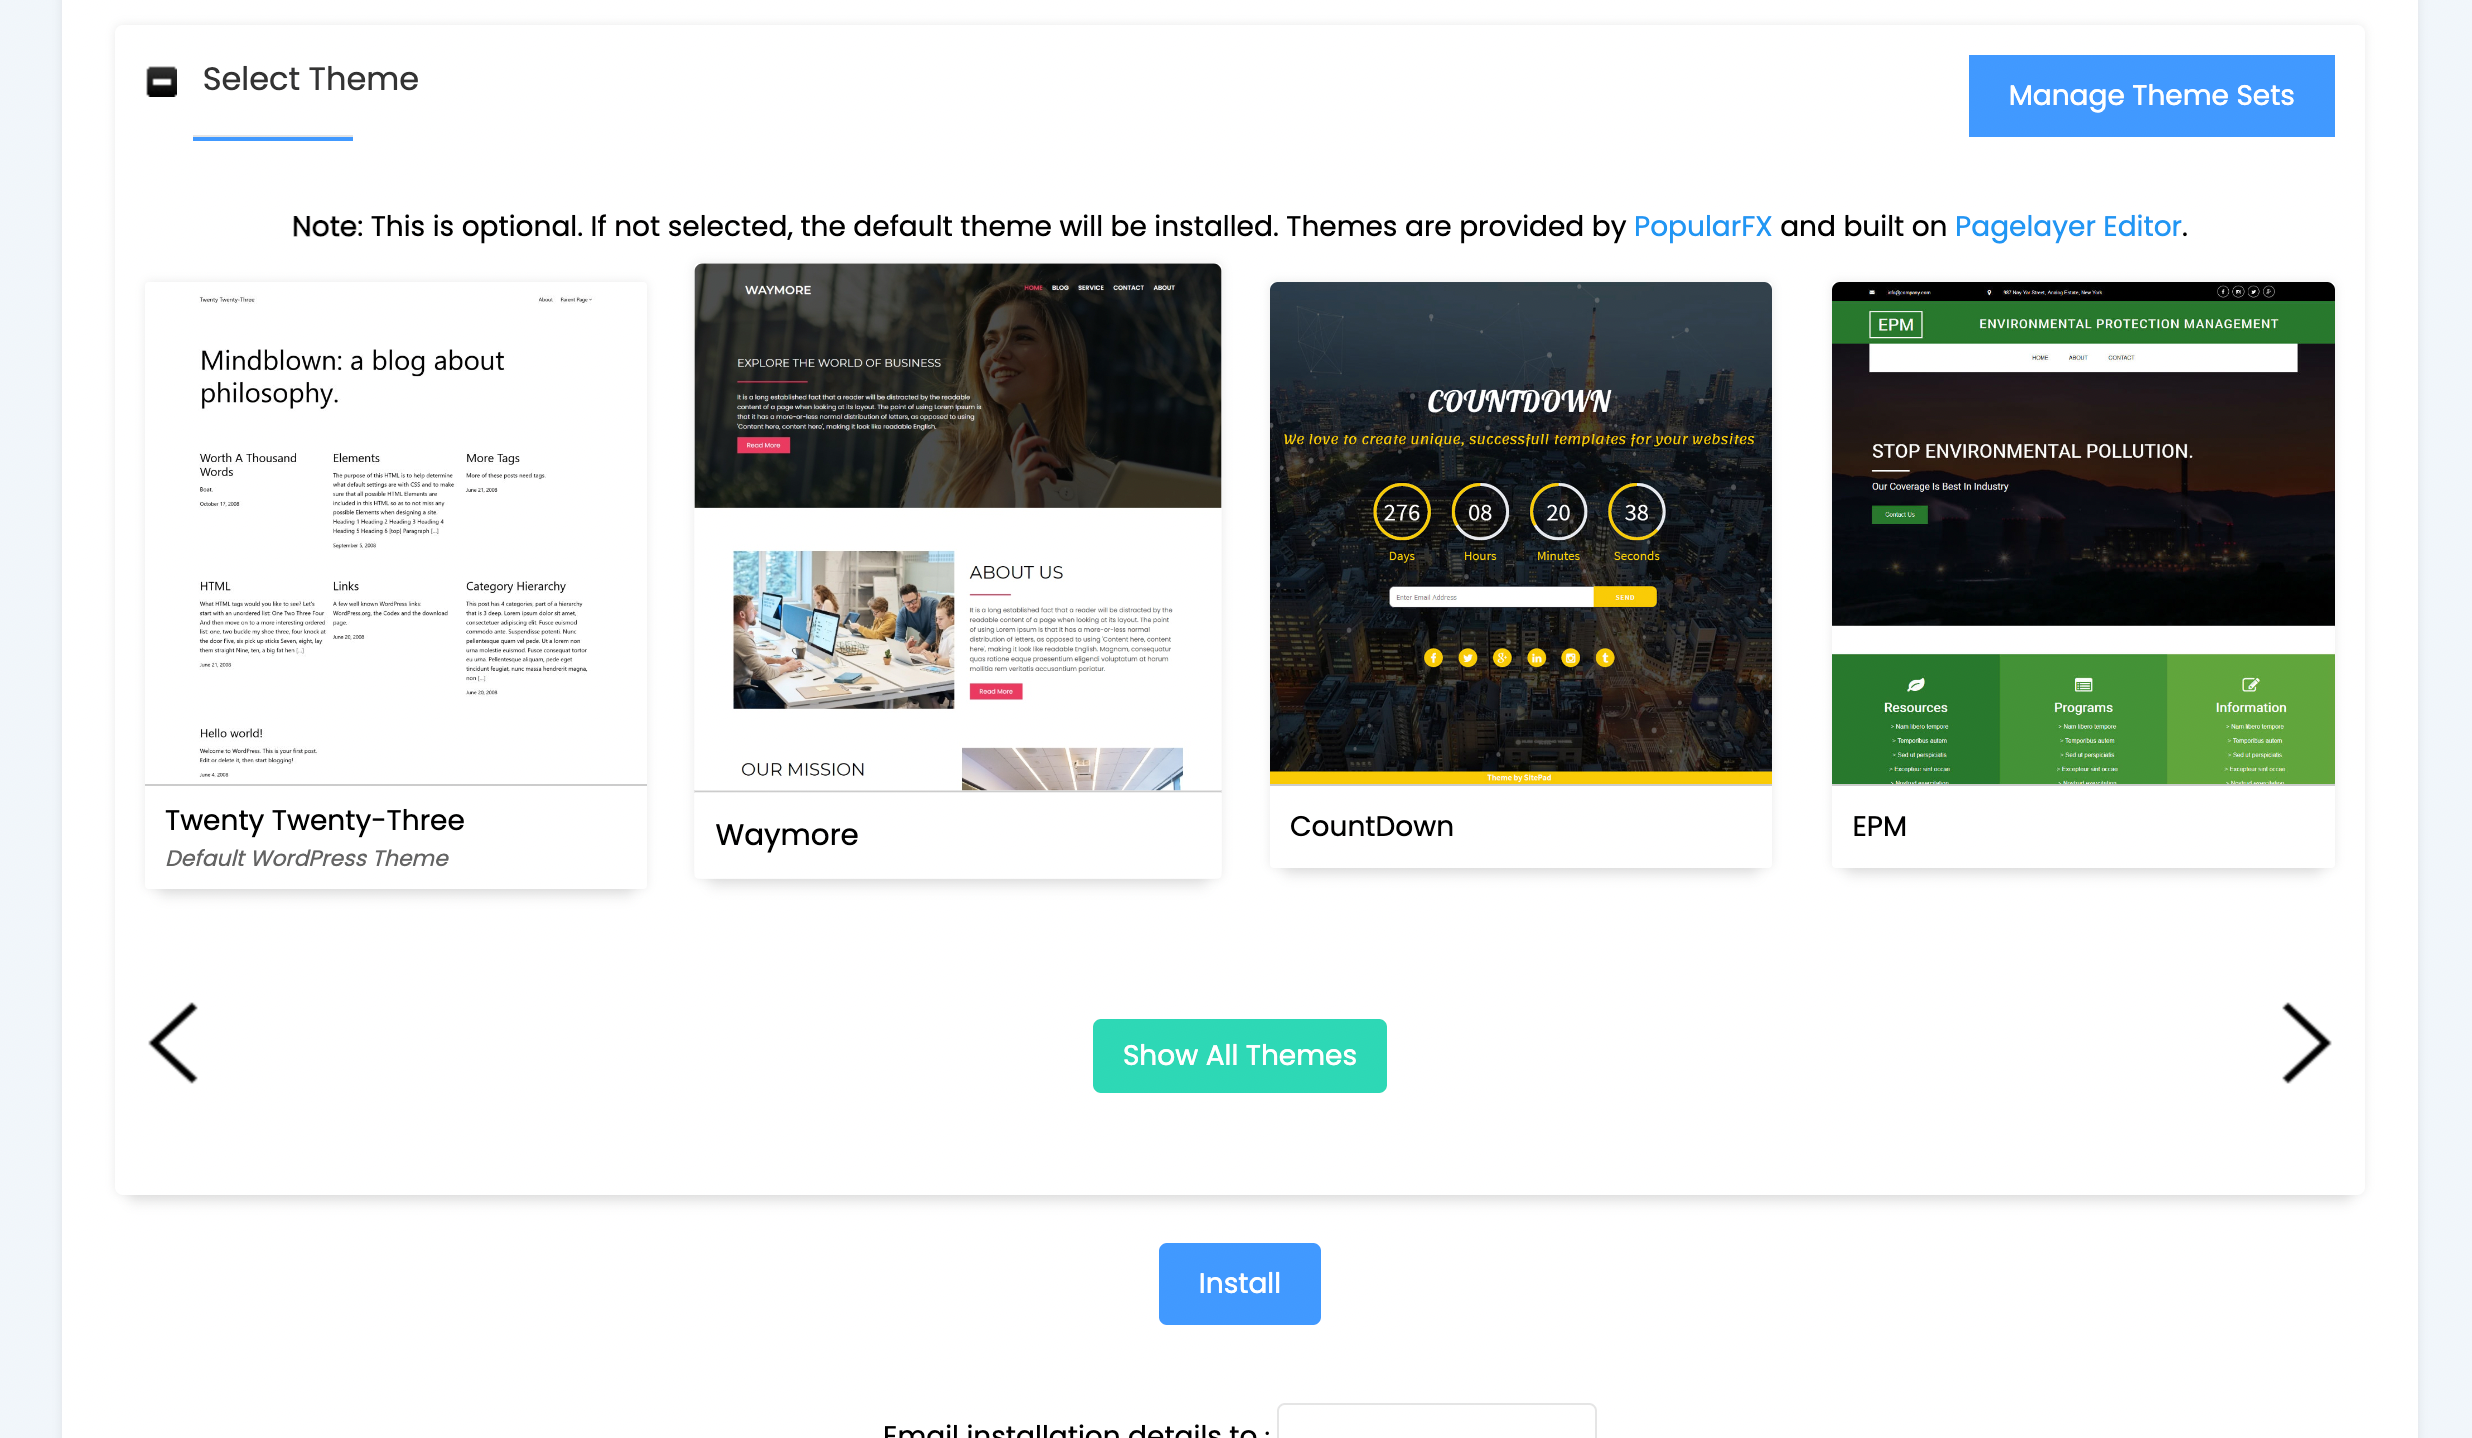
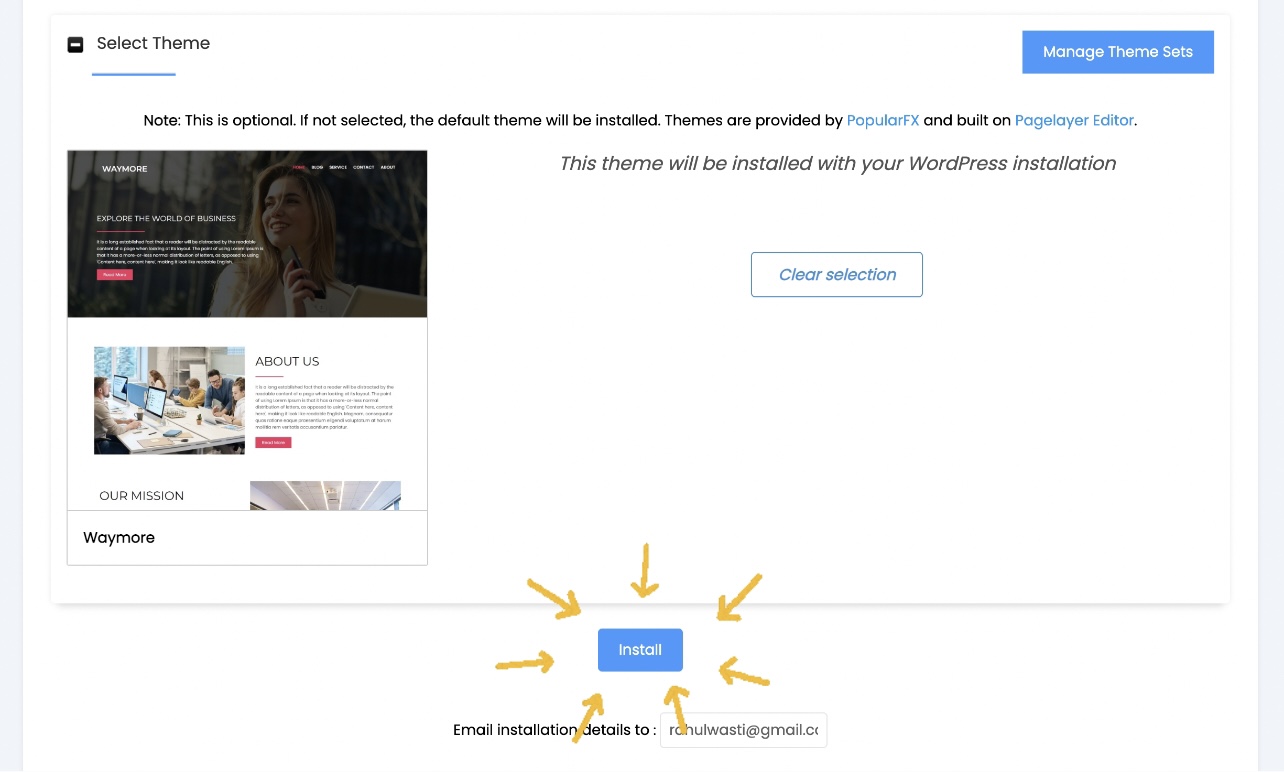
10. Select the Theme
After that, you can see the theme settings page and click the select theme button.
11. Copyright Alert of Images
You will get a copyright alert. However, we can ignore this as we are just learning and not building a commercial site.

12. Installation Detail Email
You can now enter the email in which the credentials need to be sent, and WordPress installation will start.
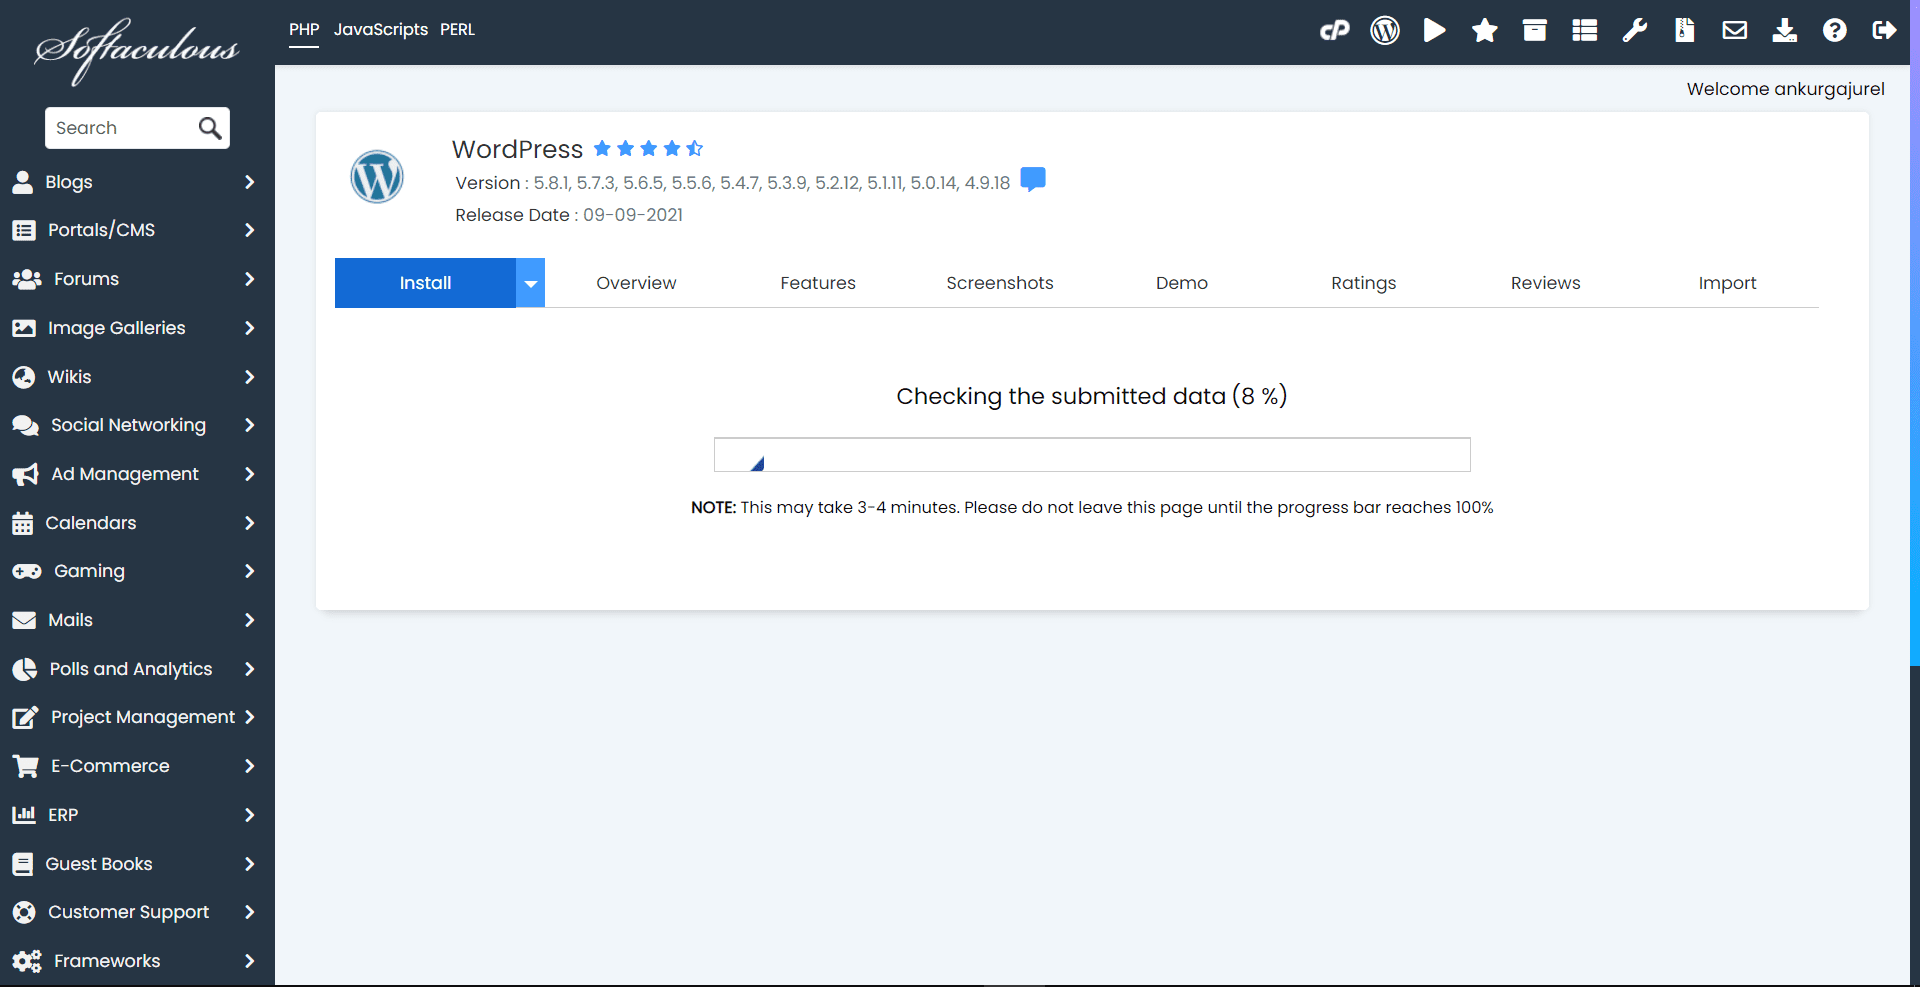
13. Wait for some moment
Softaculus will complete the installation in a minute, and you can click the wp-admin link and log in to your WordPress.
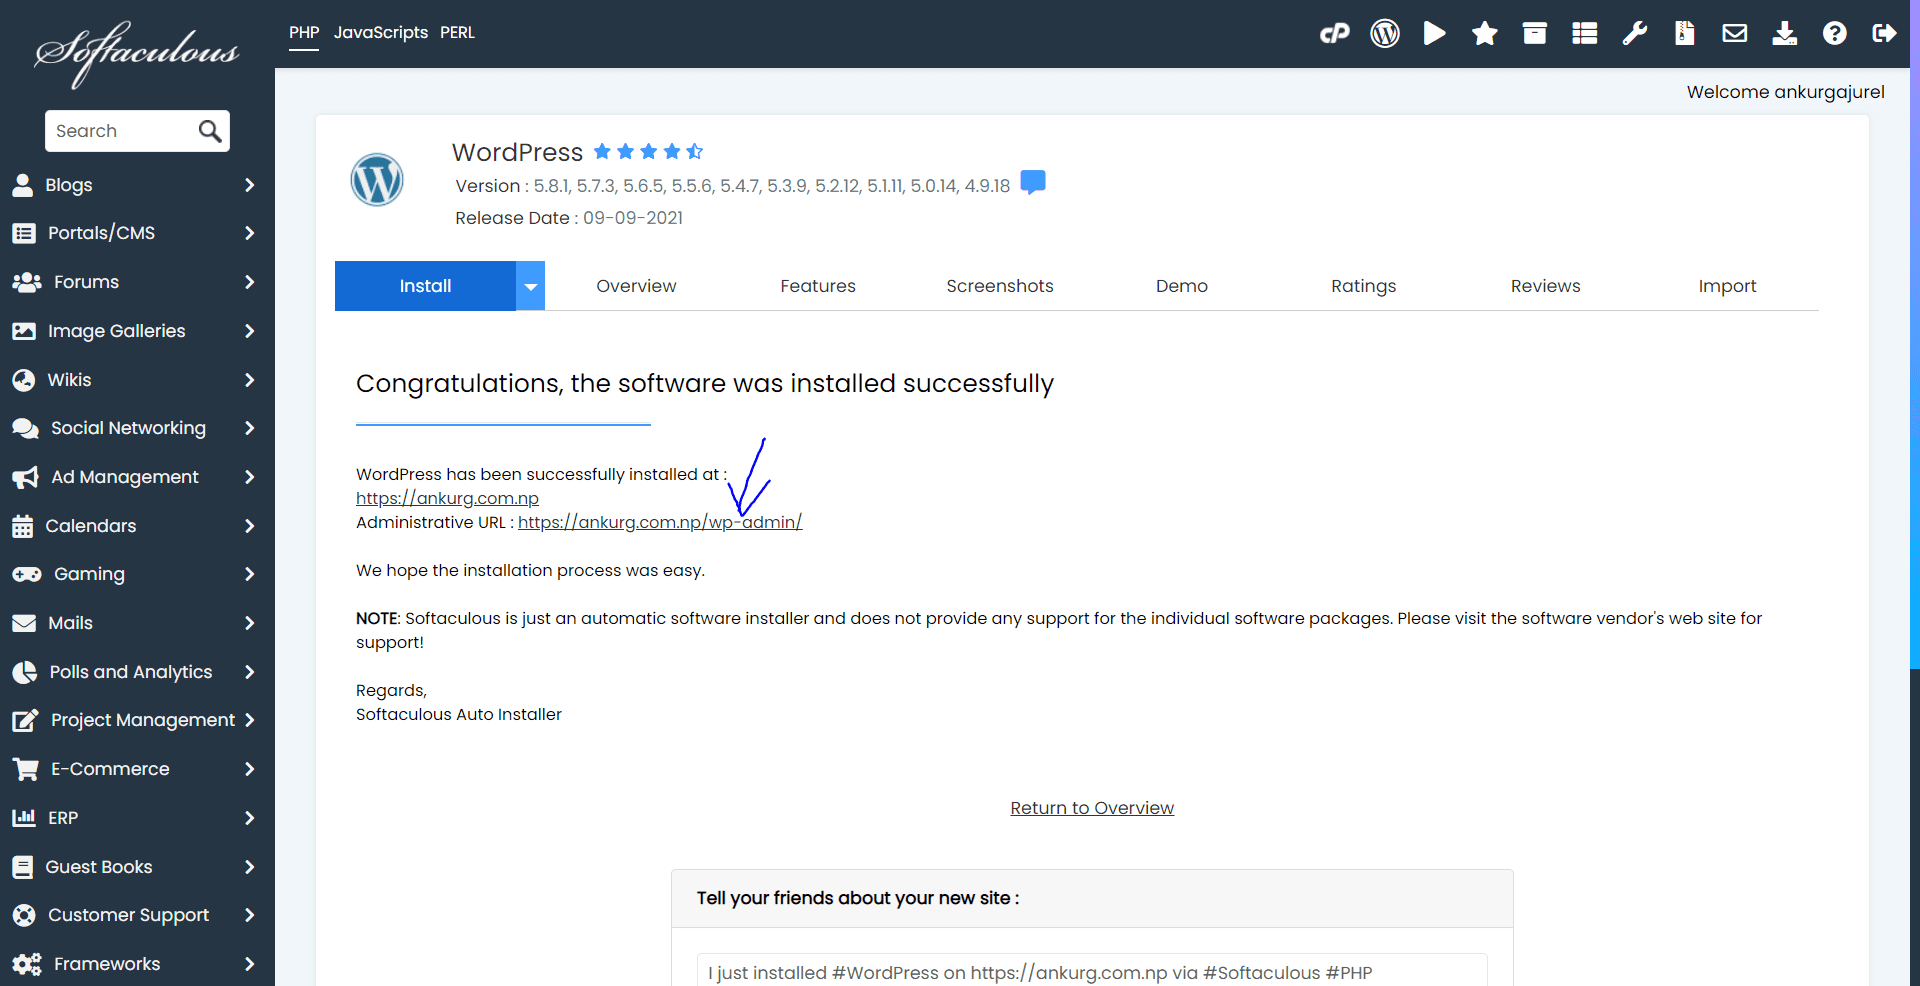
Kudos! You have completed the installation process of the WordPress website with cPanel. See! Wasn’t that easy? Look around Nest Nepal for more educational content.
Ceck this blog out, if you want to learn more about creating subdomain in cpanel.
You can also follow us on Facebook
Frequently Asked Questions(FAQ)
What is cPanel?
cPanel is a web hosting control panel that offers a graphical interface and tools for managing your website and hosting account.
How do I customize my wordpress website?
To customize your WordPress website you need to follow these steps:
1) Go to WordPress Dashboard.
2) Search for Appearance and Click on it.
3) You can see Multiple Options then, click on Themes.
4) Now, you can see Add New on side of Themes.
5) Search for Themes and download it.
How do I make my Website SEO friendly?
To make your website for SEO friendly, follow these steps:
1) Use an SEO plugin such as Yoast SEO or Rank Math.
2) Use relevant keywords, meta tags, and informative headings to optimize your material.
3) Using Tools like Google Search Console, create an XML sitemap and submit it to search engines.
How do I get cPanel?
cPanel is usually given by your web hosting company. When you sign up for a hosting plan, you should receive cPanel login information.