


In this blog, we will see how we can enable Litespeed in cPanel provided by Nest Nepal. The steps are straightforward, and you will not need to do any coding or scripting. Even a person from non-computer science background can conduct this installation.
5 Essential Steps To enable LiteSpeed in cPanel:
1. Open the link for cPanel given to you by Nest Nepal. This link will be sent to you by Nest Nepal in your email while creating an account at the company.
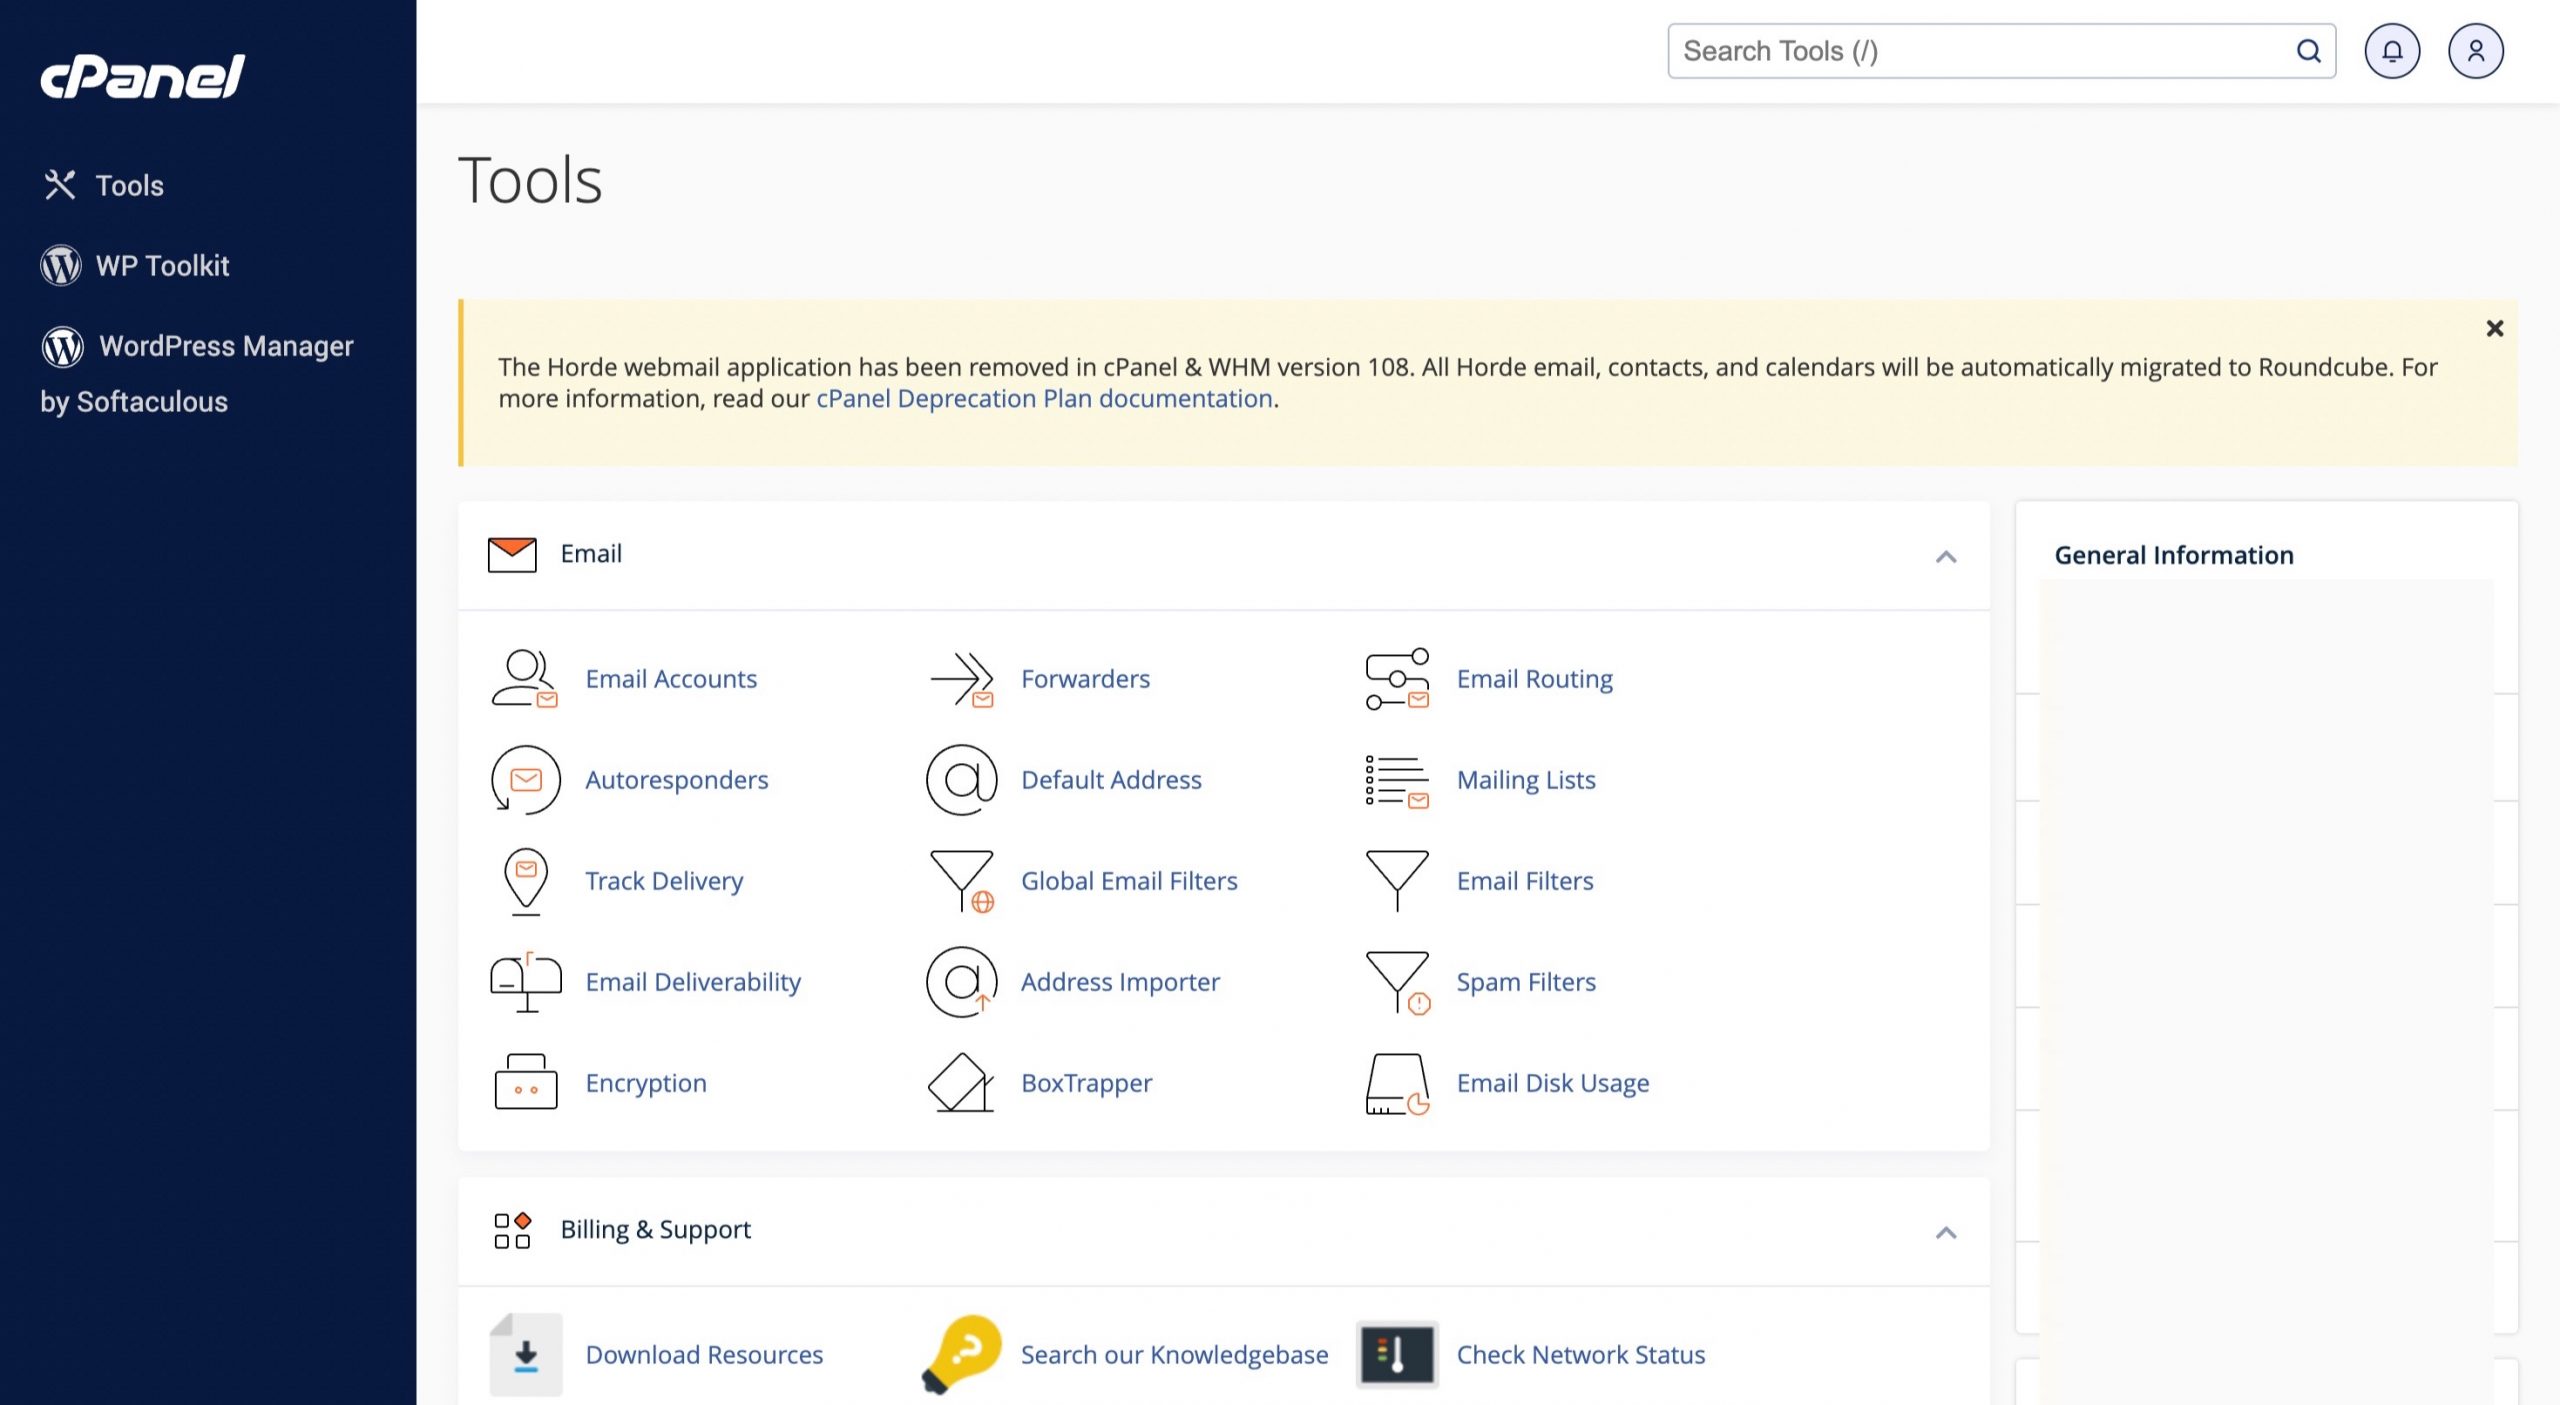
2. Once you log in, you will see the homepage of the cPanel. Here, scroll down to the “Advanced” section where you will see the “Litespeed Cache Manager” option. Click on it.
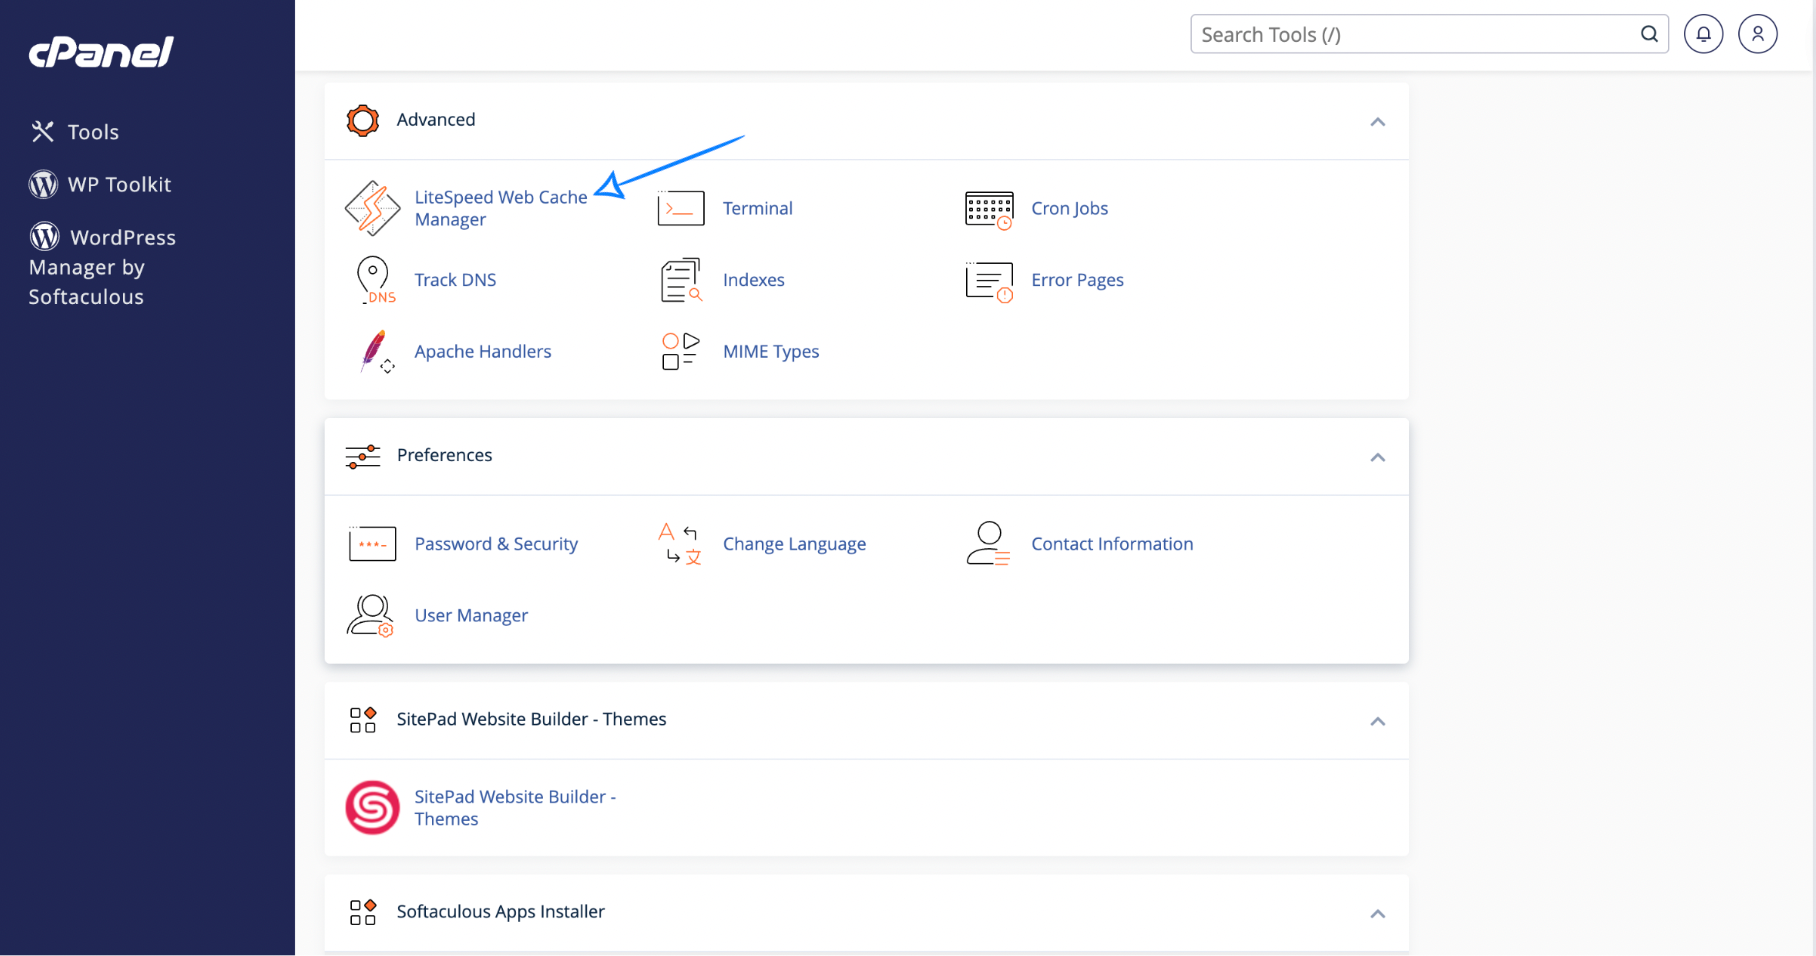
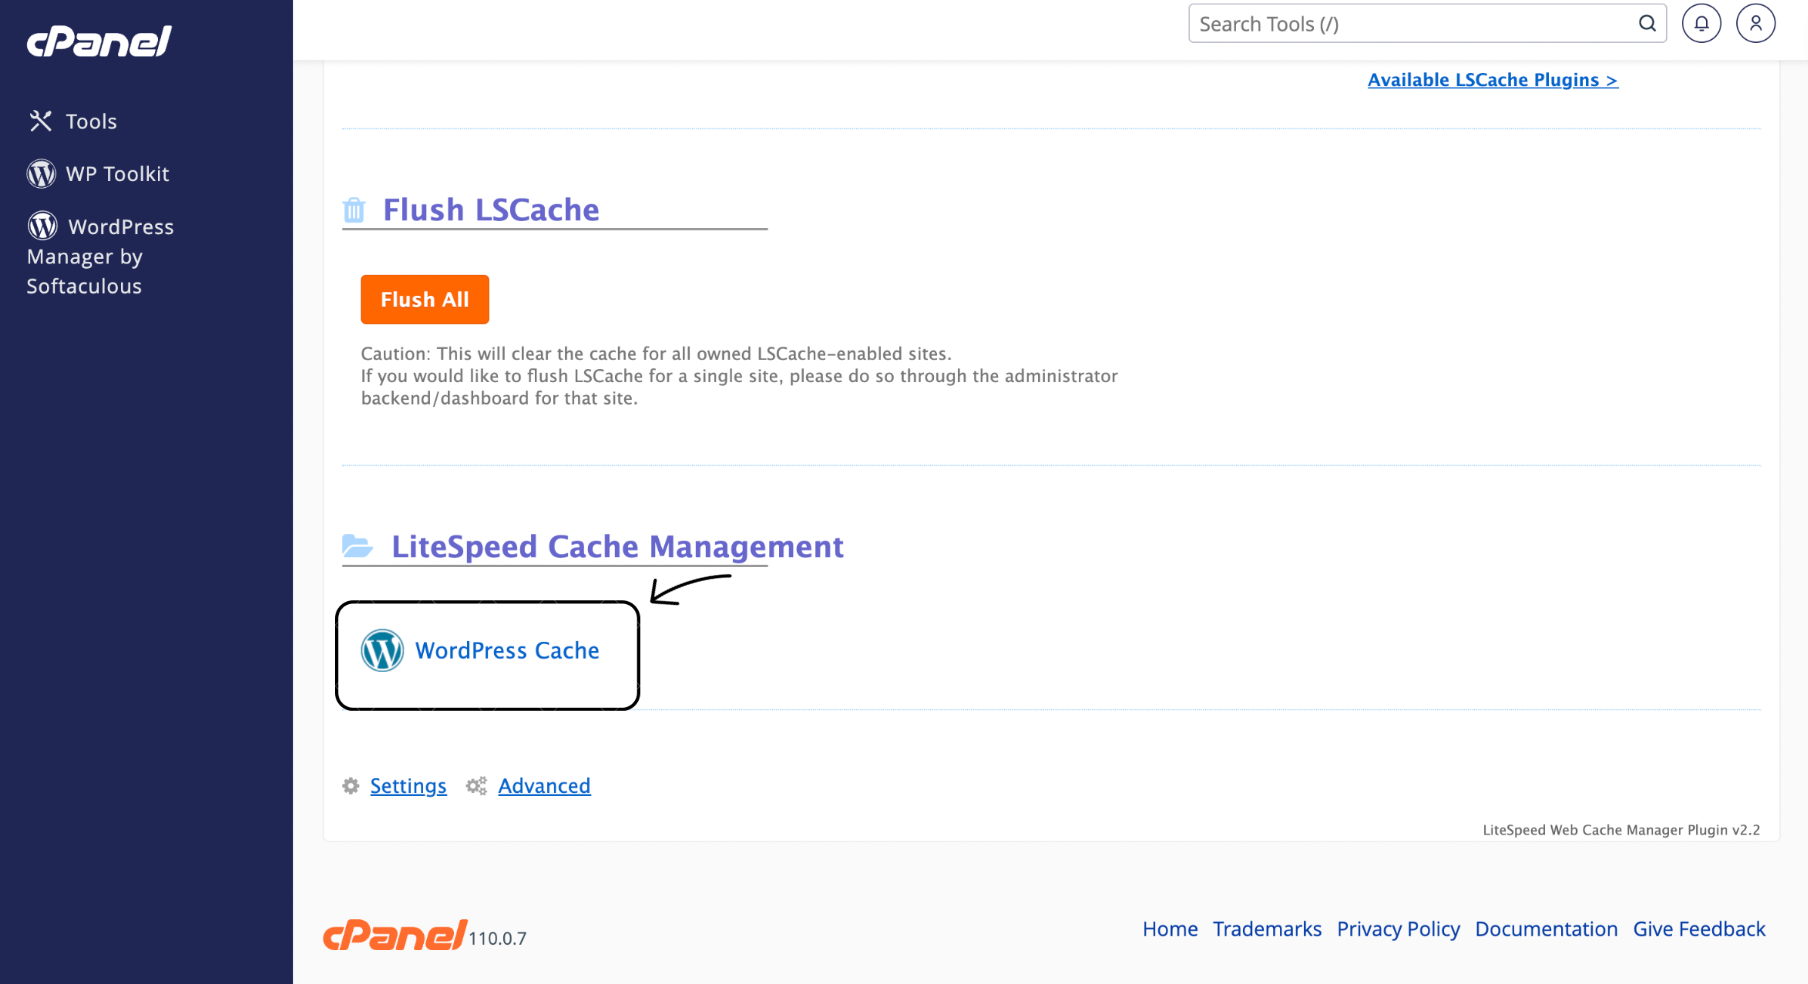
3. Now, you will see the Litespeed menu page. Scroll down and select “WordPress Cache”.
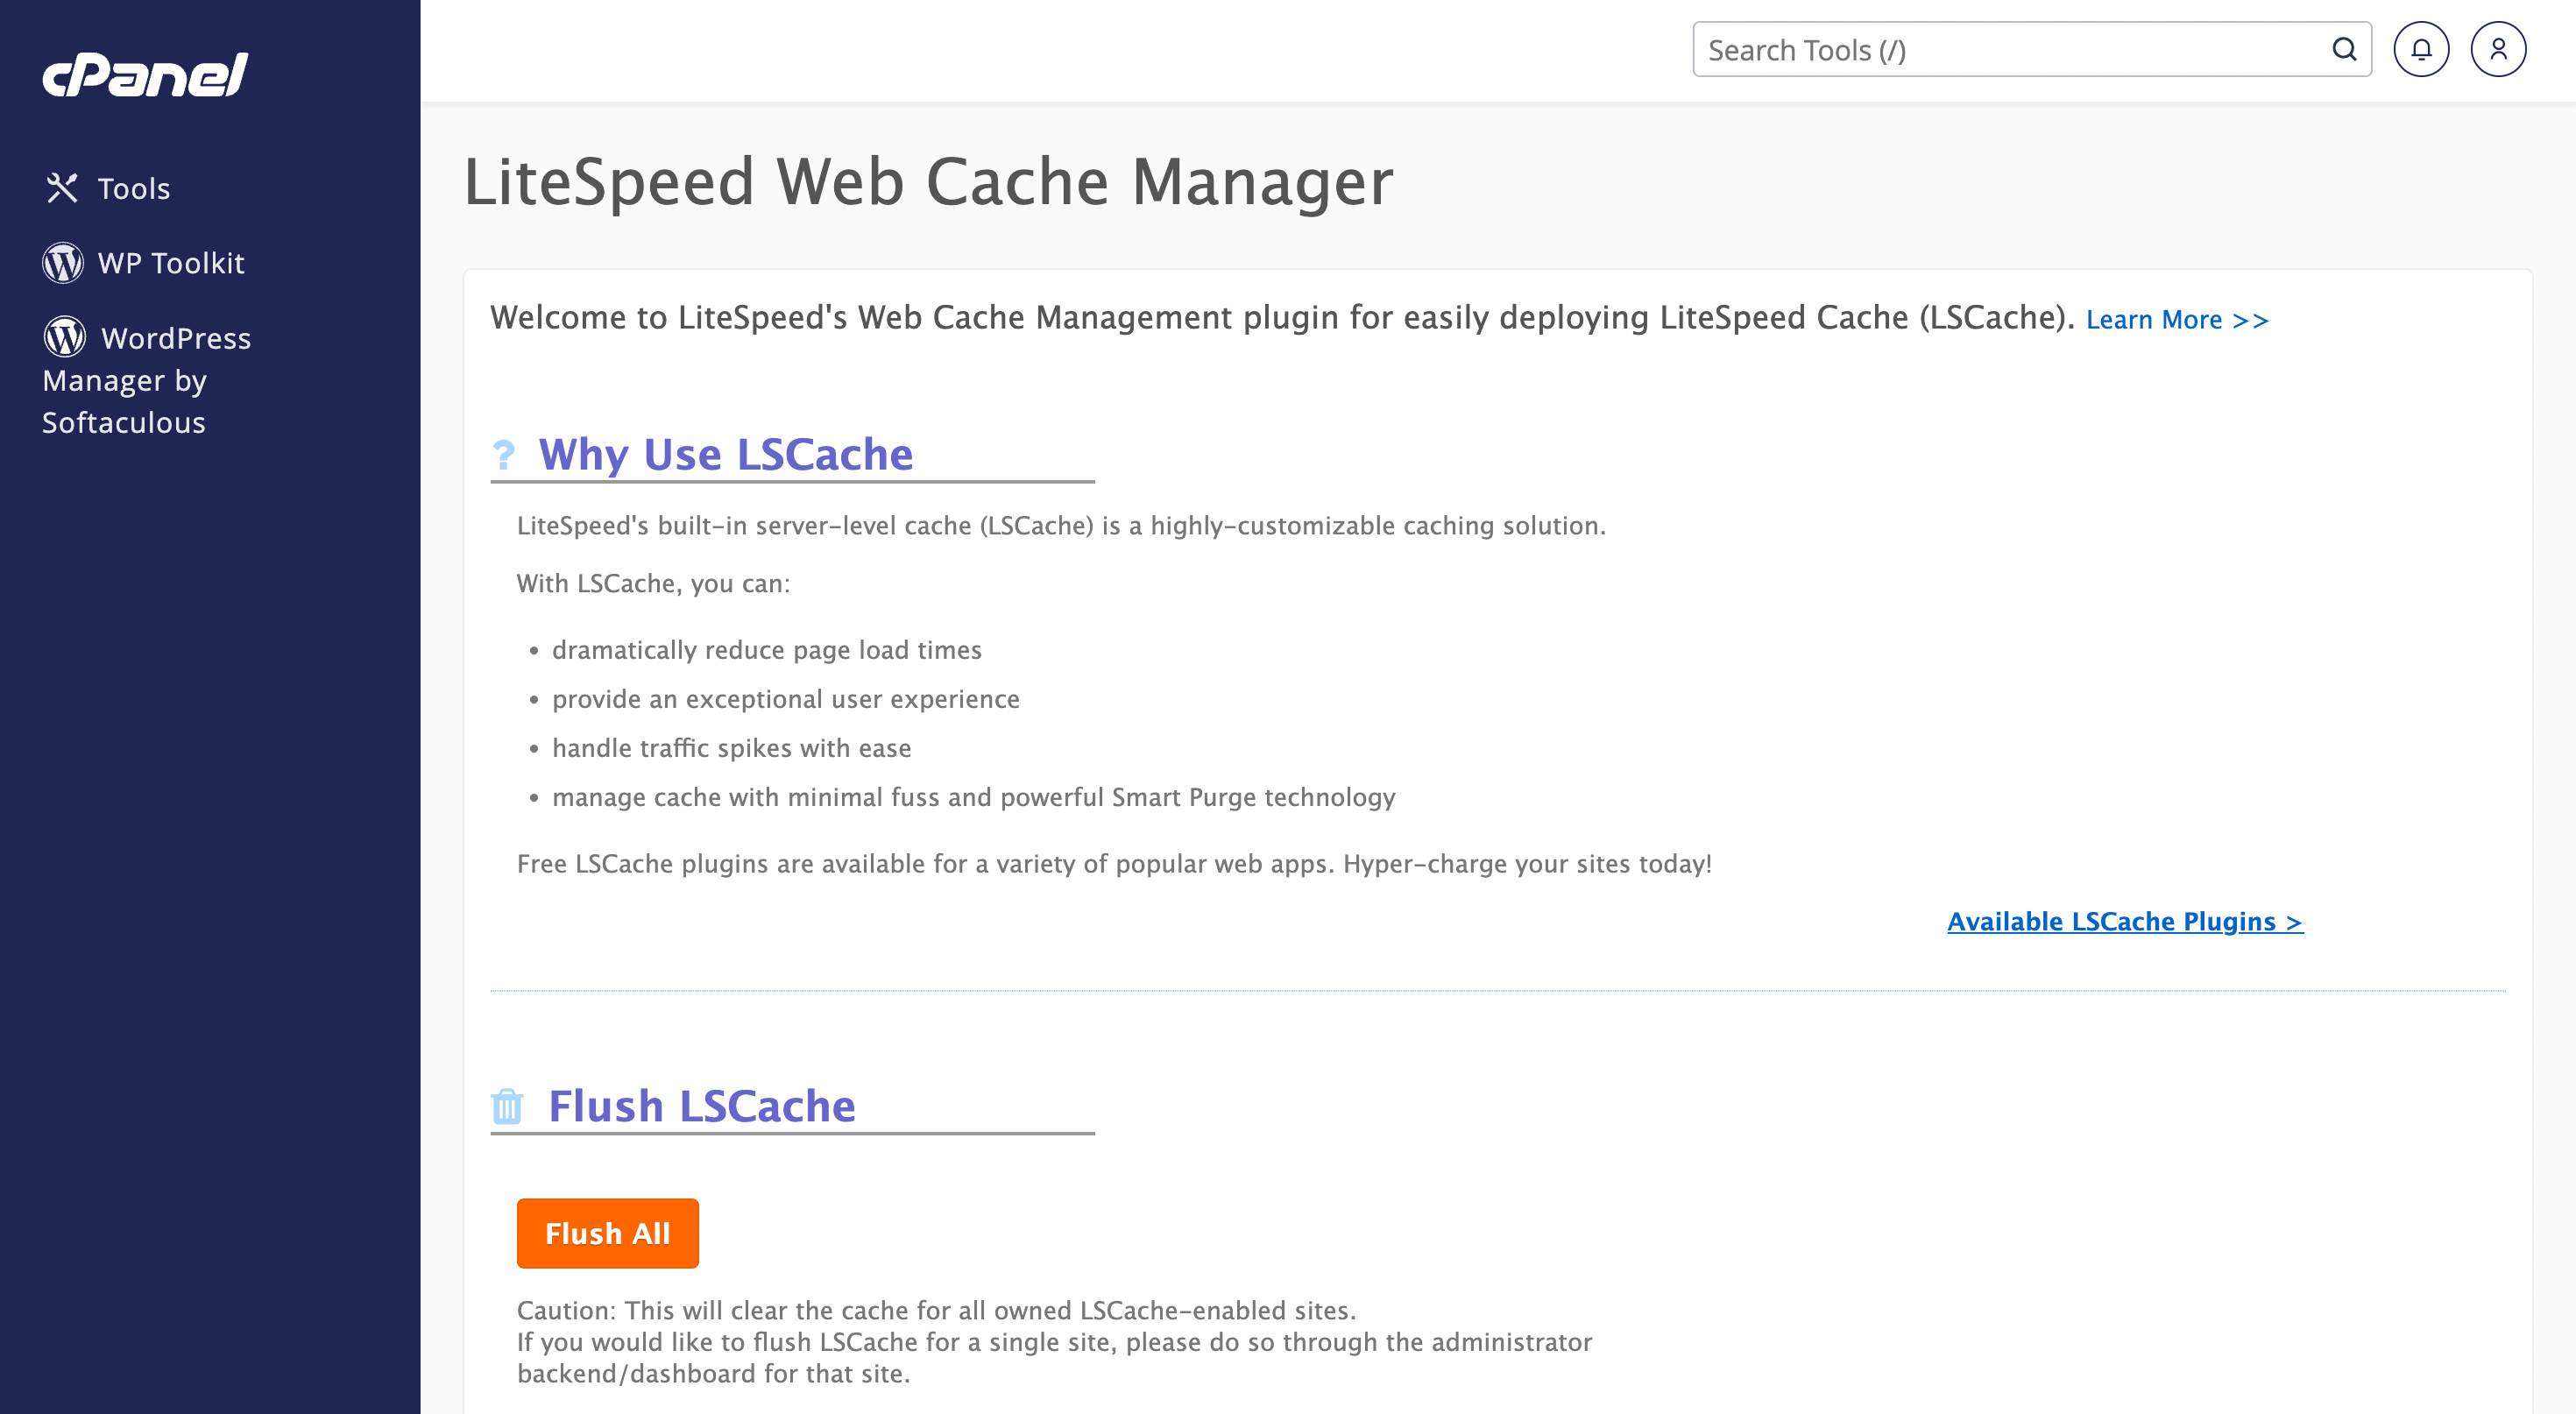
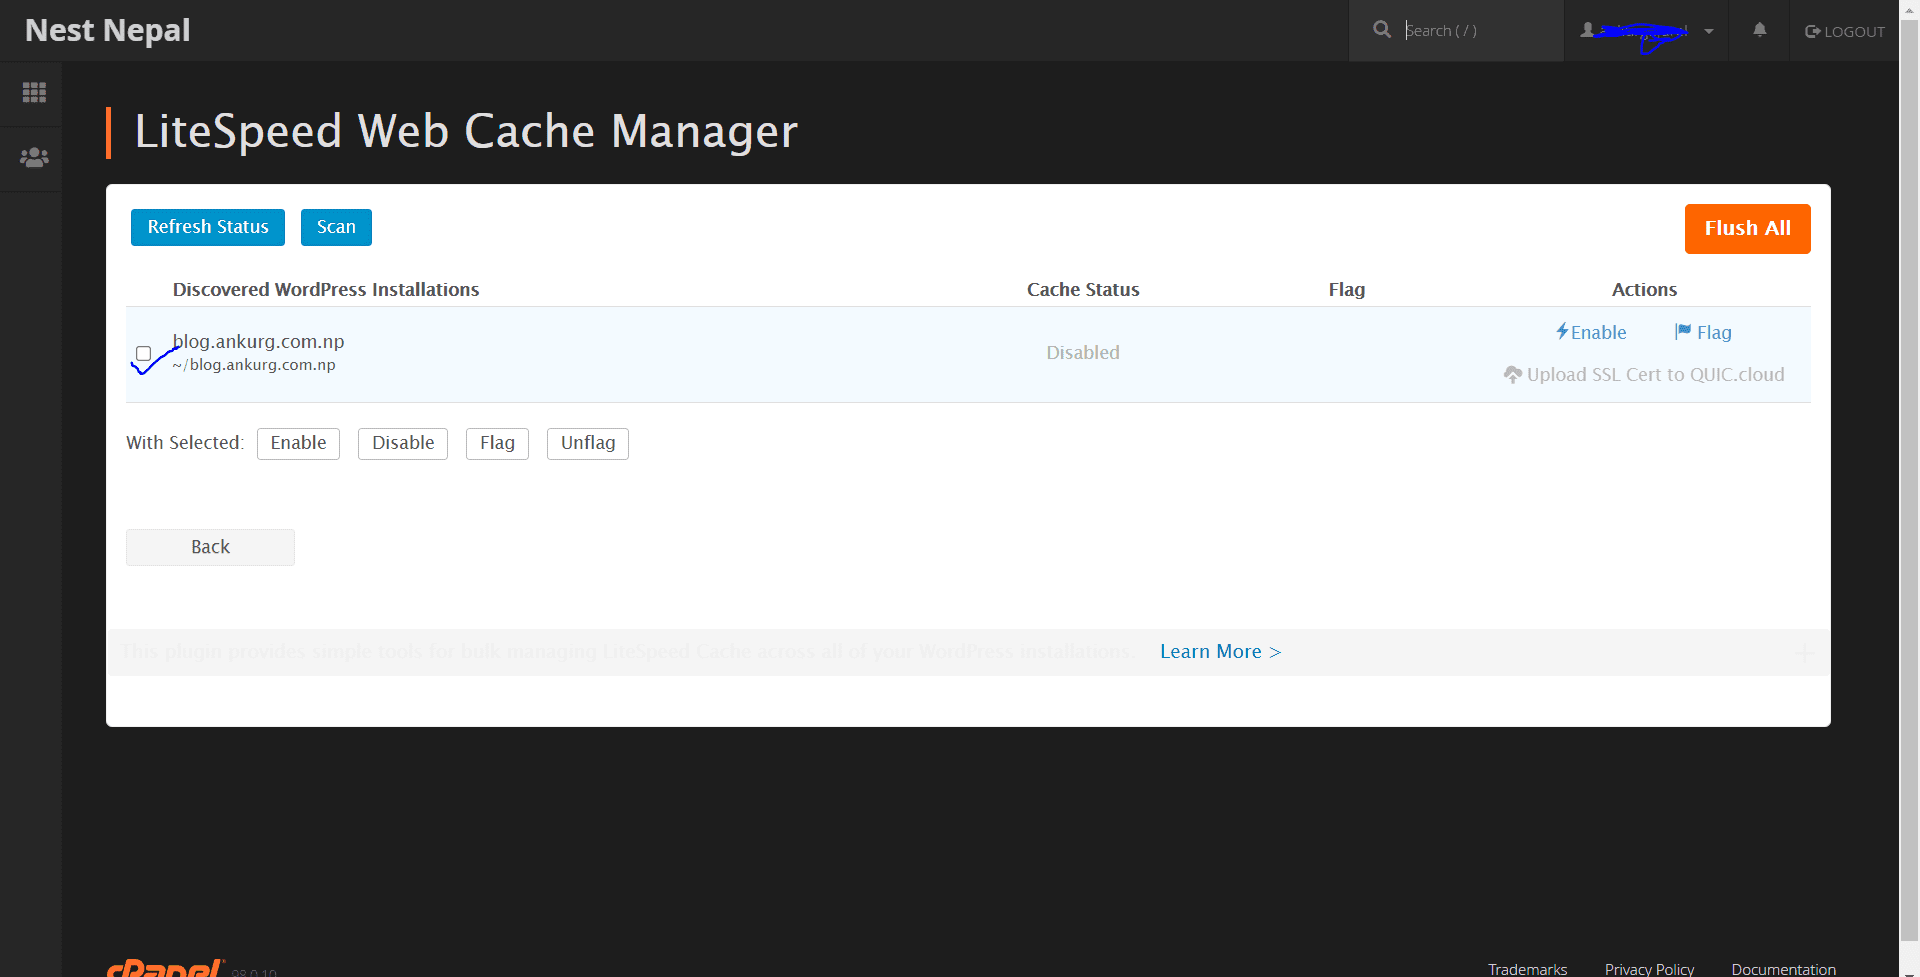
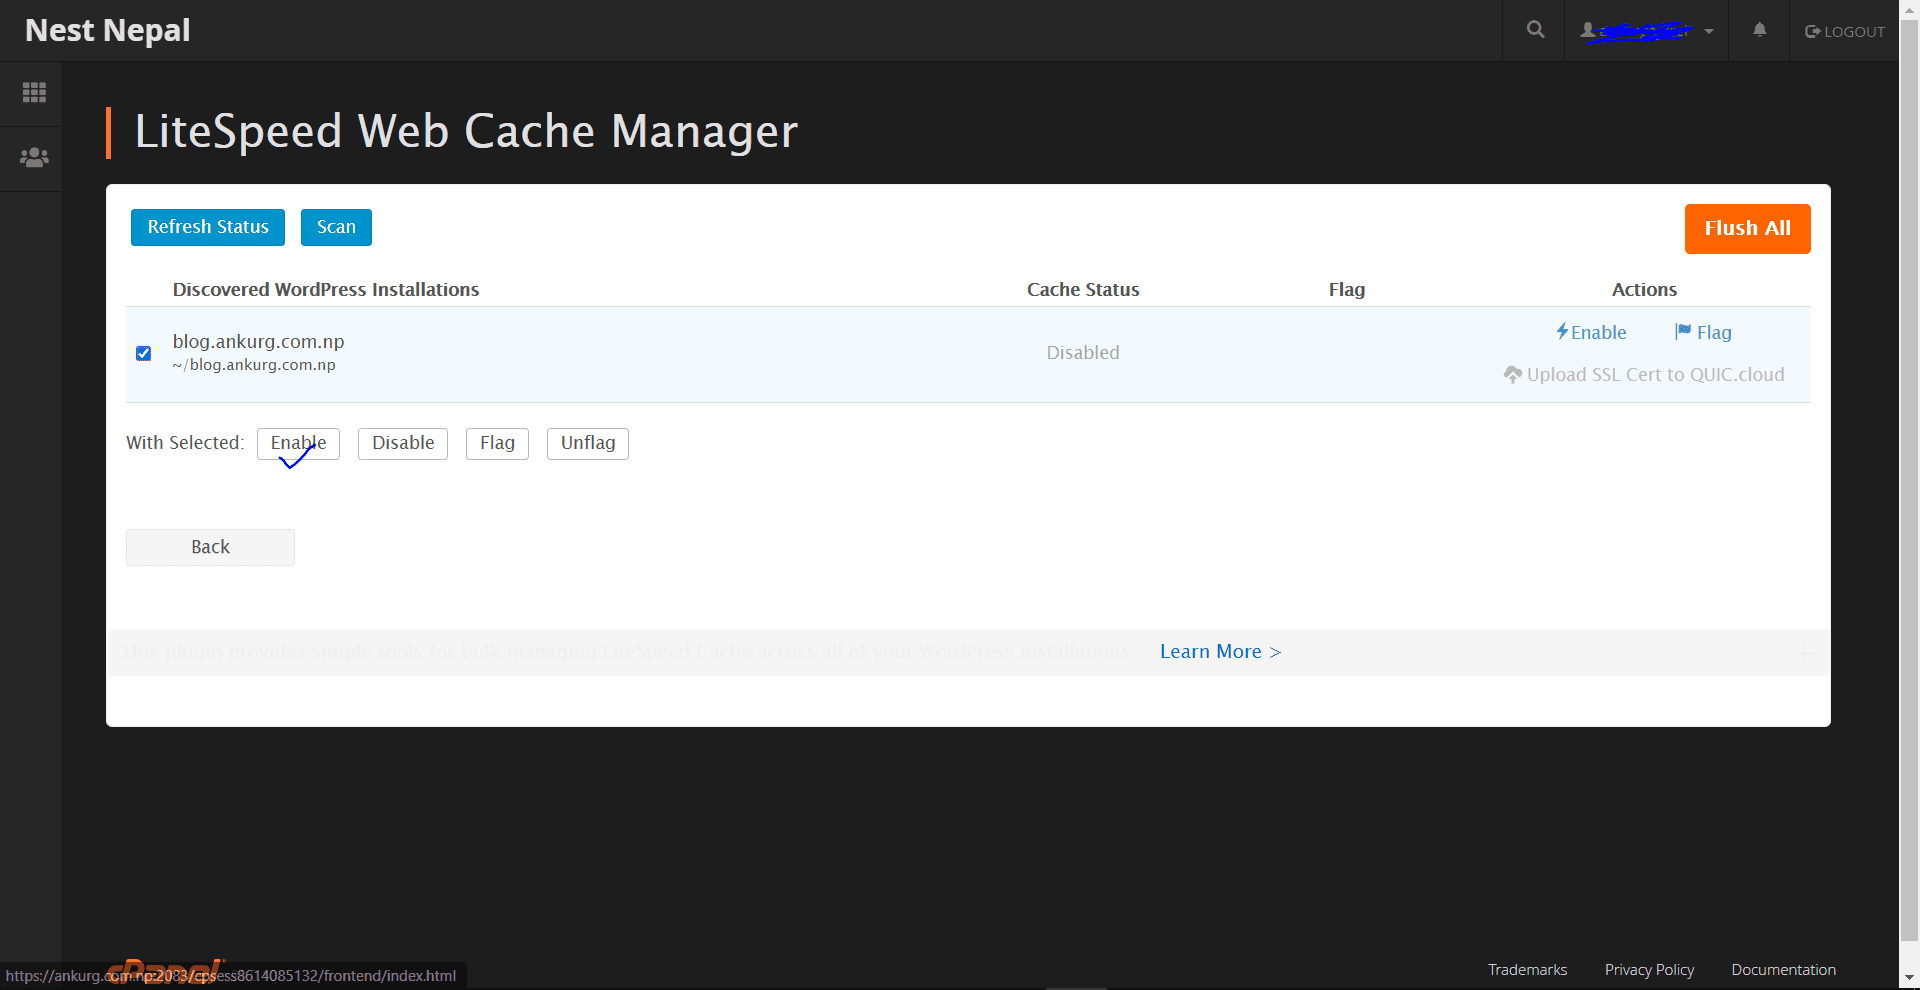
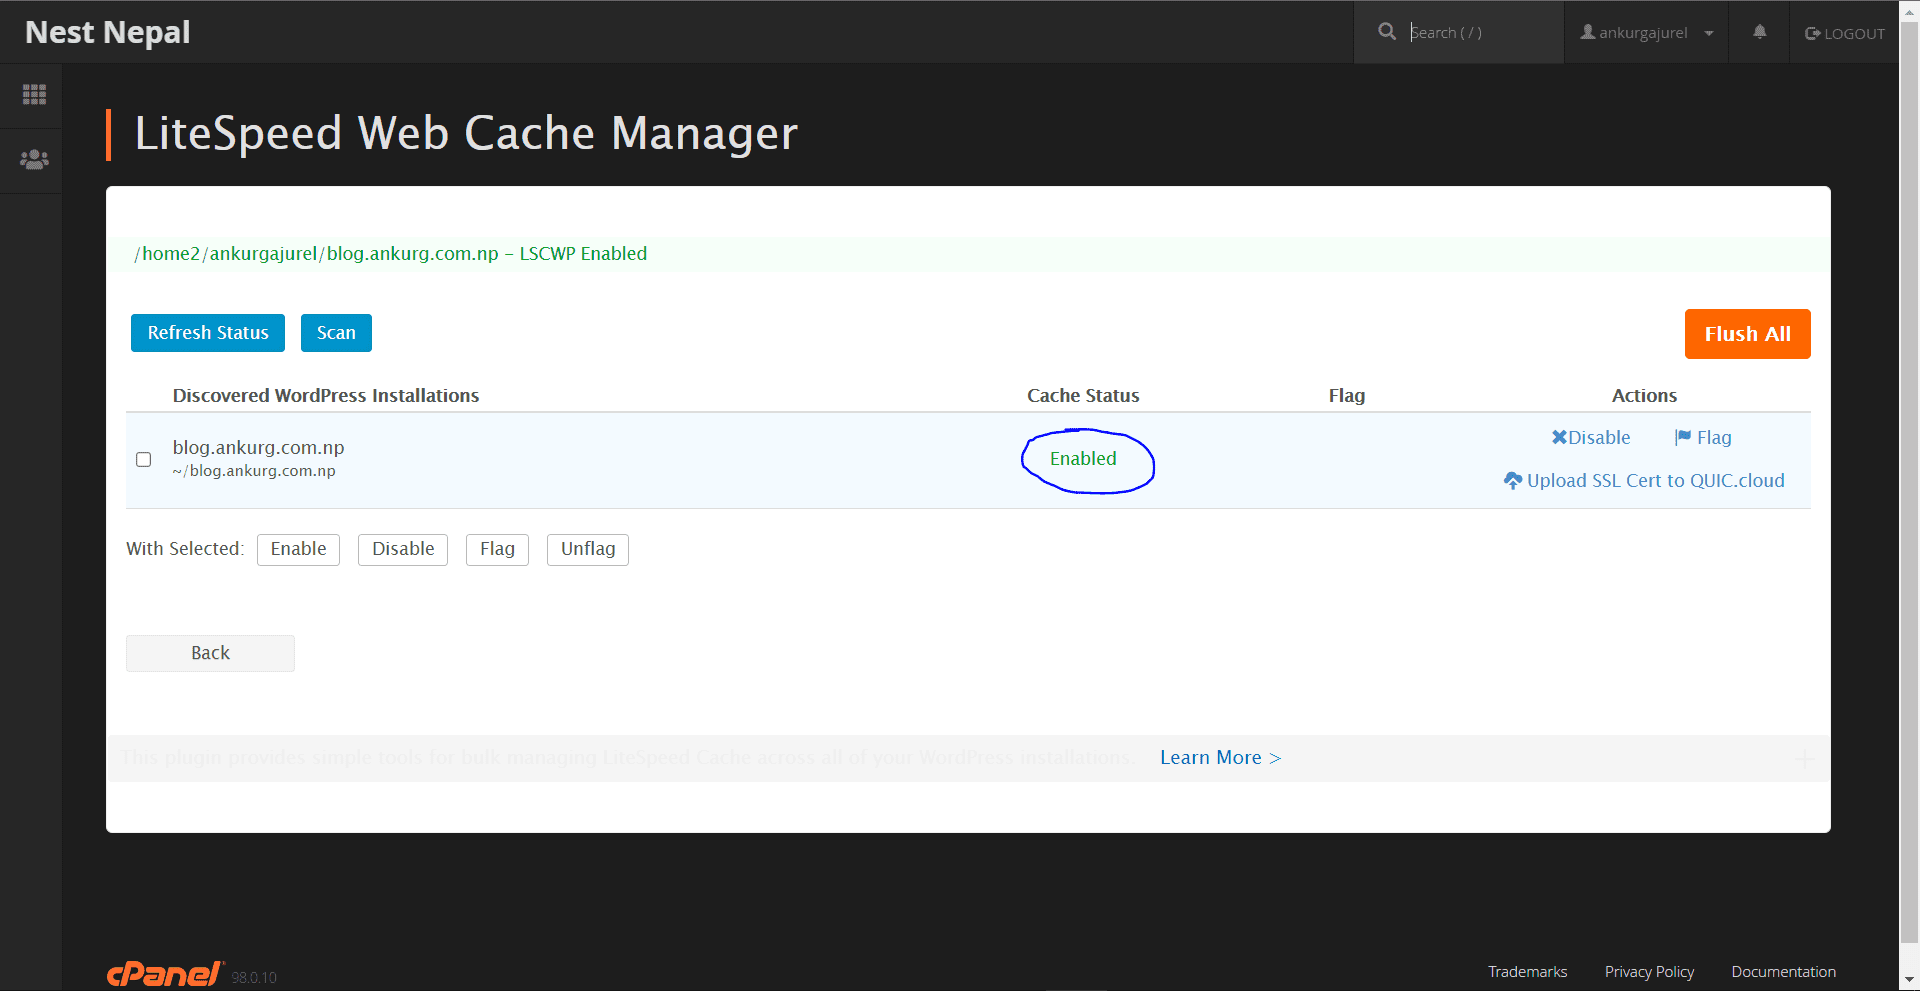
4. Likewise, select your WordPress installations and click on the “Enable” button on the bottom.
Moreover, you can also enable Litespeed with a WordPress Plugin.
5 steps for enabling Litespeed with a WordPress plugin:
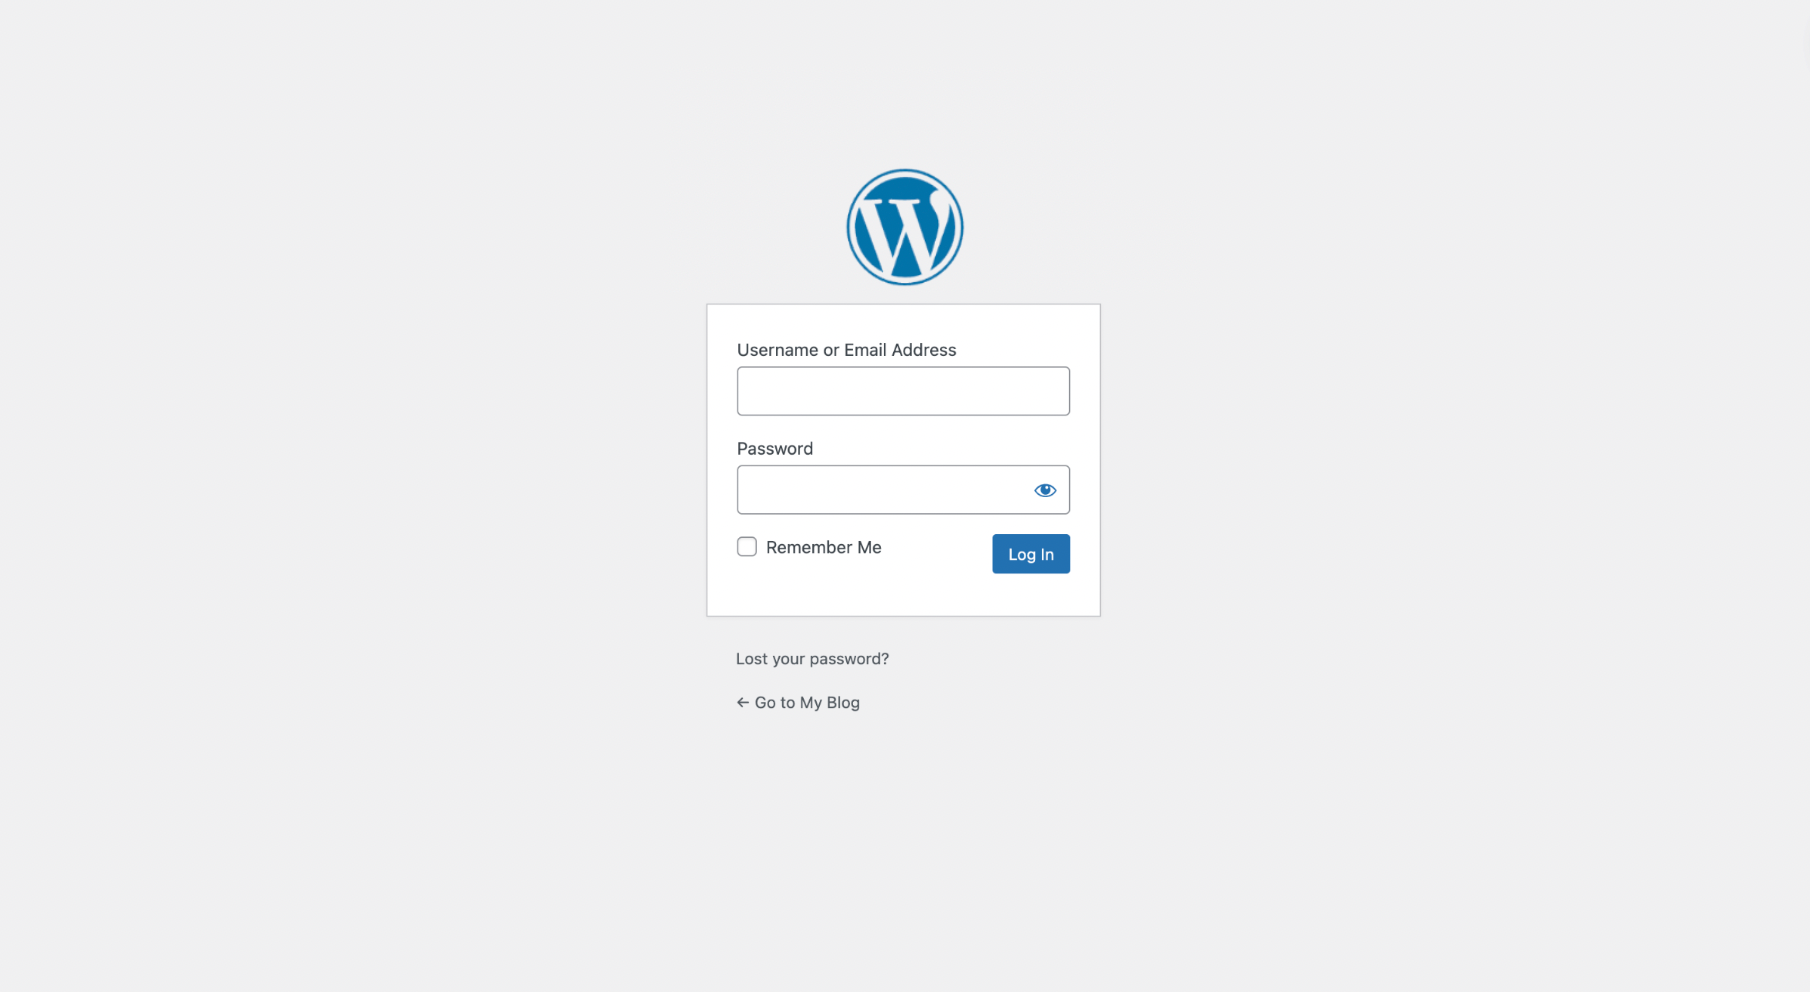
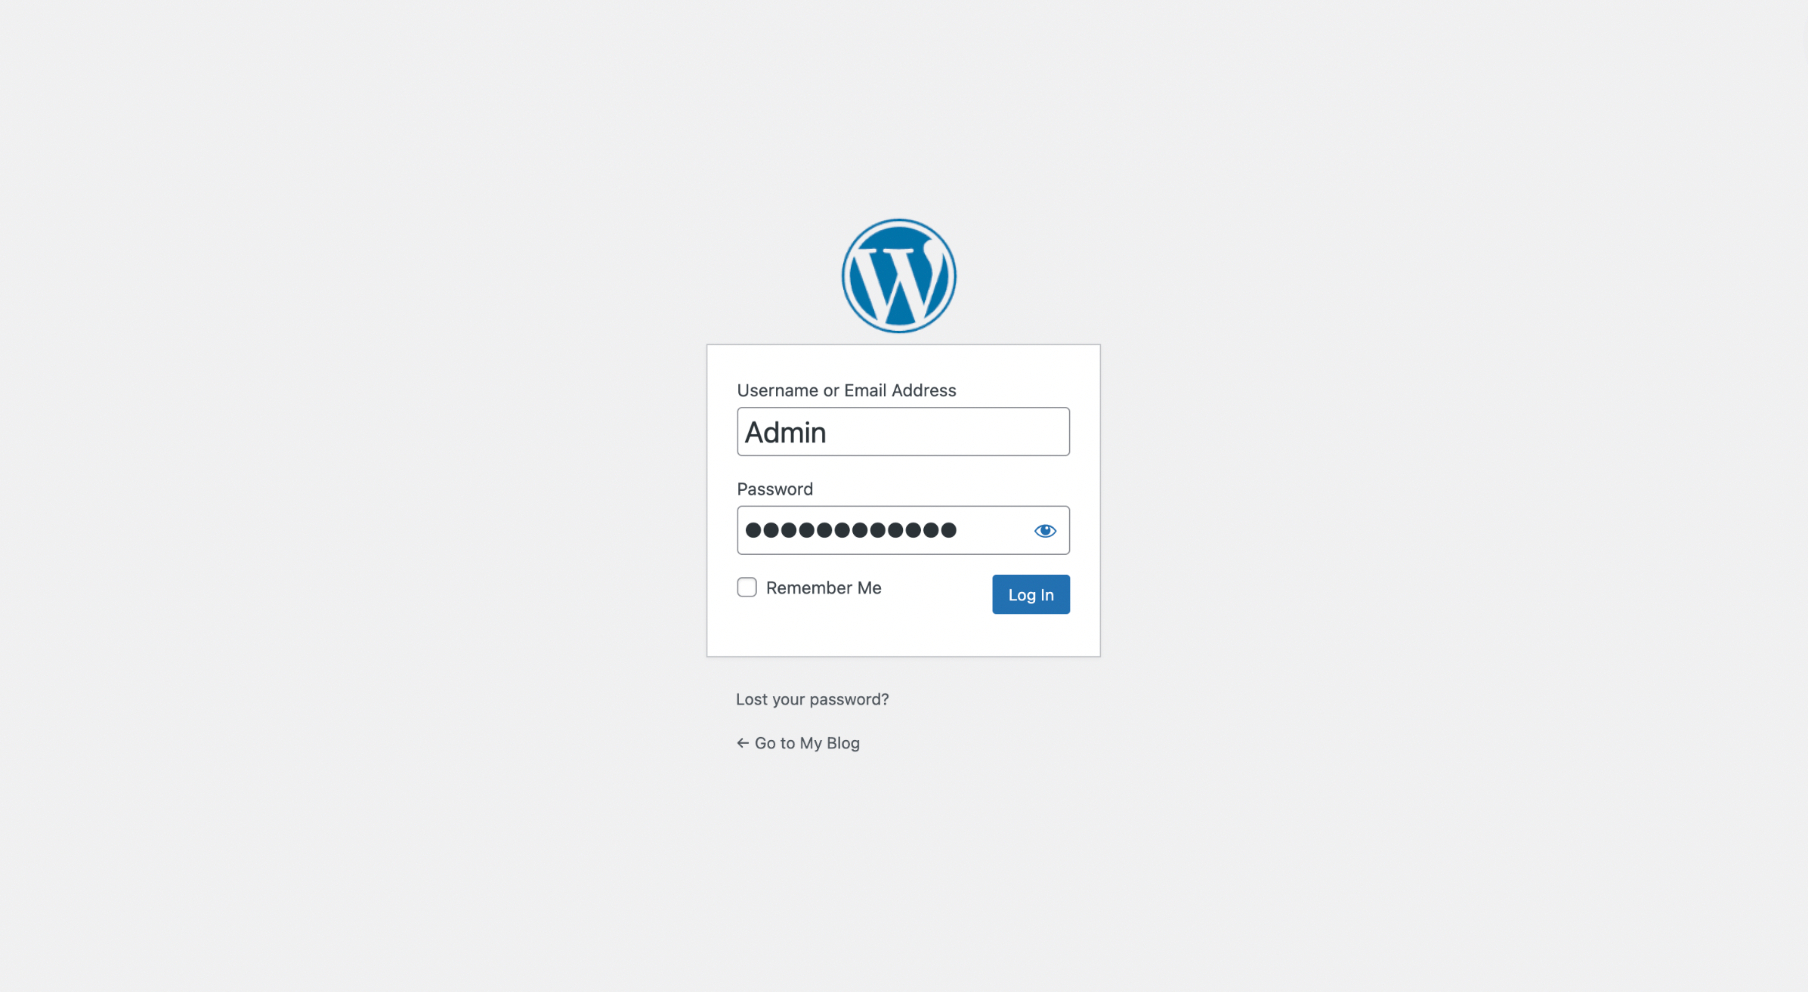
1. First, open your WordPress login page and enter your credentials.
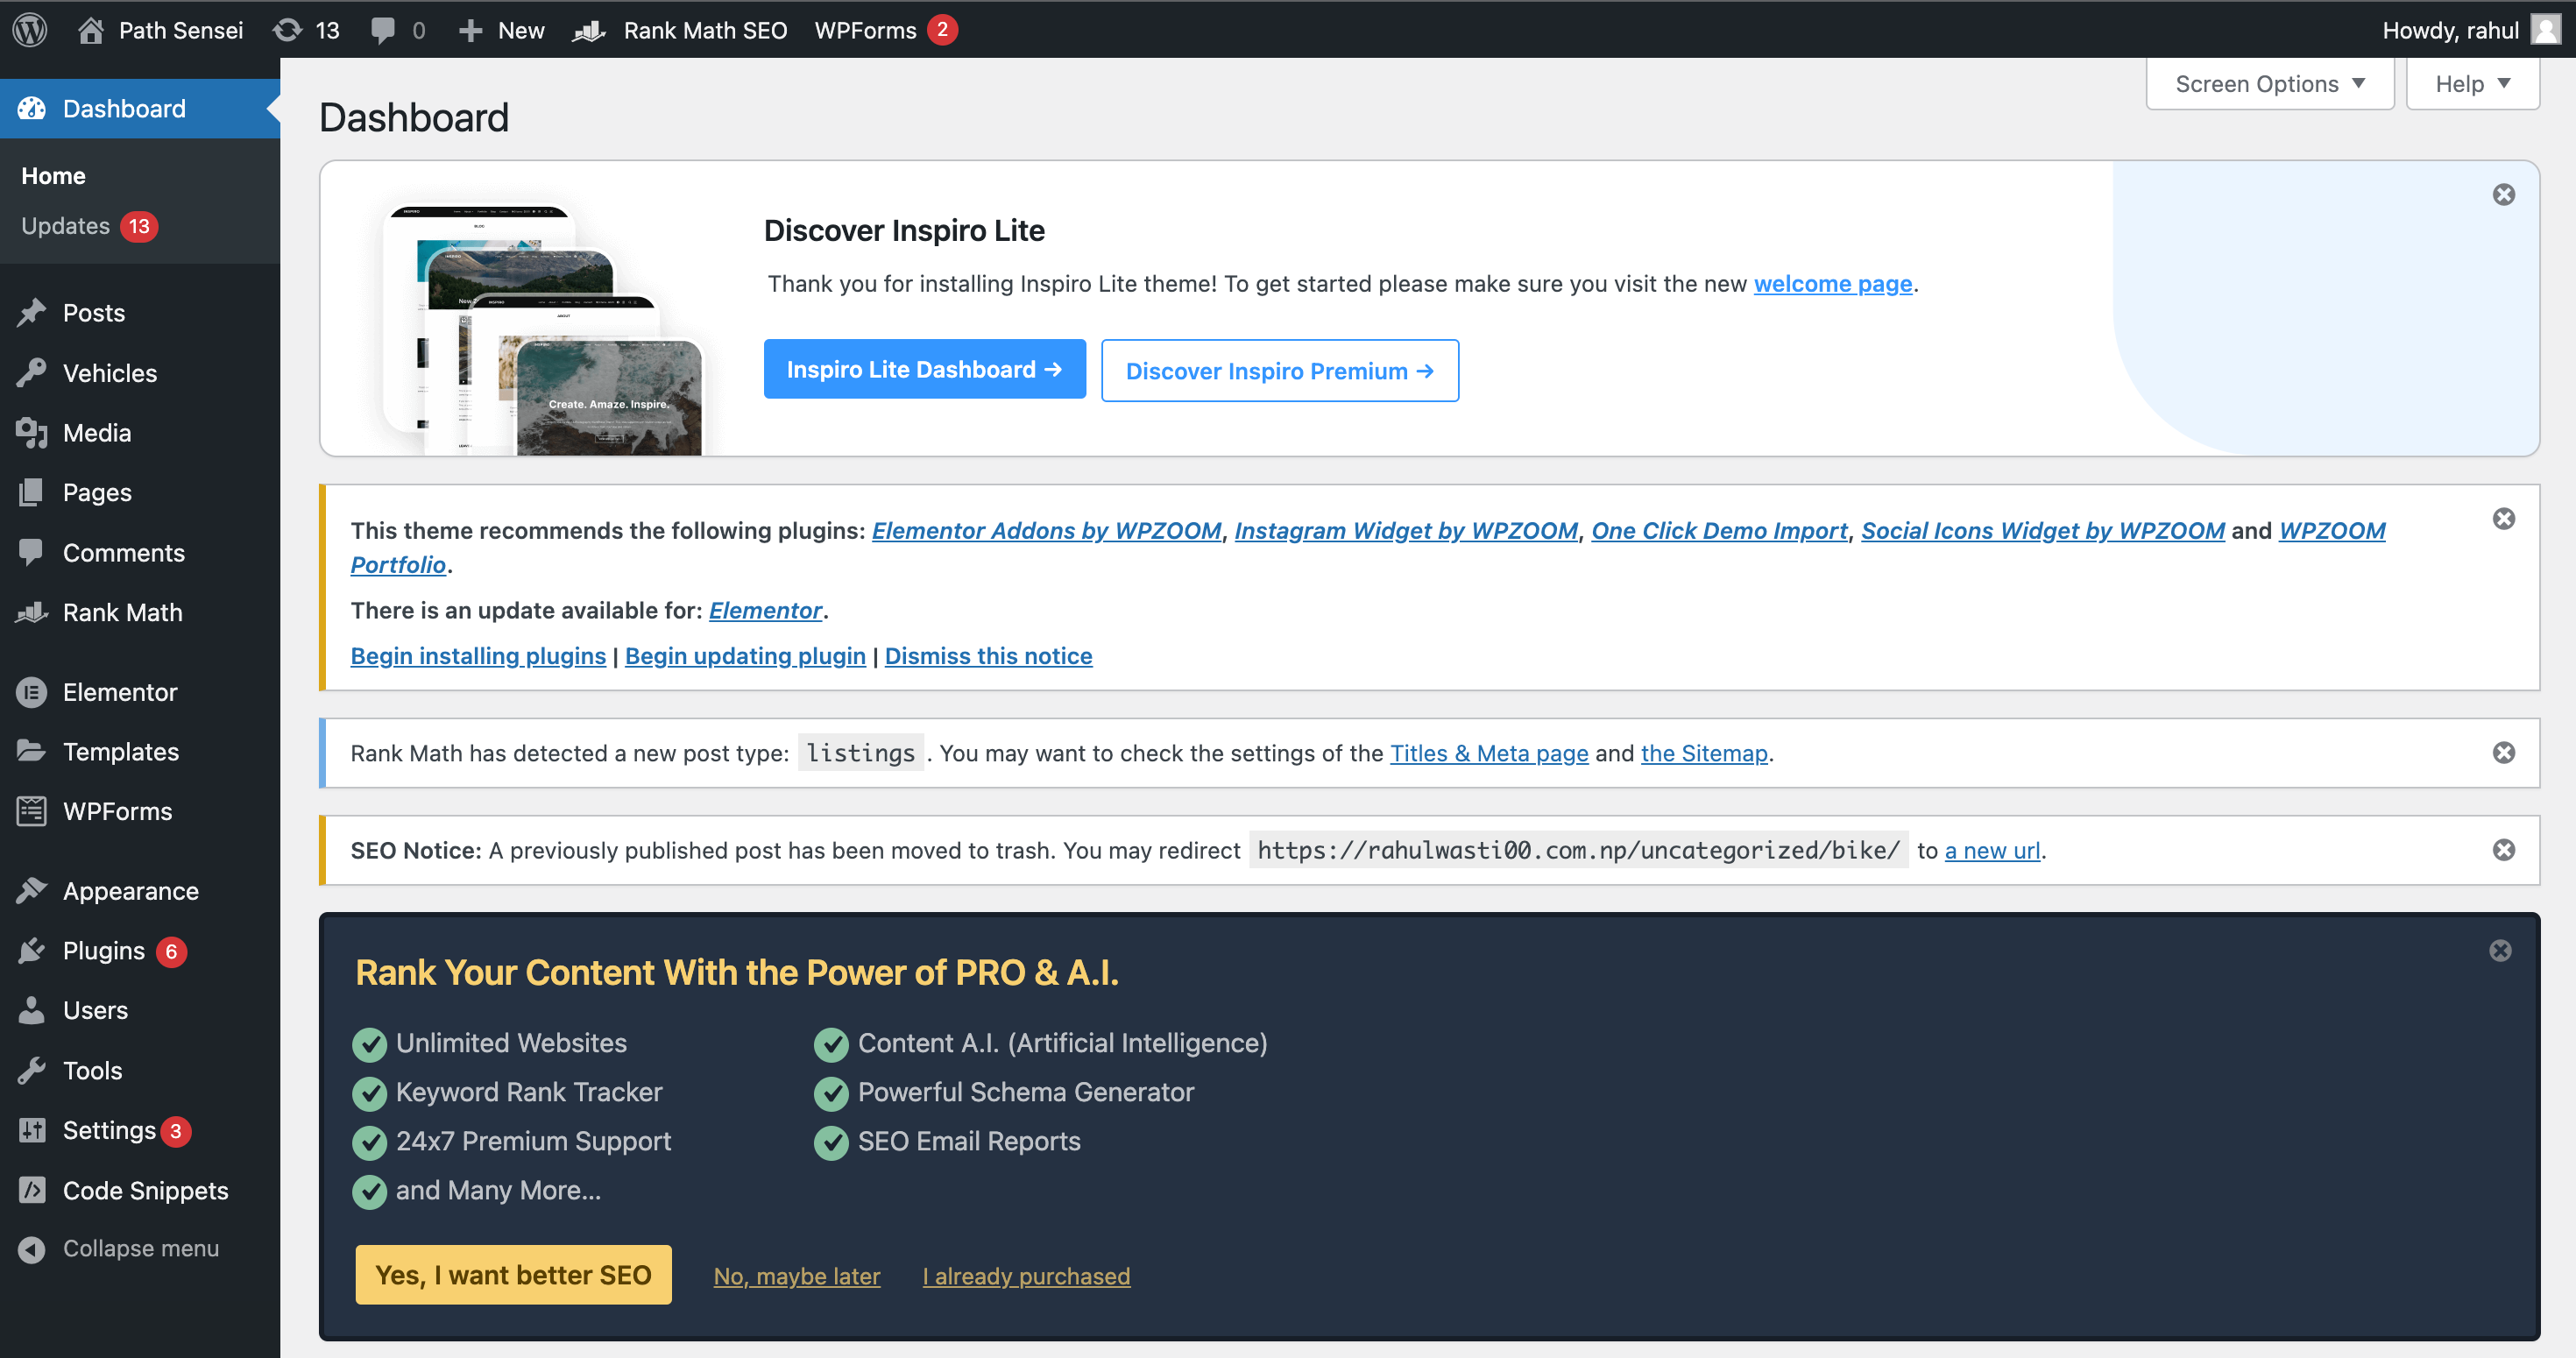
2. After you are redirected to the WordPress Blog dashboard, you can see the menu on the left and click on “Plugins”. You will now see all the installed and activated plugins.
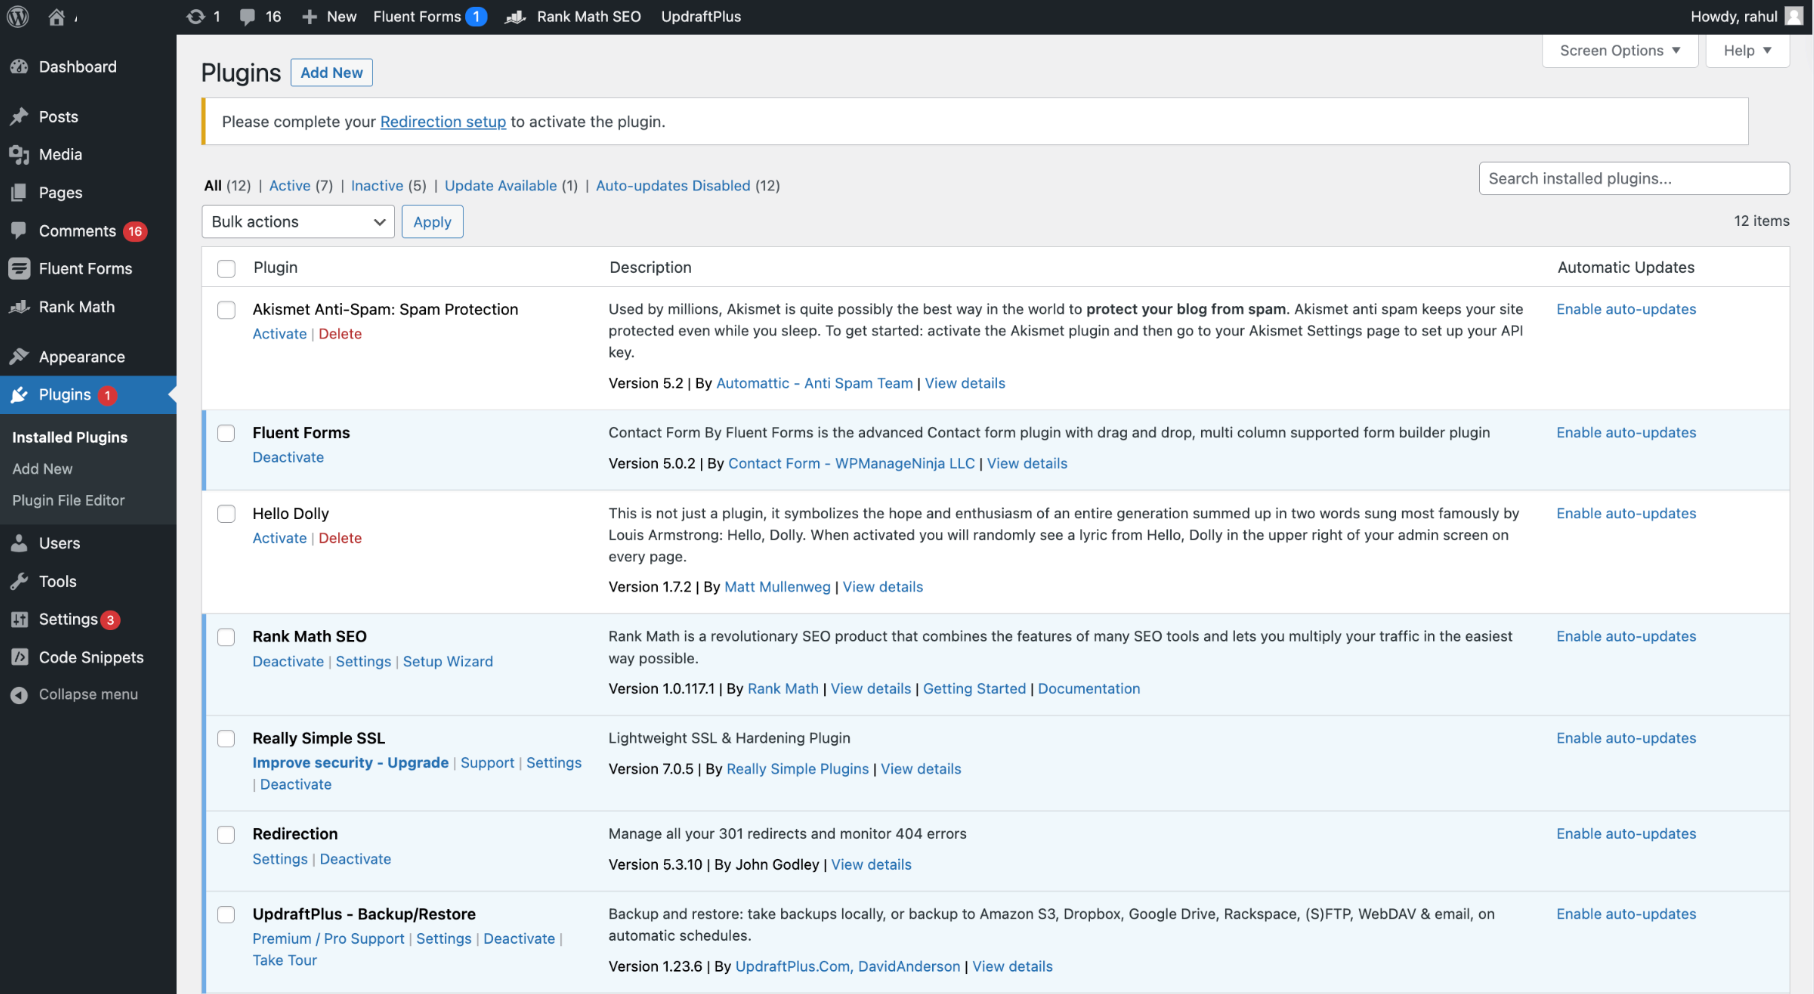
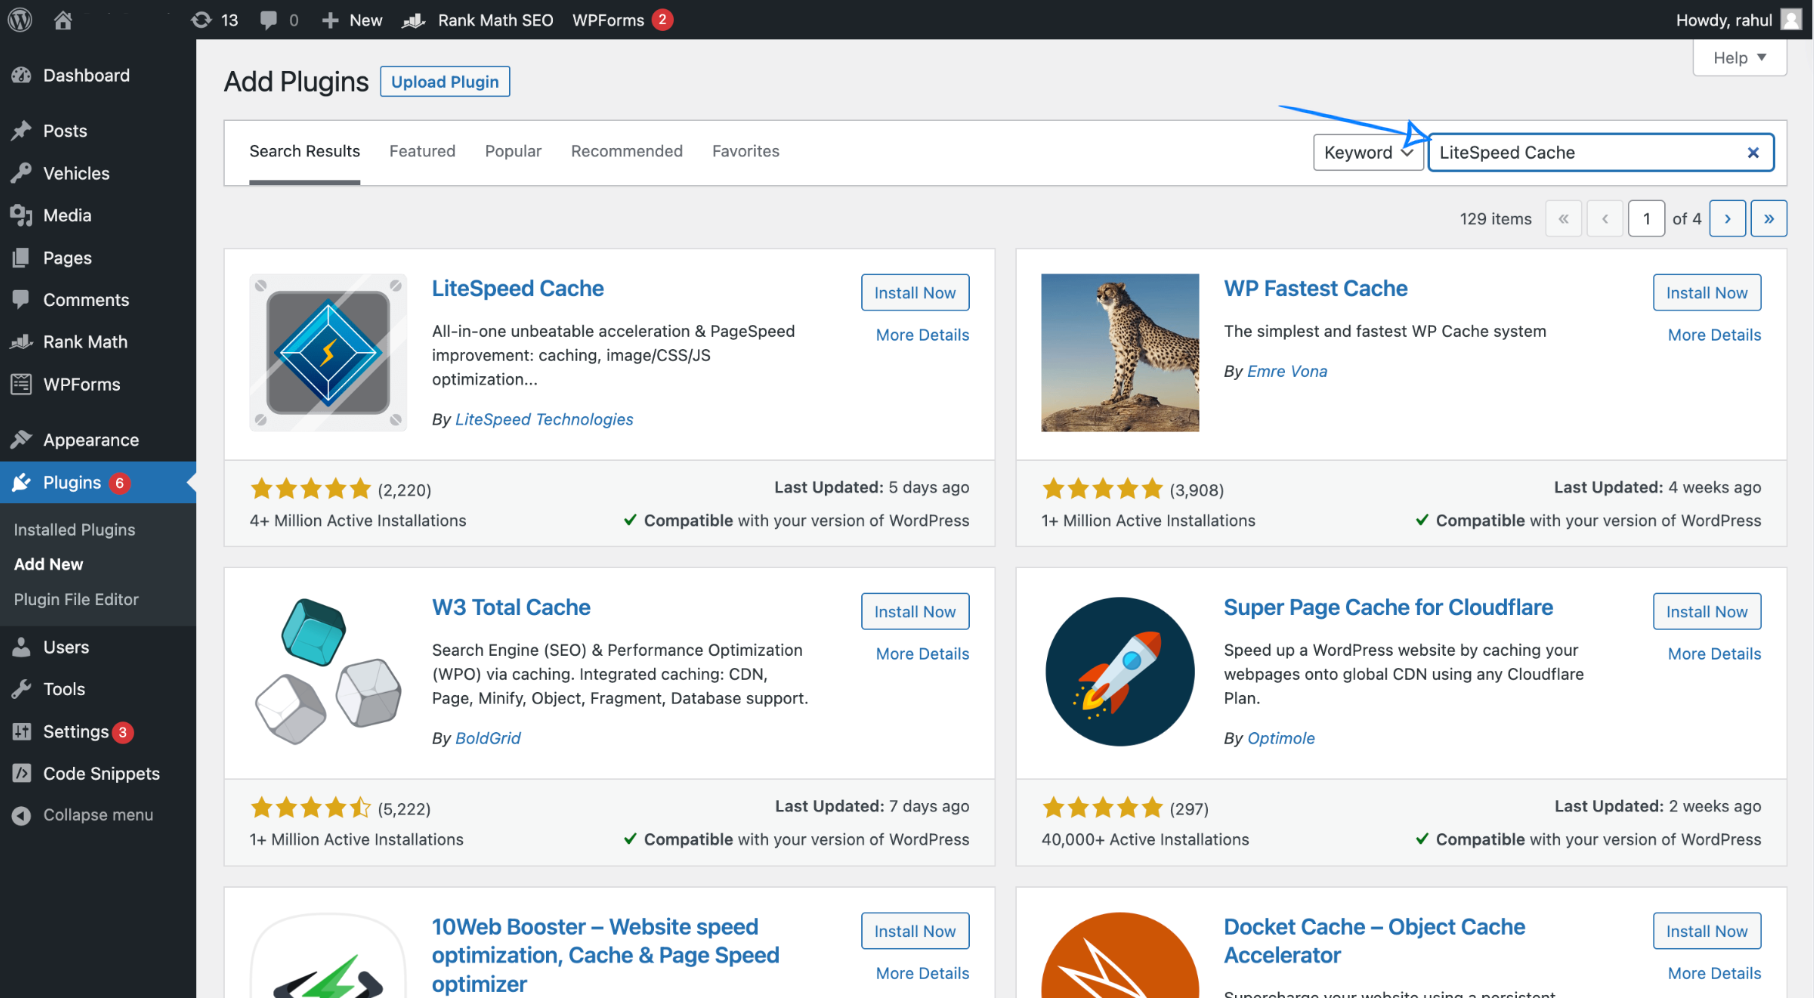
3. Likewise, click on the “Add New” button for installing a new plugin on your WordPress installation. On the search bar, type in “LiteSpeed Cache” and hit “Enter” or “Return”.
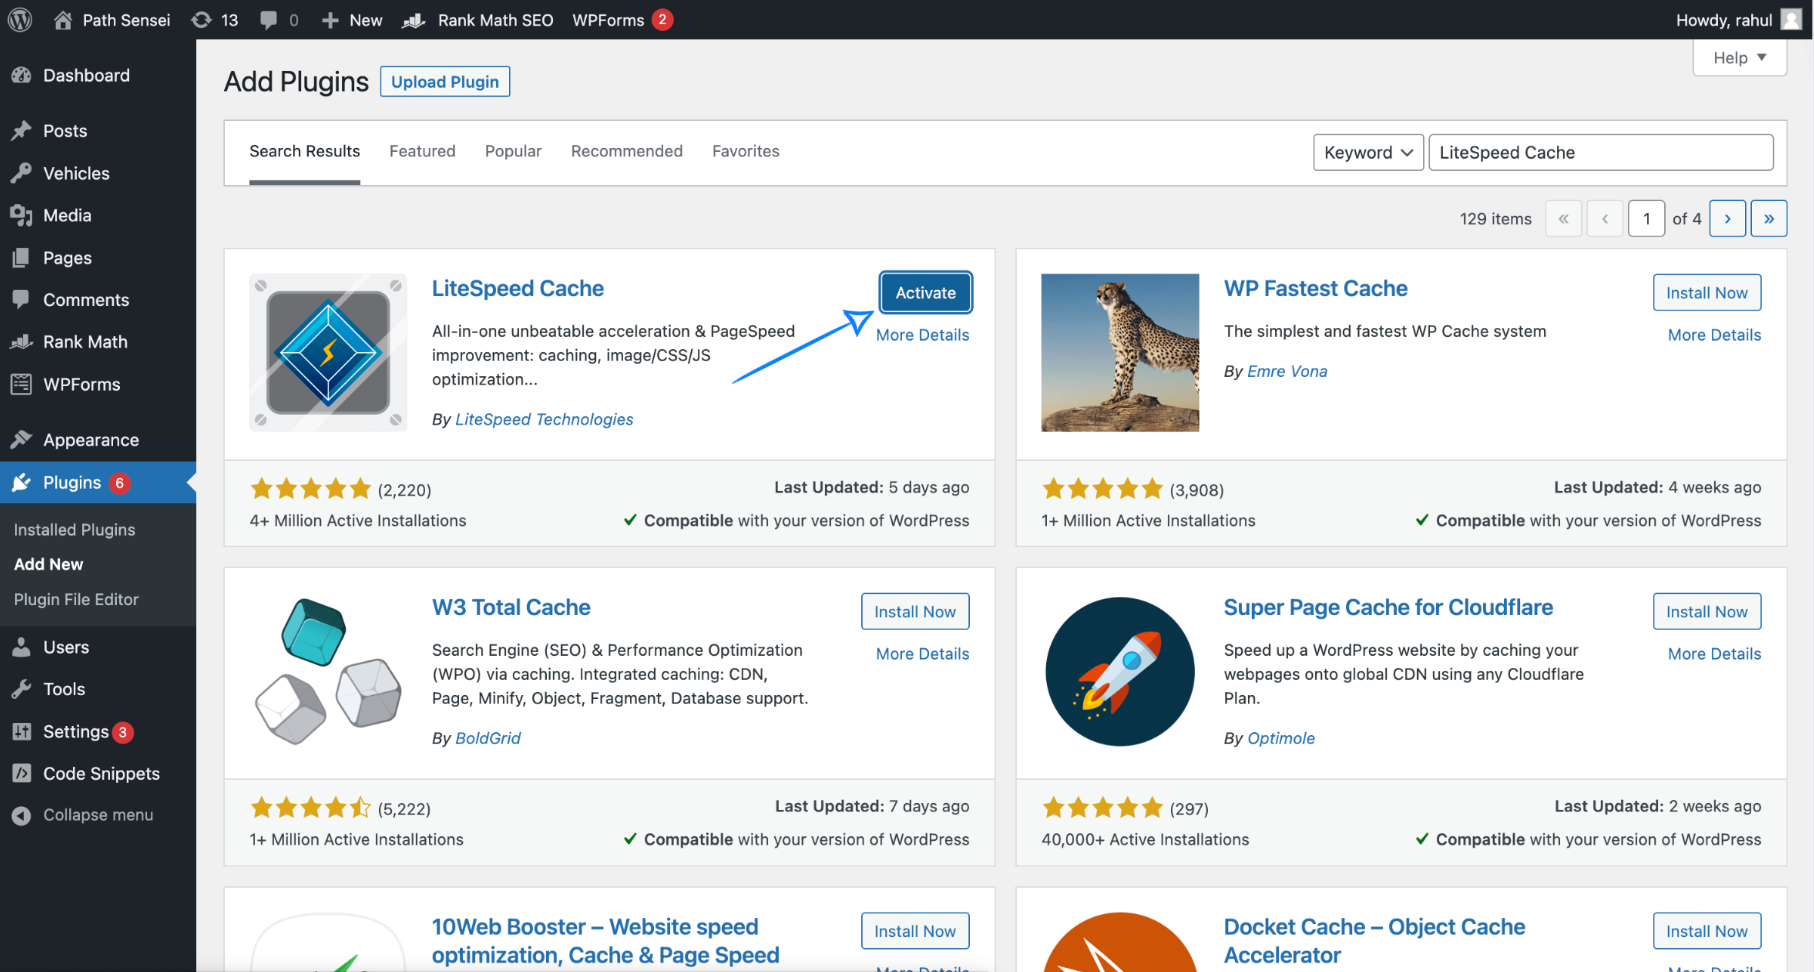
4. Similarly, you will see the first plugin from “LiteSpeed Technologies”. Install and activate it.

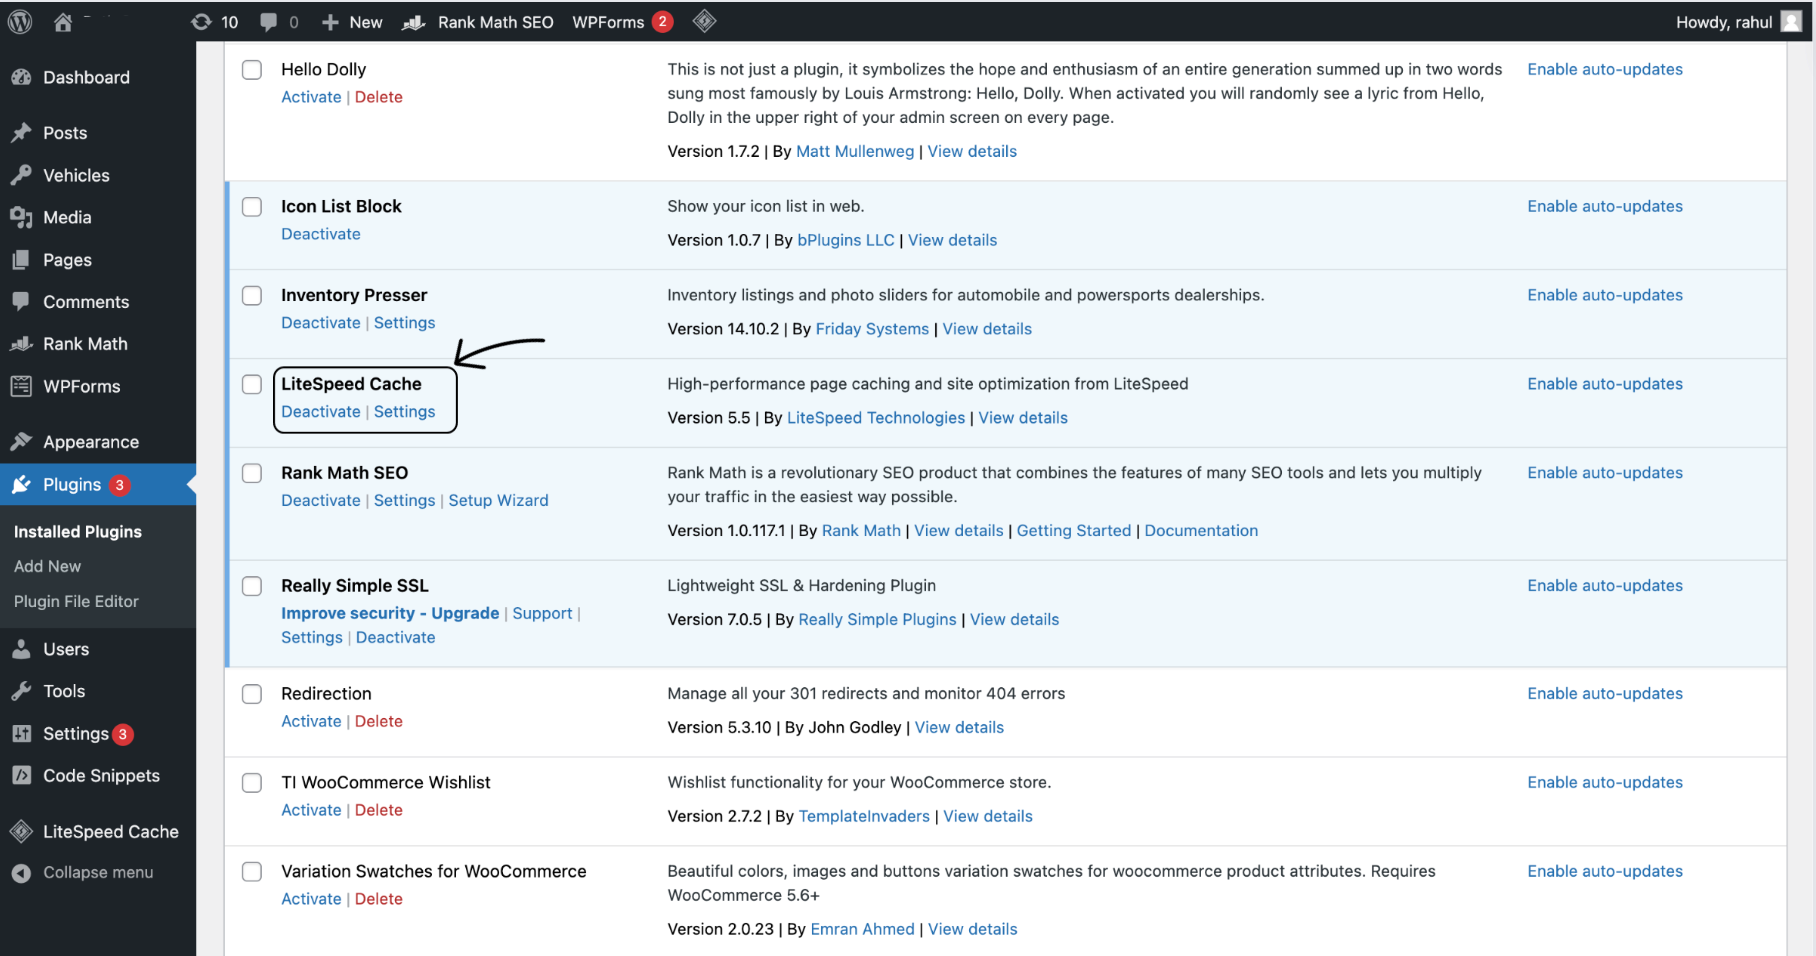
5. You can now see the plugin; “LiteSpeed Cache” on the installed plugins menu.
Congrats! You are now an expert in enabling Litespeed in cPanel easily. See! Wasn’t that easy? Look around Nest Nepal for more educational content and domain / hosting services.
Check this blog out, if you want to learn about enabling ssl on cpanel.
You can also follow us on Facebook.