
In this blog, we will see how we can create an email in cPanel hosting and cPanel provided by Nest Nepal. The steps are straightforward, and you will not need to do any coding or scripting. Even a person from non-computer science background can conduct this installation.
Steps to creating an email in cPanel:
1. Open the link for cPanel given to you by Nest Nepal. This link will be provided in the email sent during the notice of account activation or renewal.
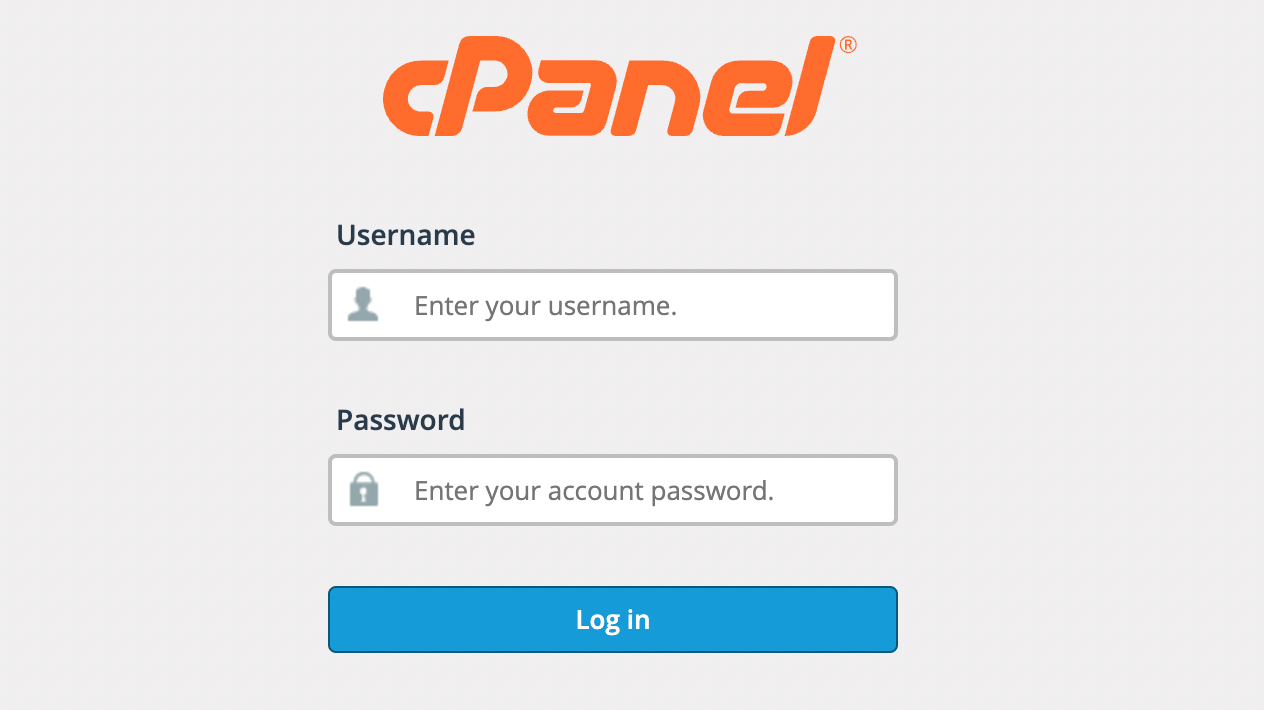
2. After you fill in the credentials and log in, you will be redirected to a page like as shown in the picture below. This is the homepage of your cPanel.
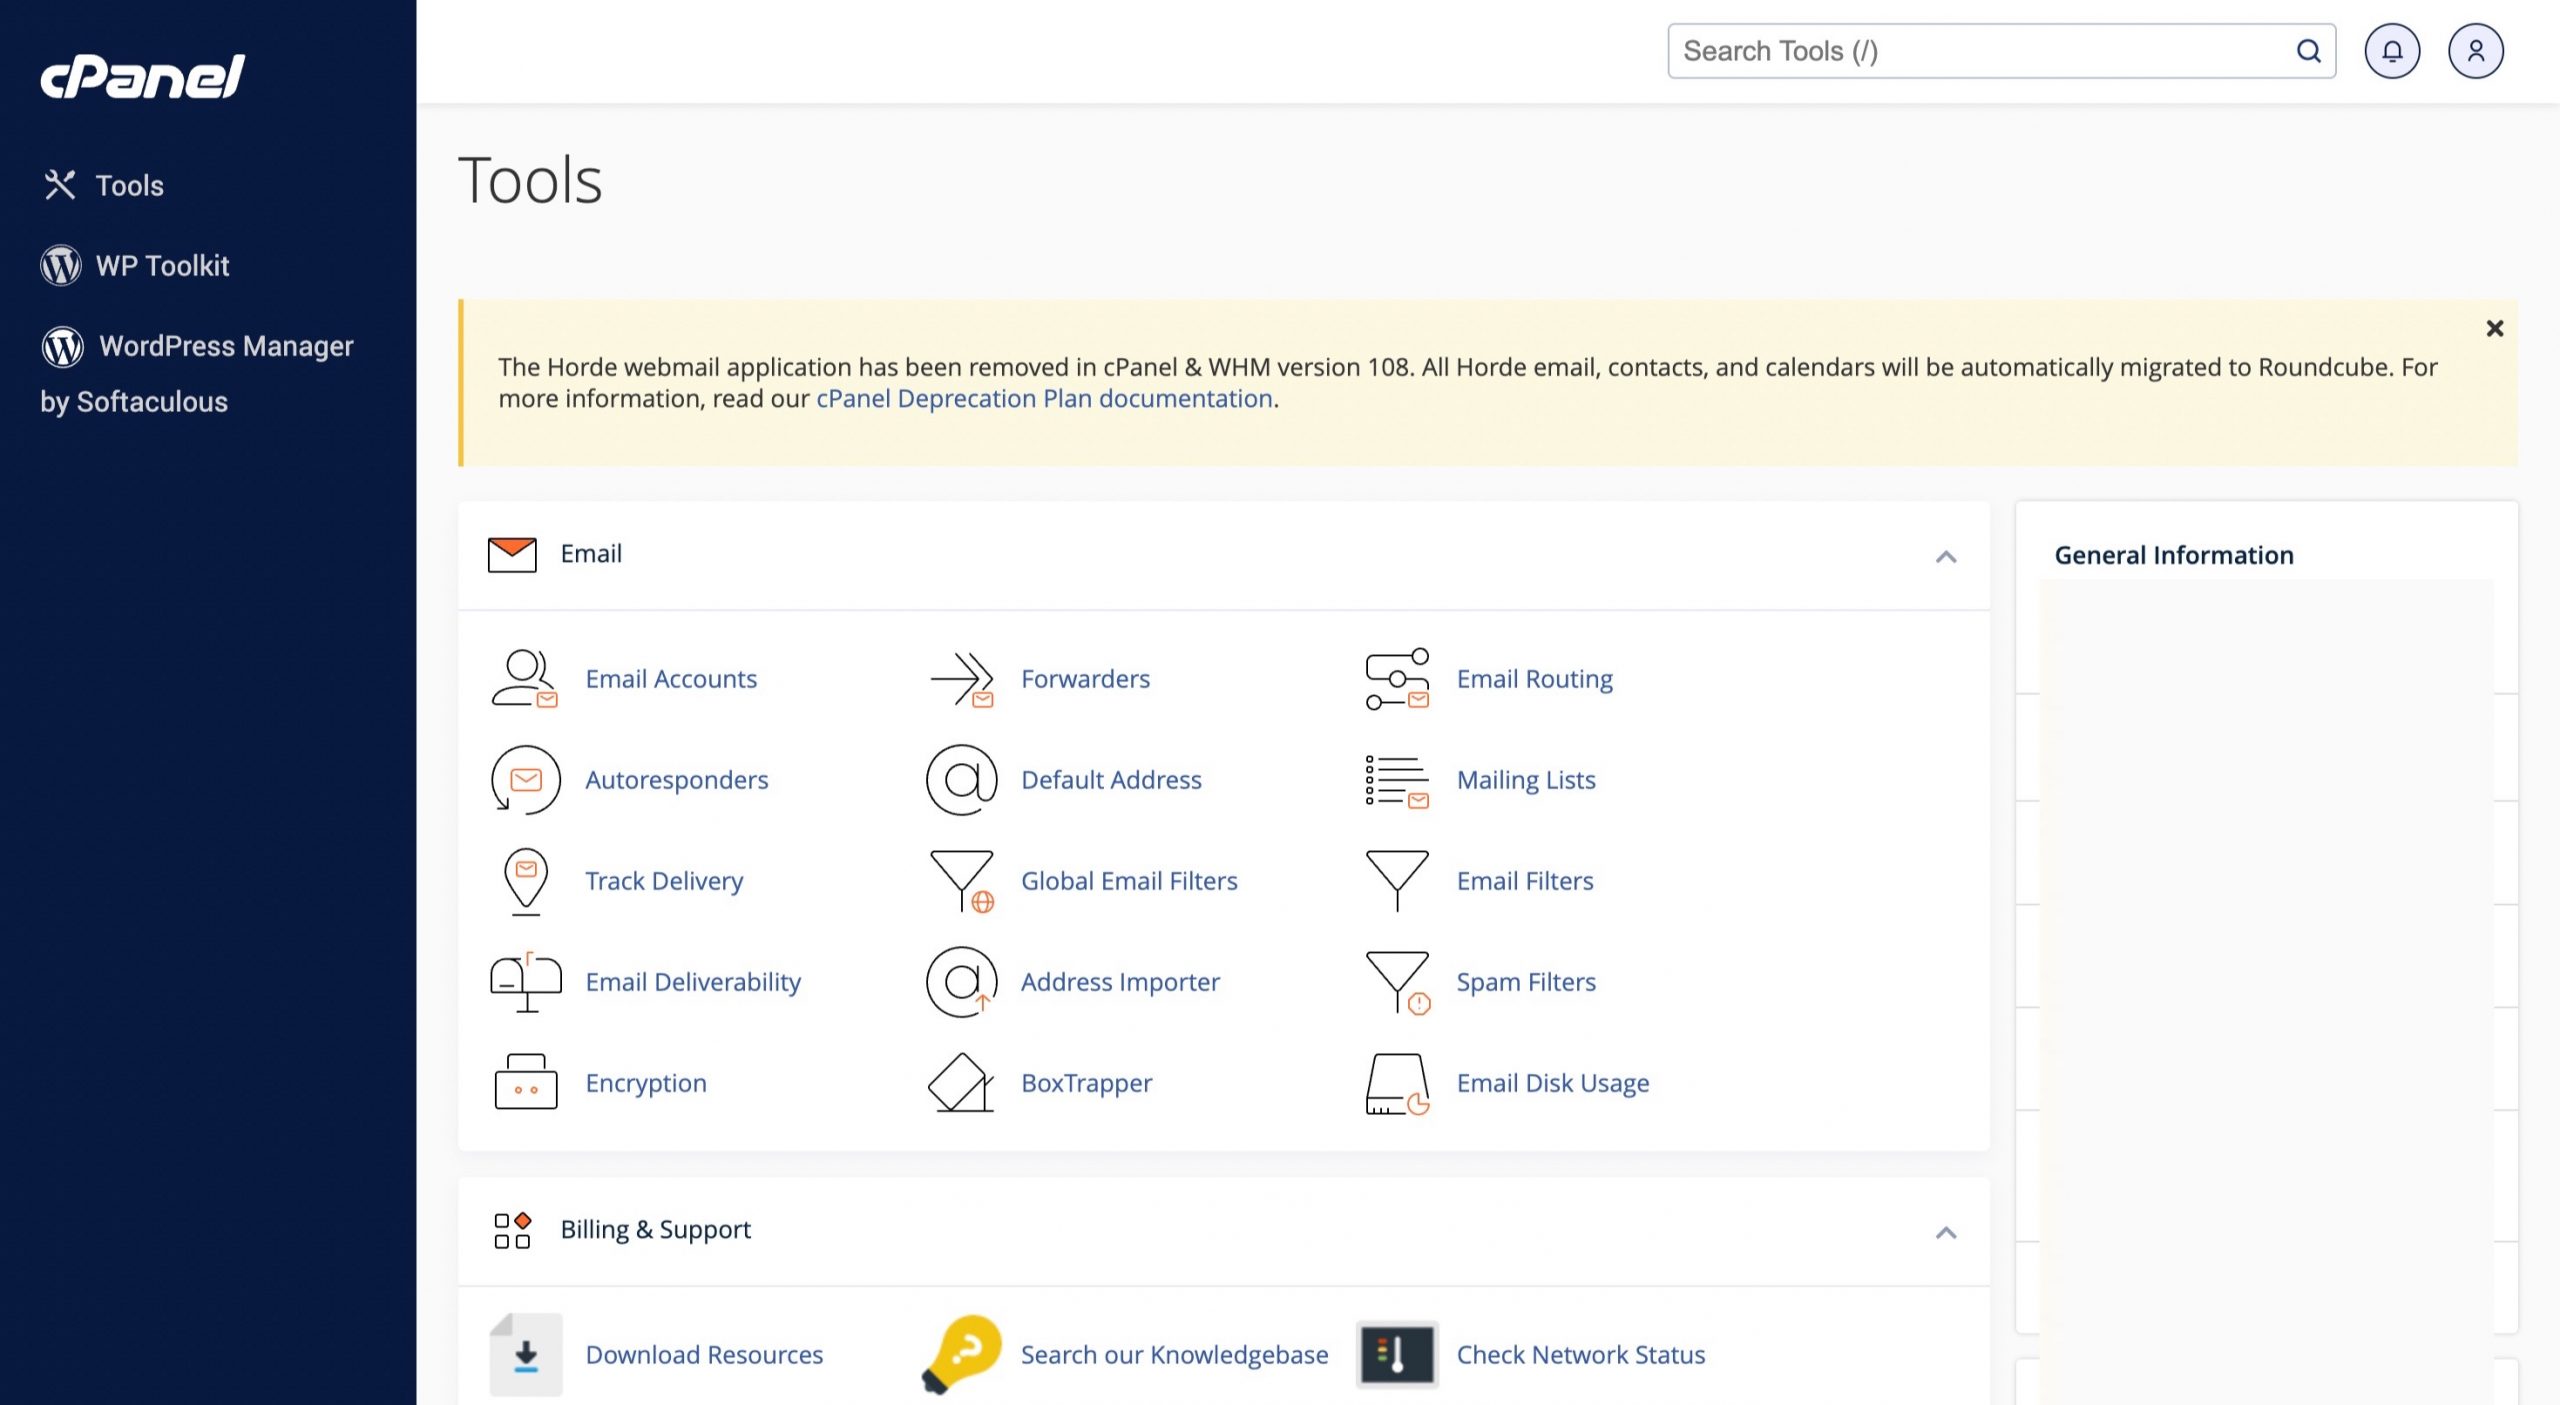
On this homepage, click on the “Email Accounts” Tab in the first section. Here are all the menus organized where you perform every single task that is done in the cPanel

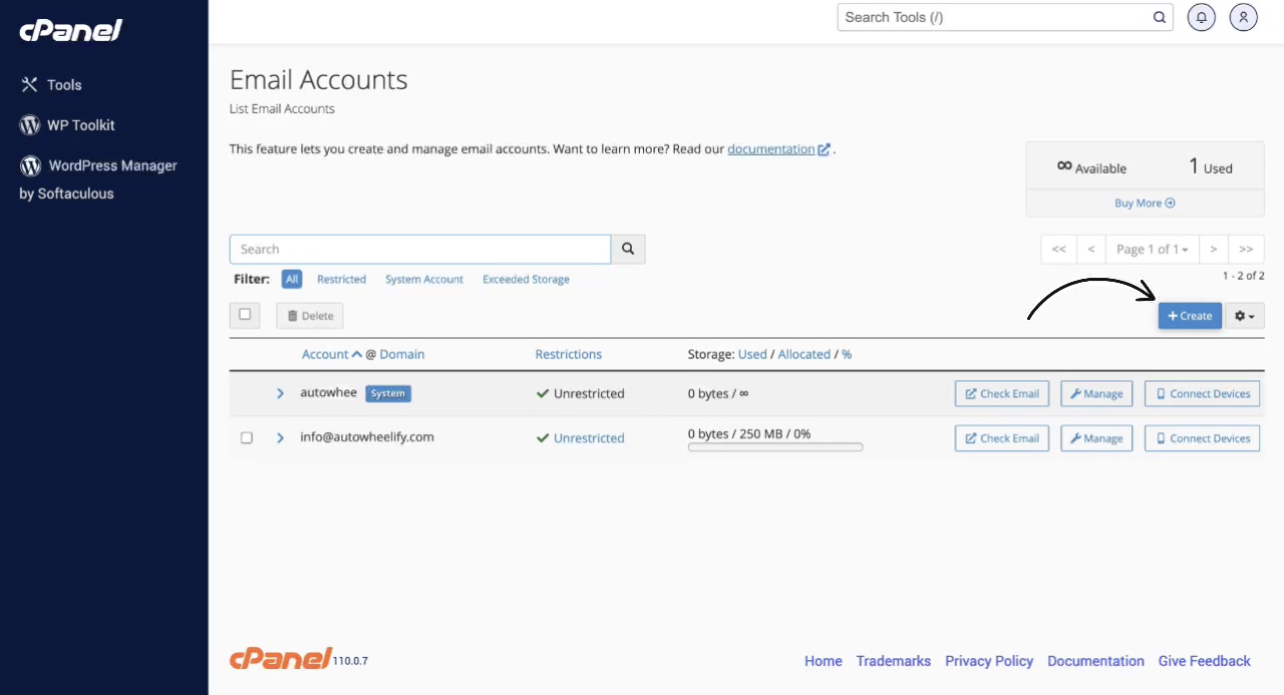
3. You will now see all the email accounts on the specified domain. All the emails can be managed and deleted by the cPanel admin from this page.
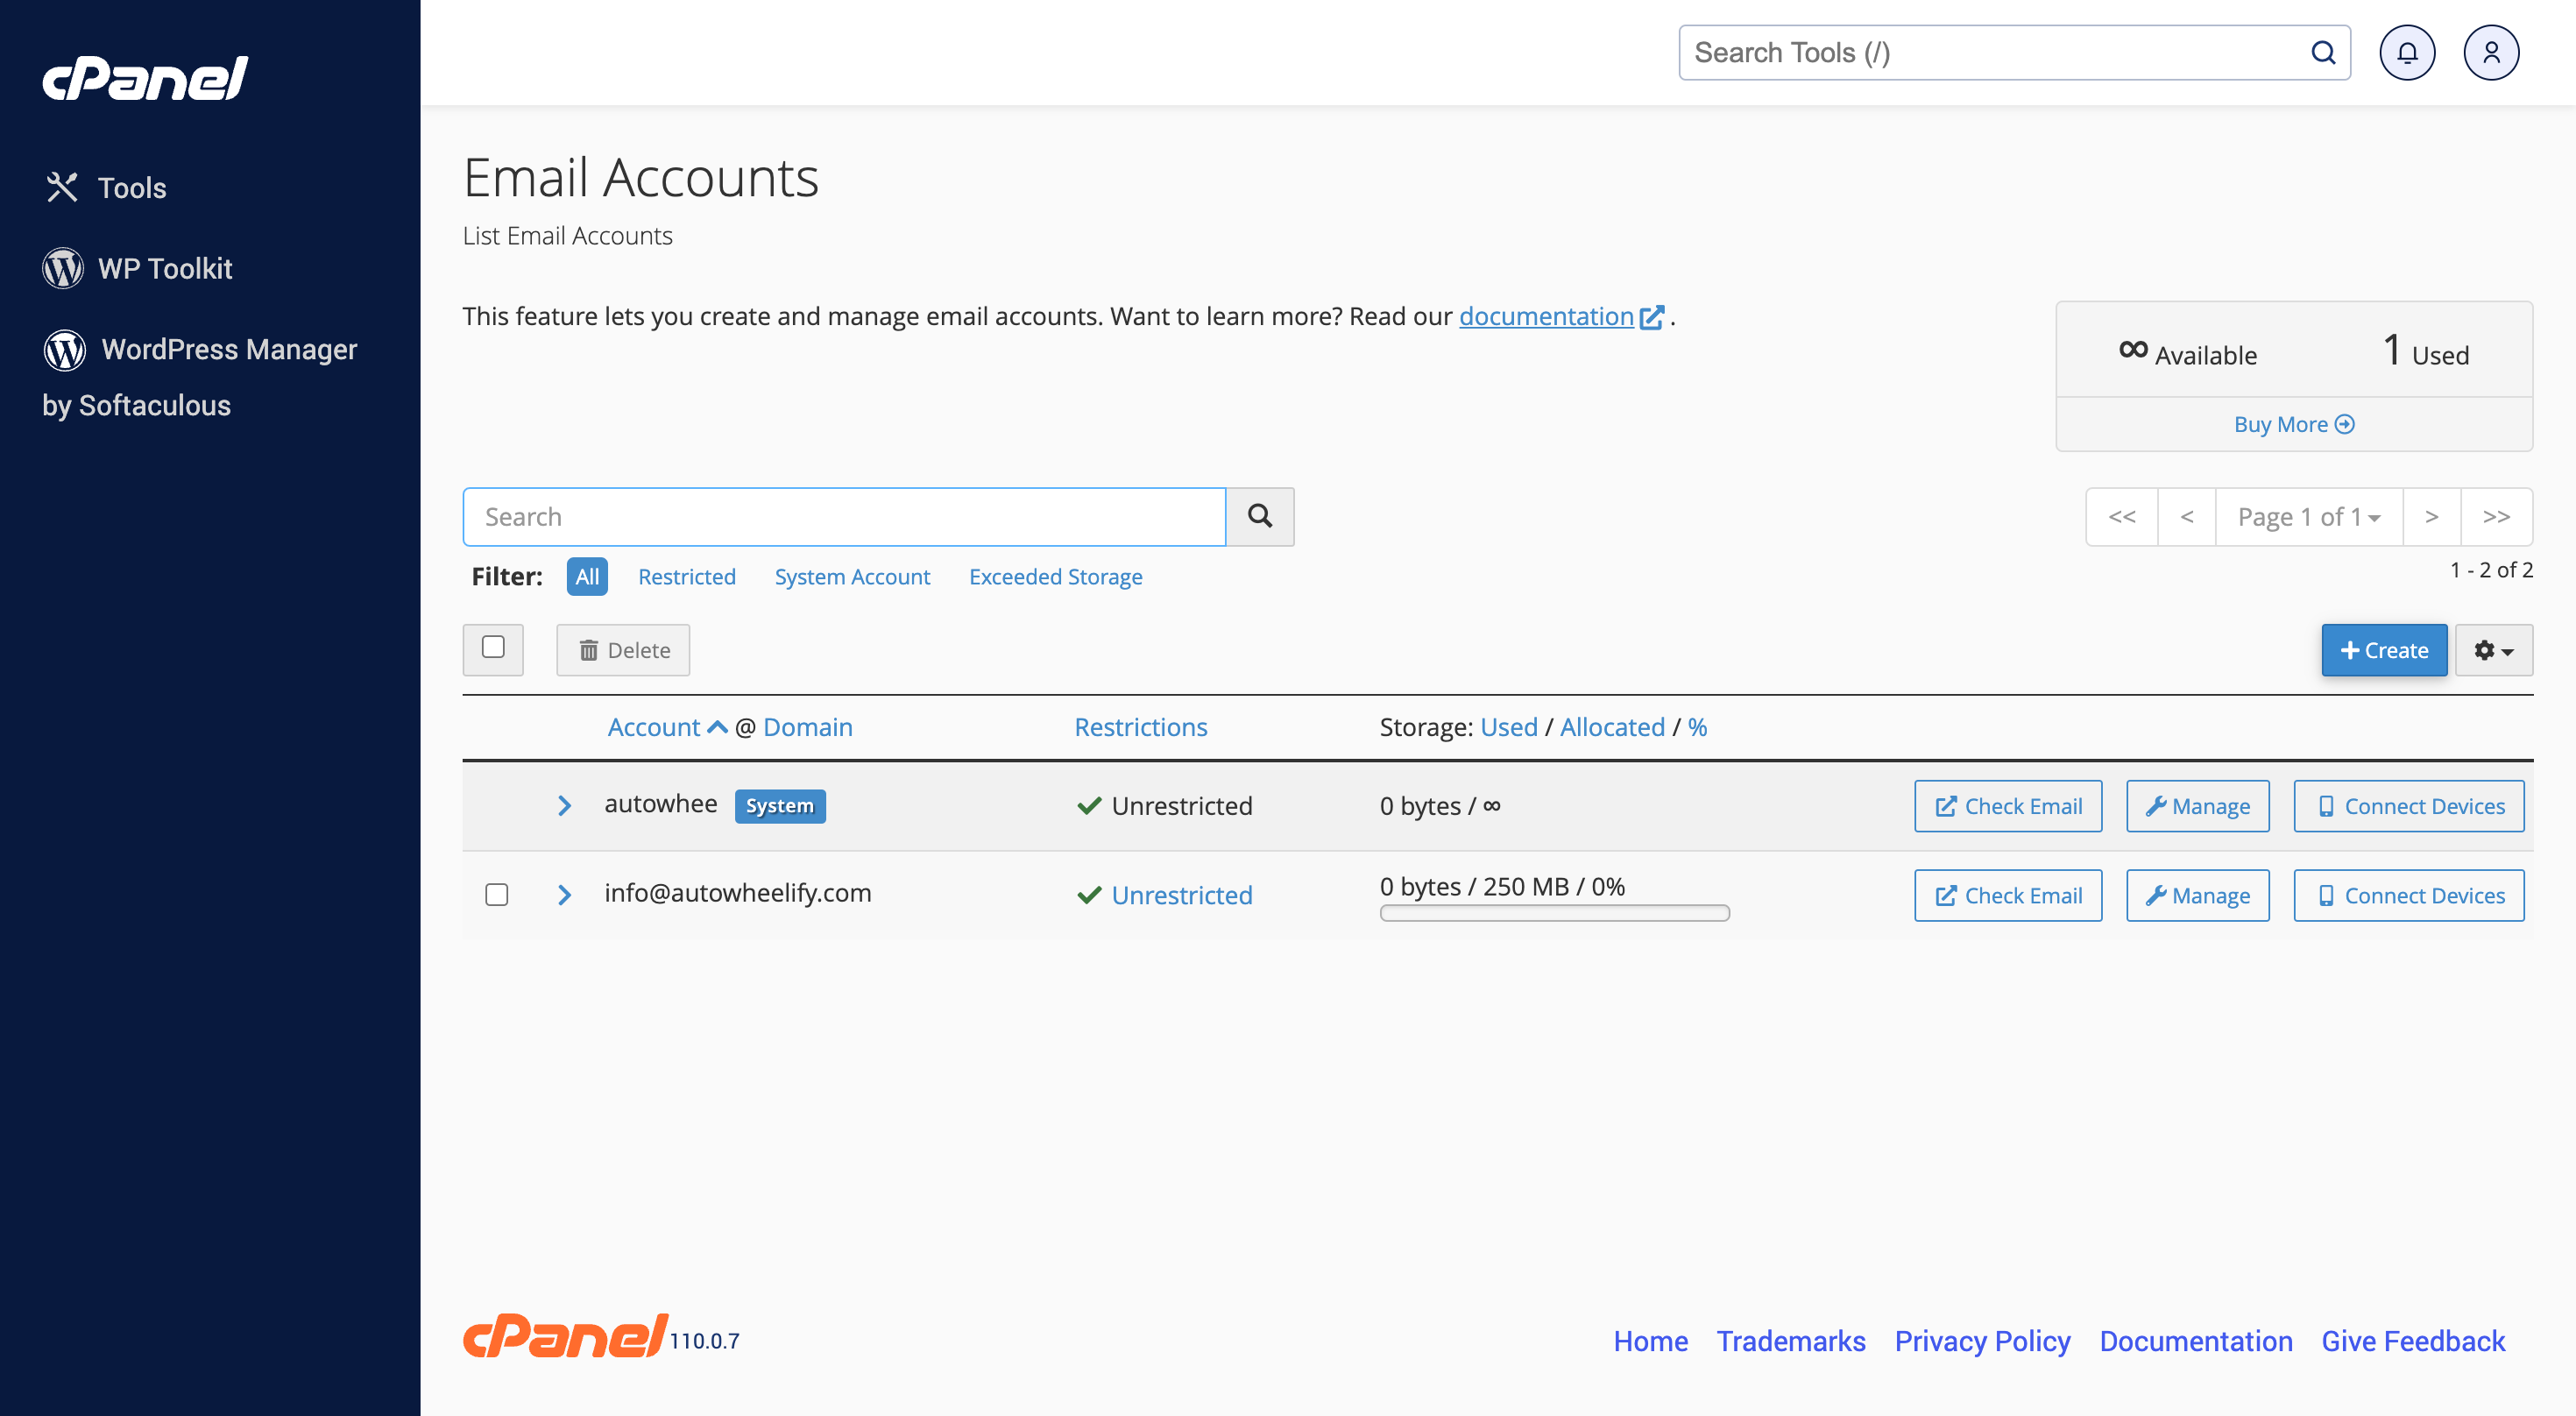
4. Click on the “Create” button on the middle right of the page to start creating a new email account. The button is highlighted, as shown in the picture below.
5. You will now be redirected to the form to create the new email. You will need to fill the form according to the need of the employee or any specified person.
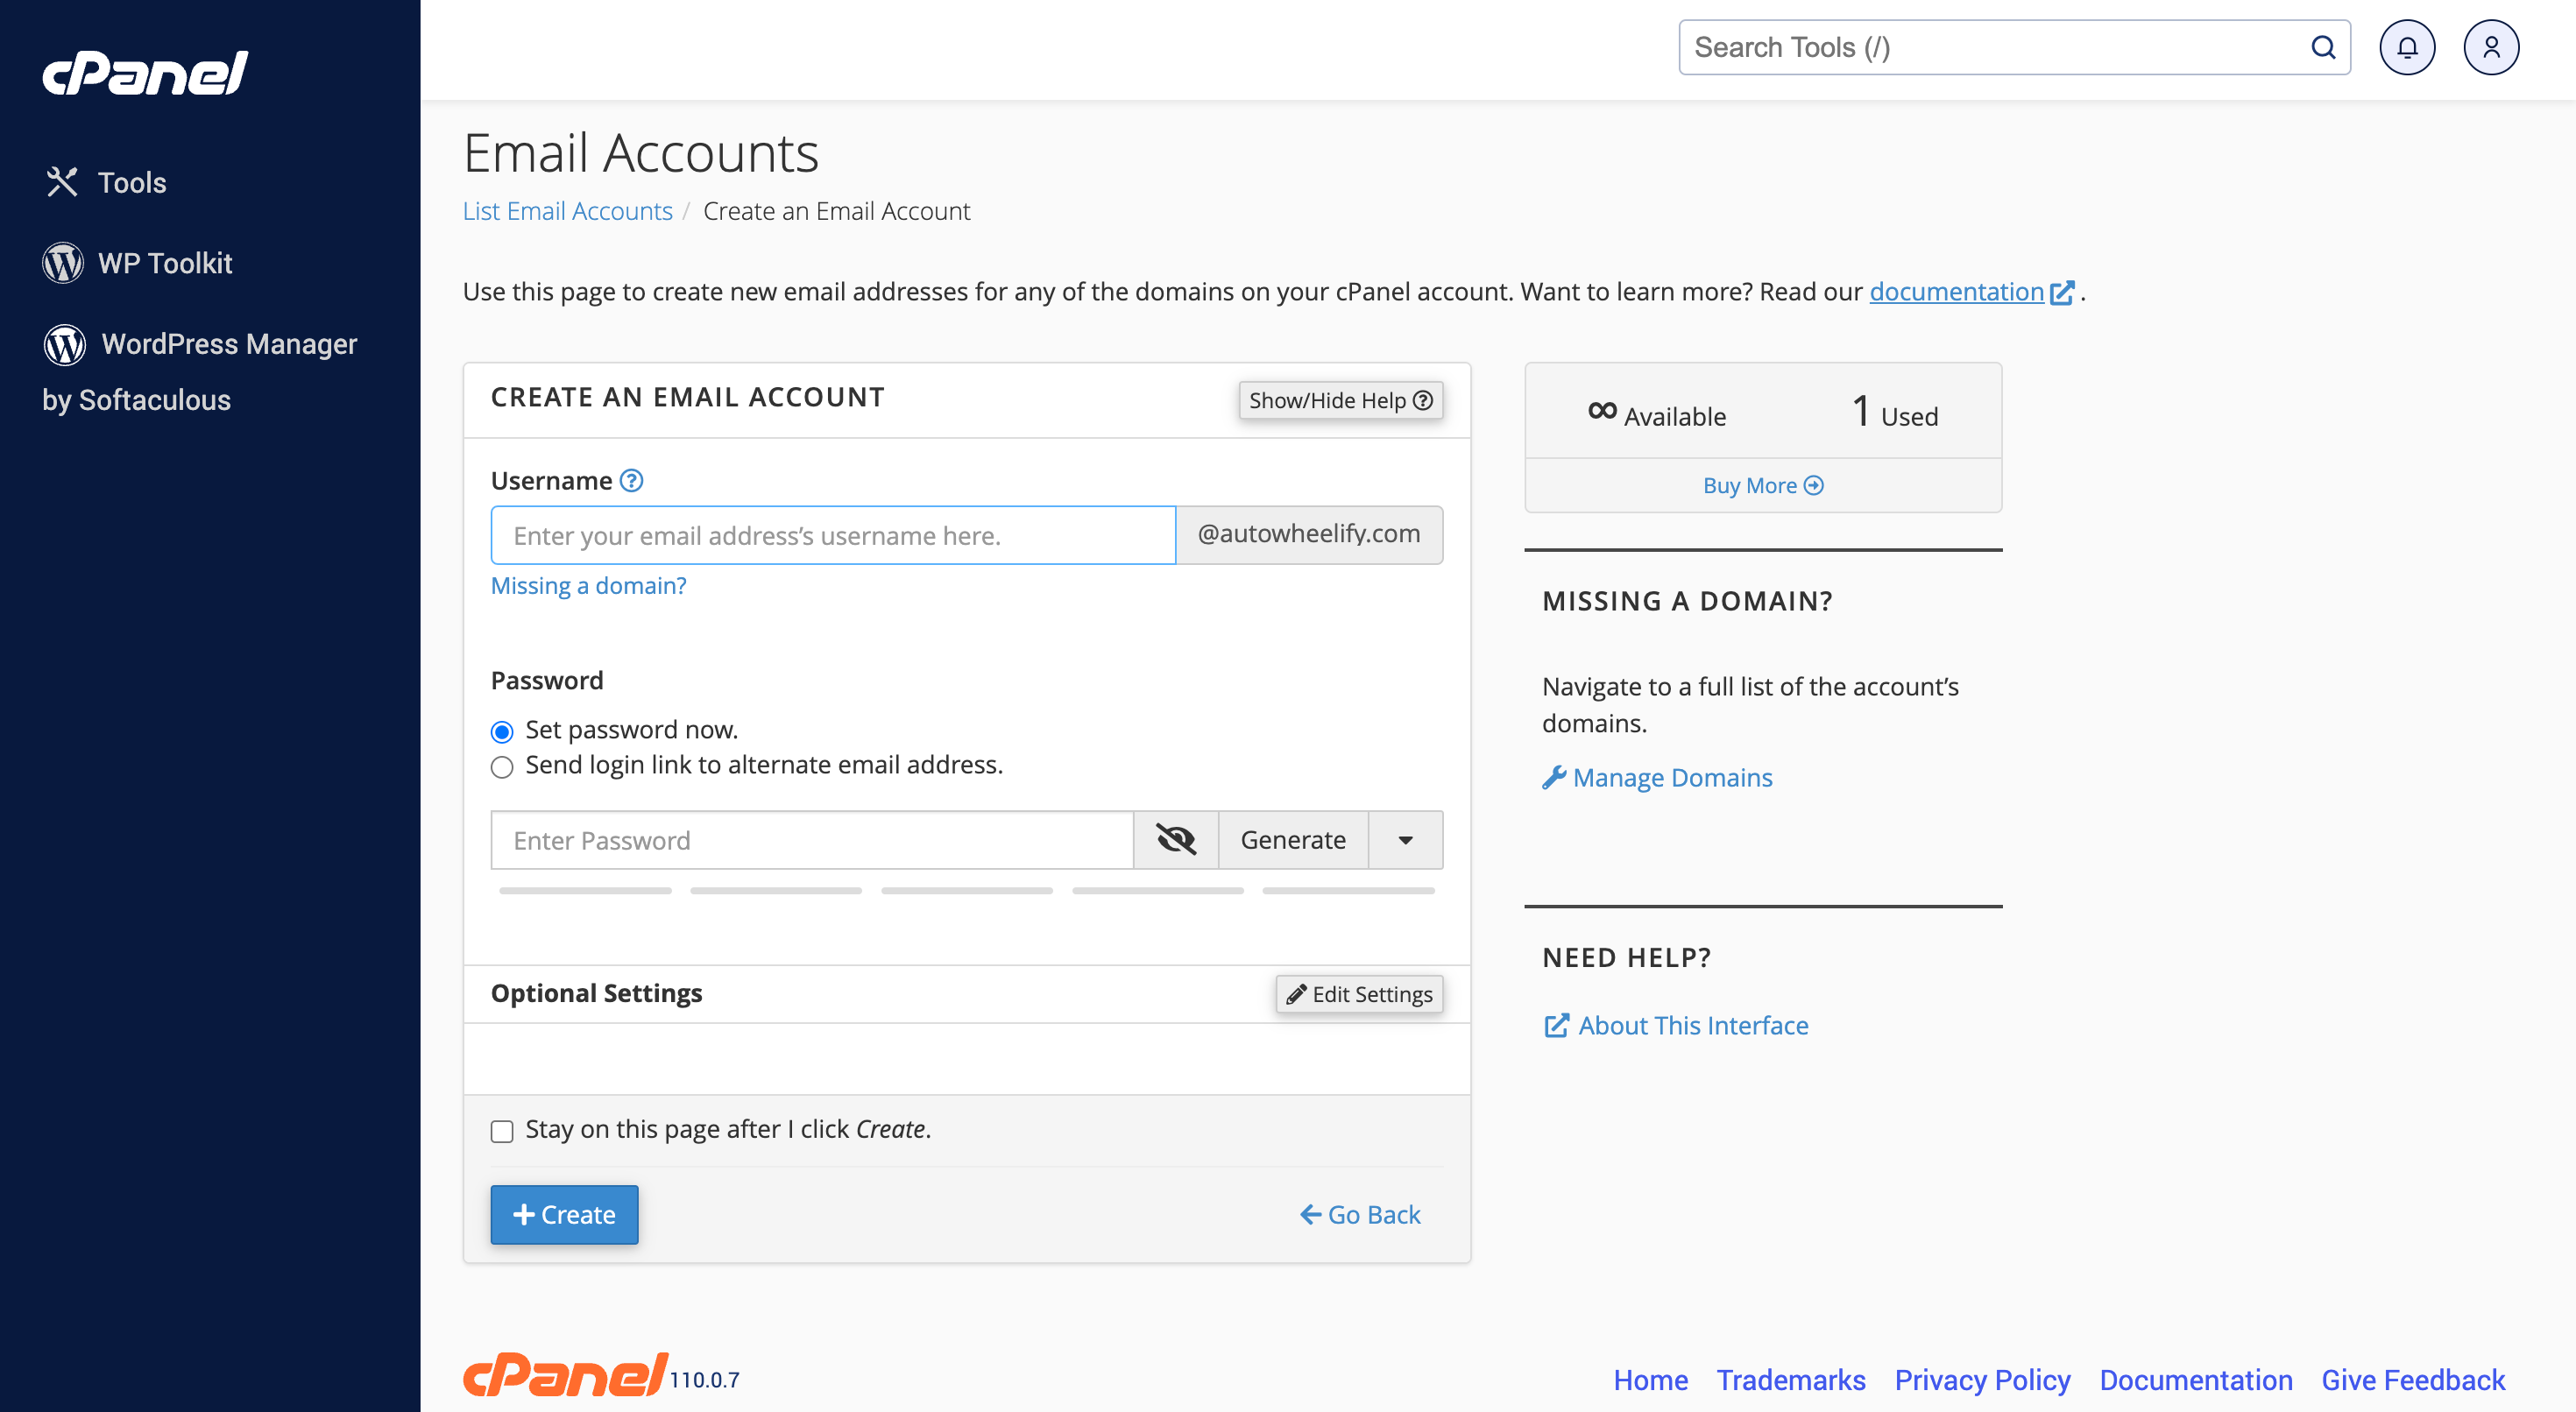
6. Enter the username for the email in the “Username” placeholder and enter the password in the “Password” placeholder.
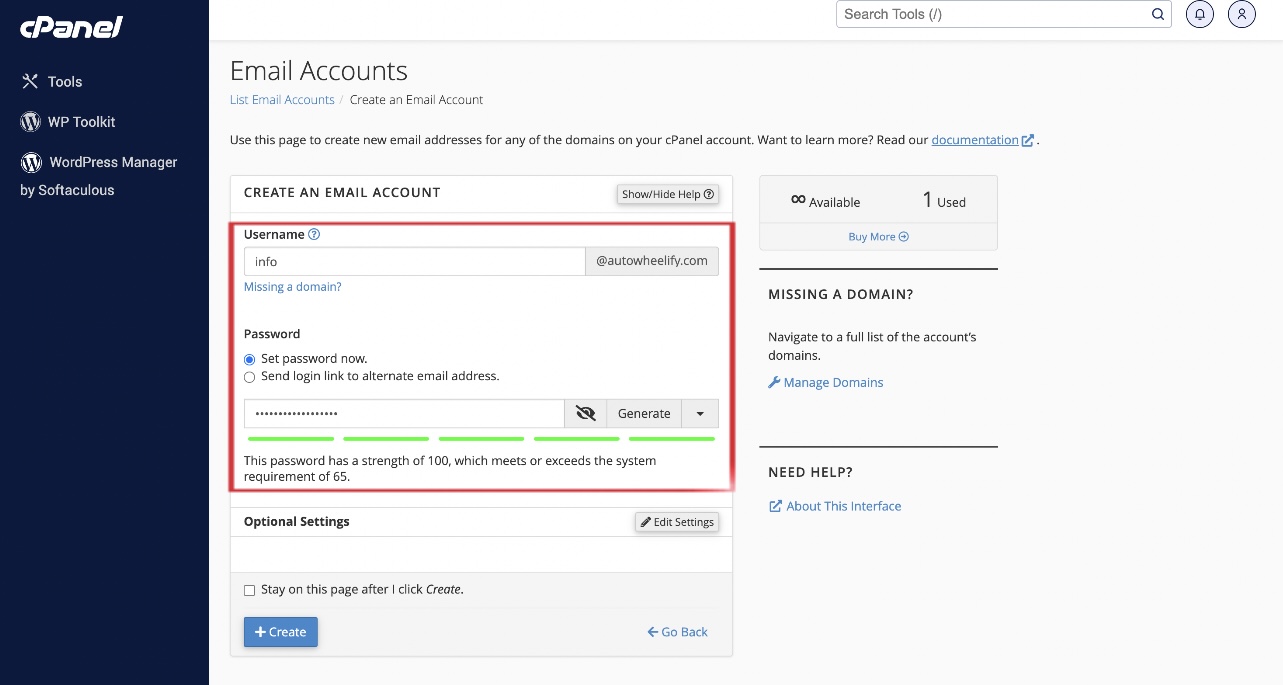
7. Now, scroll down and click on the “Create” button. Here, the first phase of the email creation has been completed, and you can do the other half anytime you want.

8. After clicking on “Create,” you will be redirected to a page shown below. As mentioned before, you can check all the mails on your domain from this page.
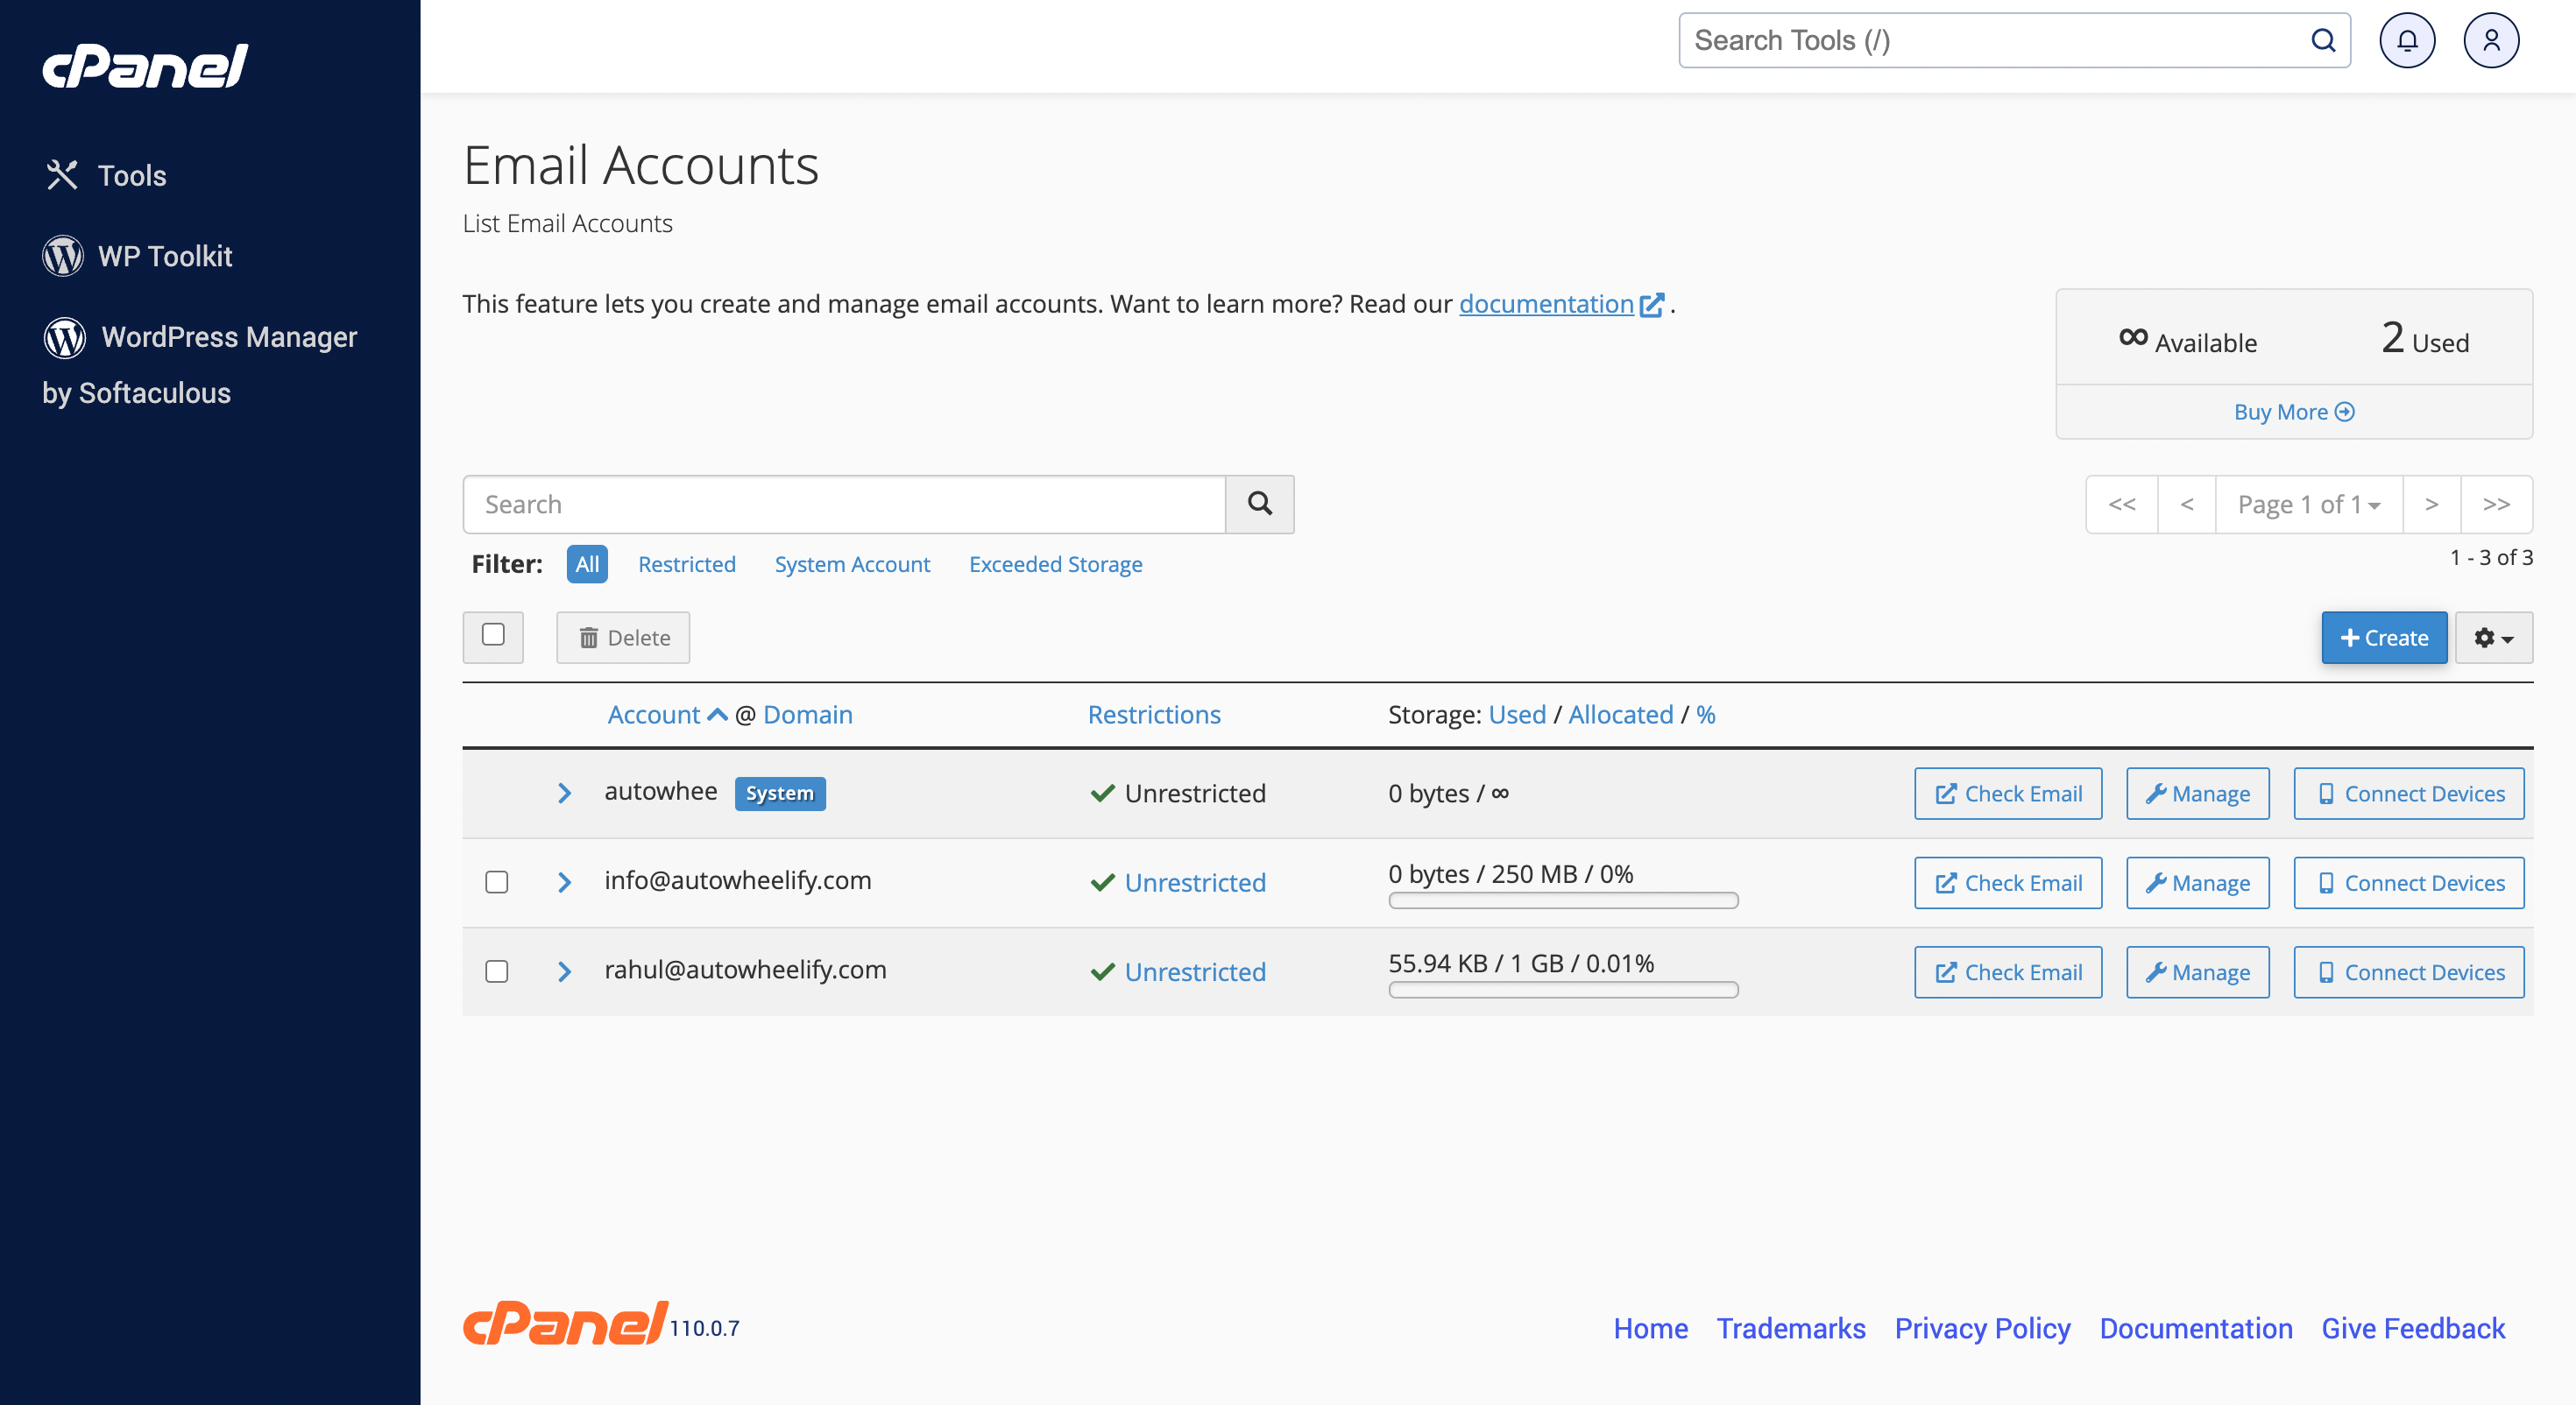
9. Now, click on the “Check Mail” beside the email you just created. You will now see the page to set up your email in cPanel.
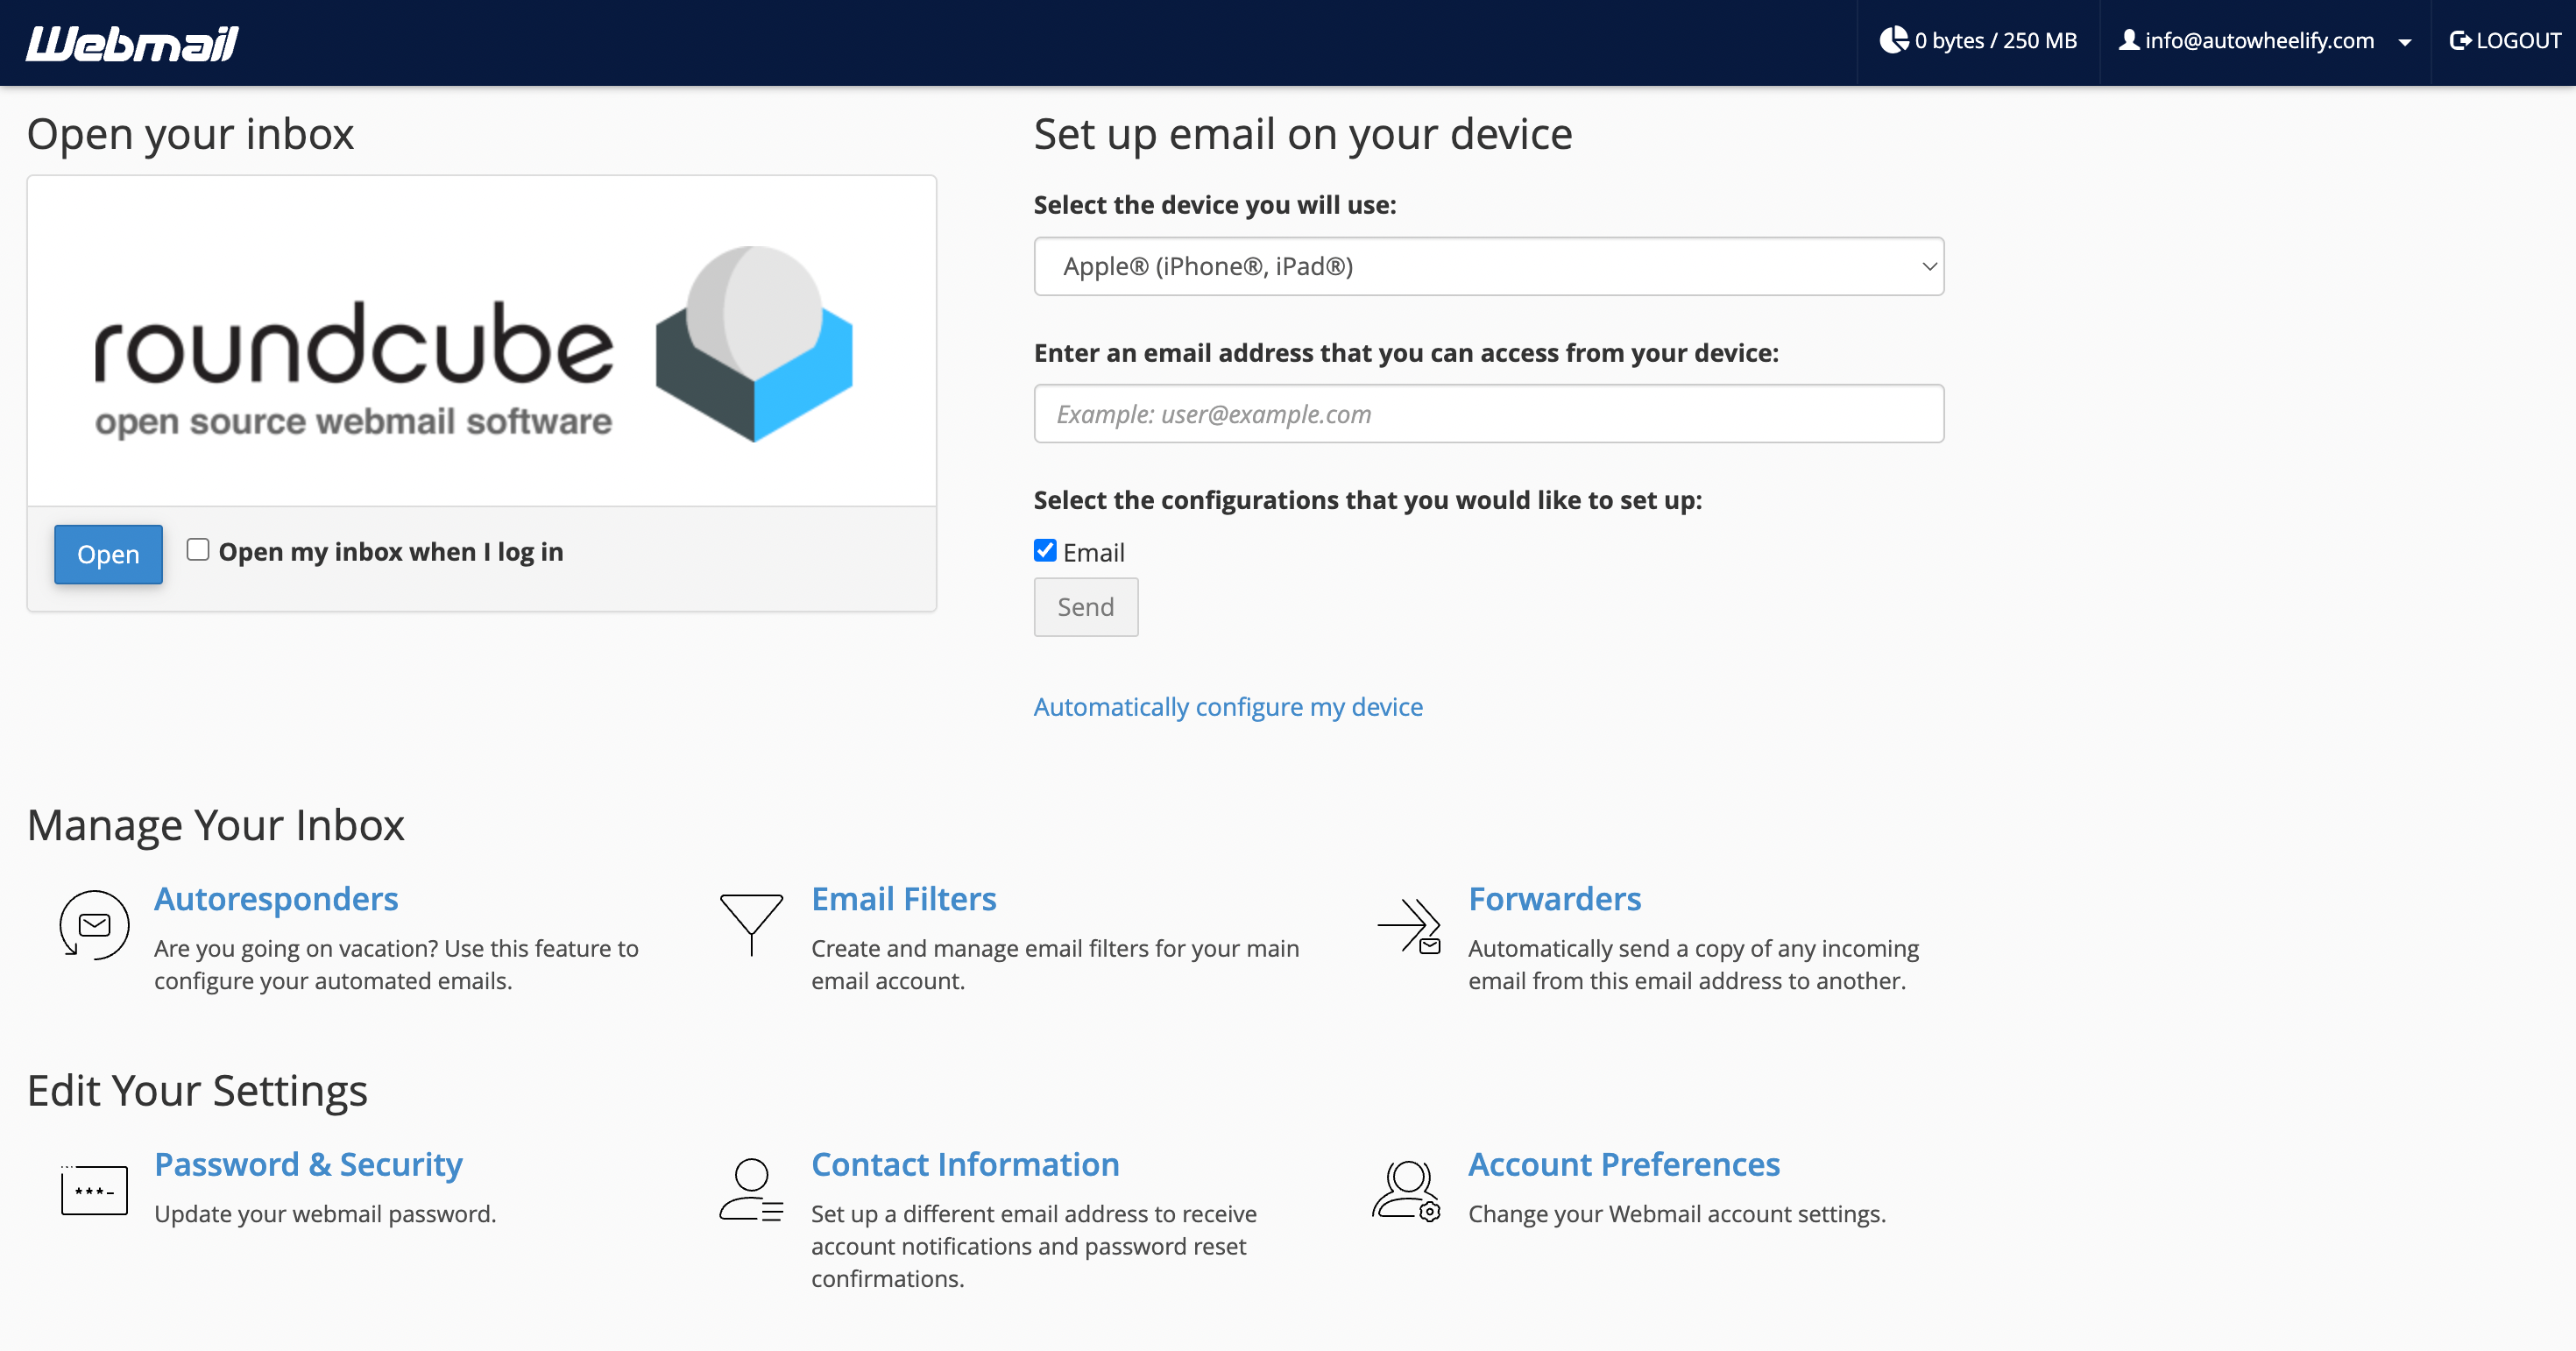
10. Select “horde” and fill in the email address you want to access from your device. I am filling in the same email we just created. Now, click on the “Automatically Configure my Device”.
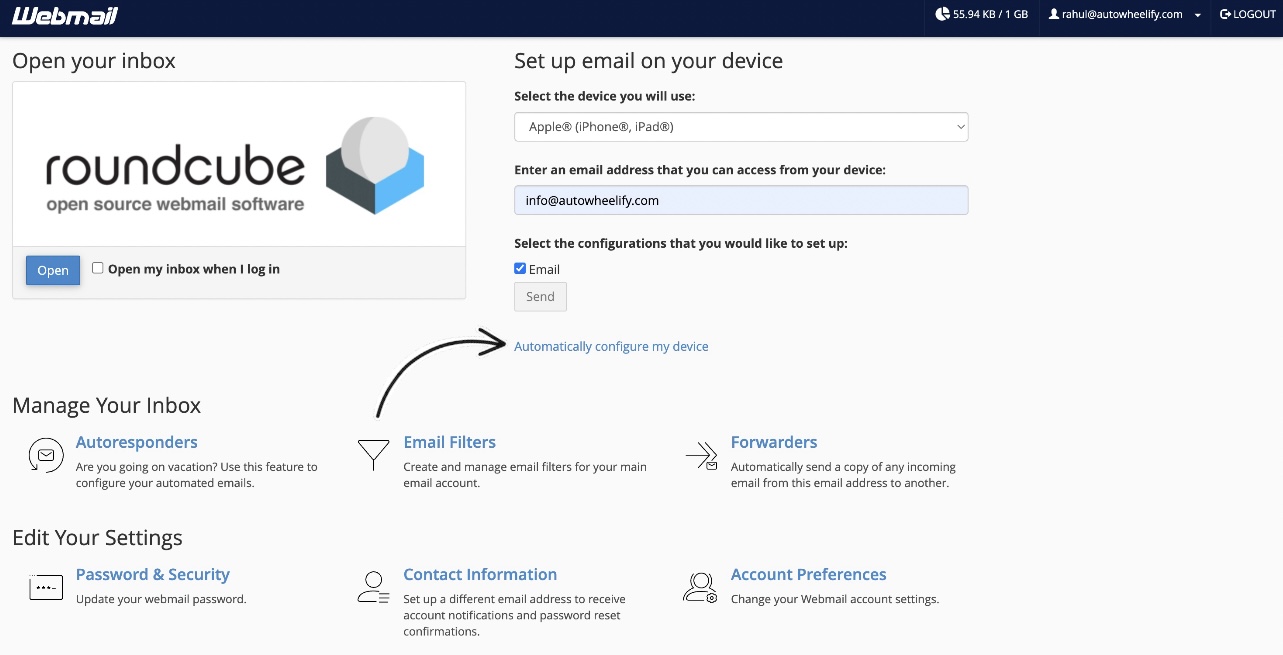
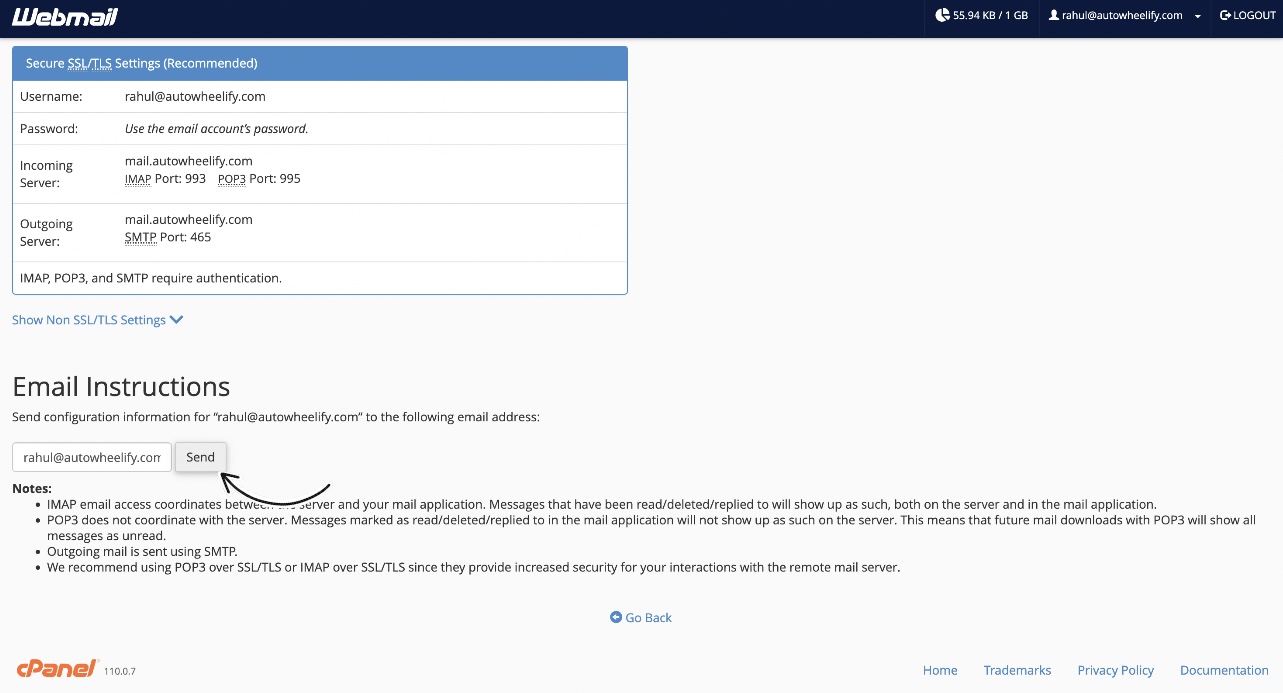
and then Click on “Send”
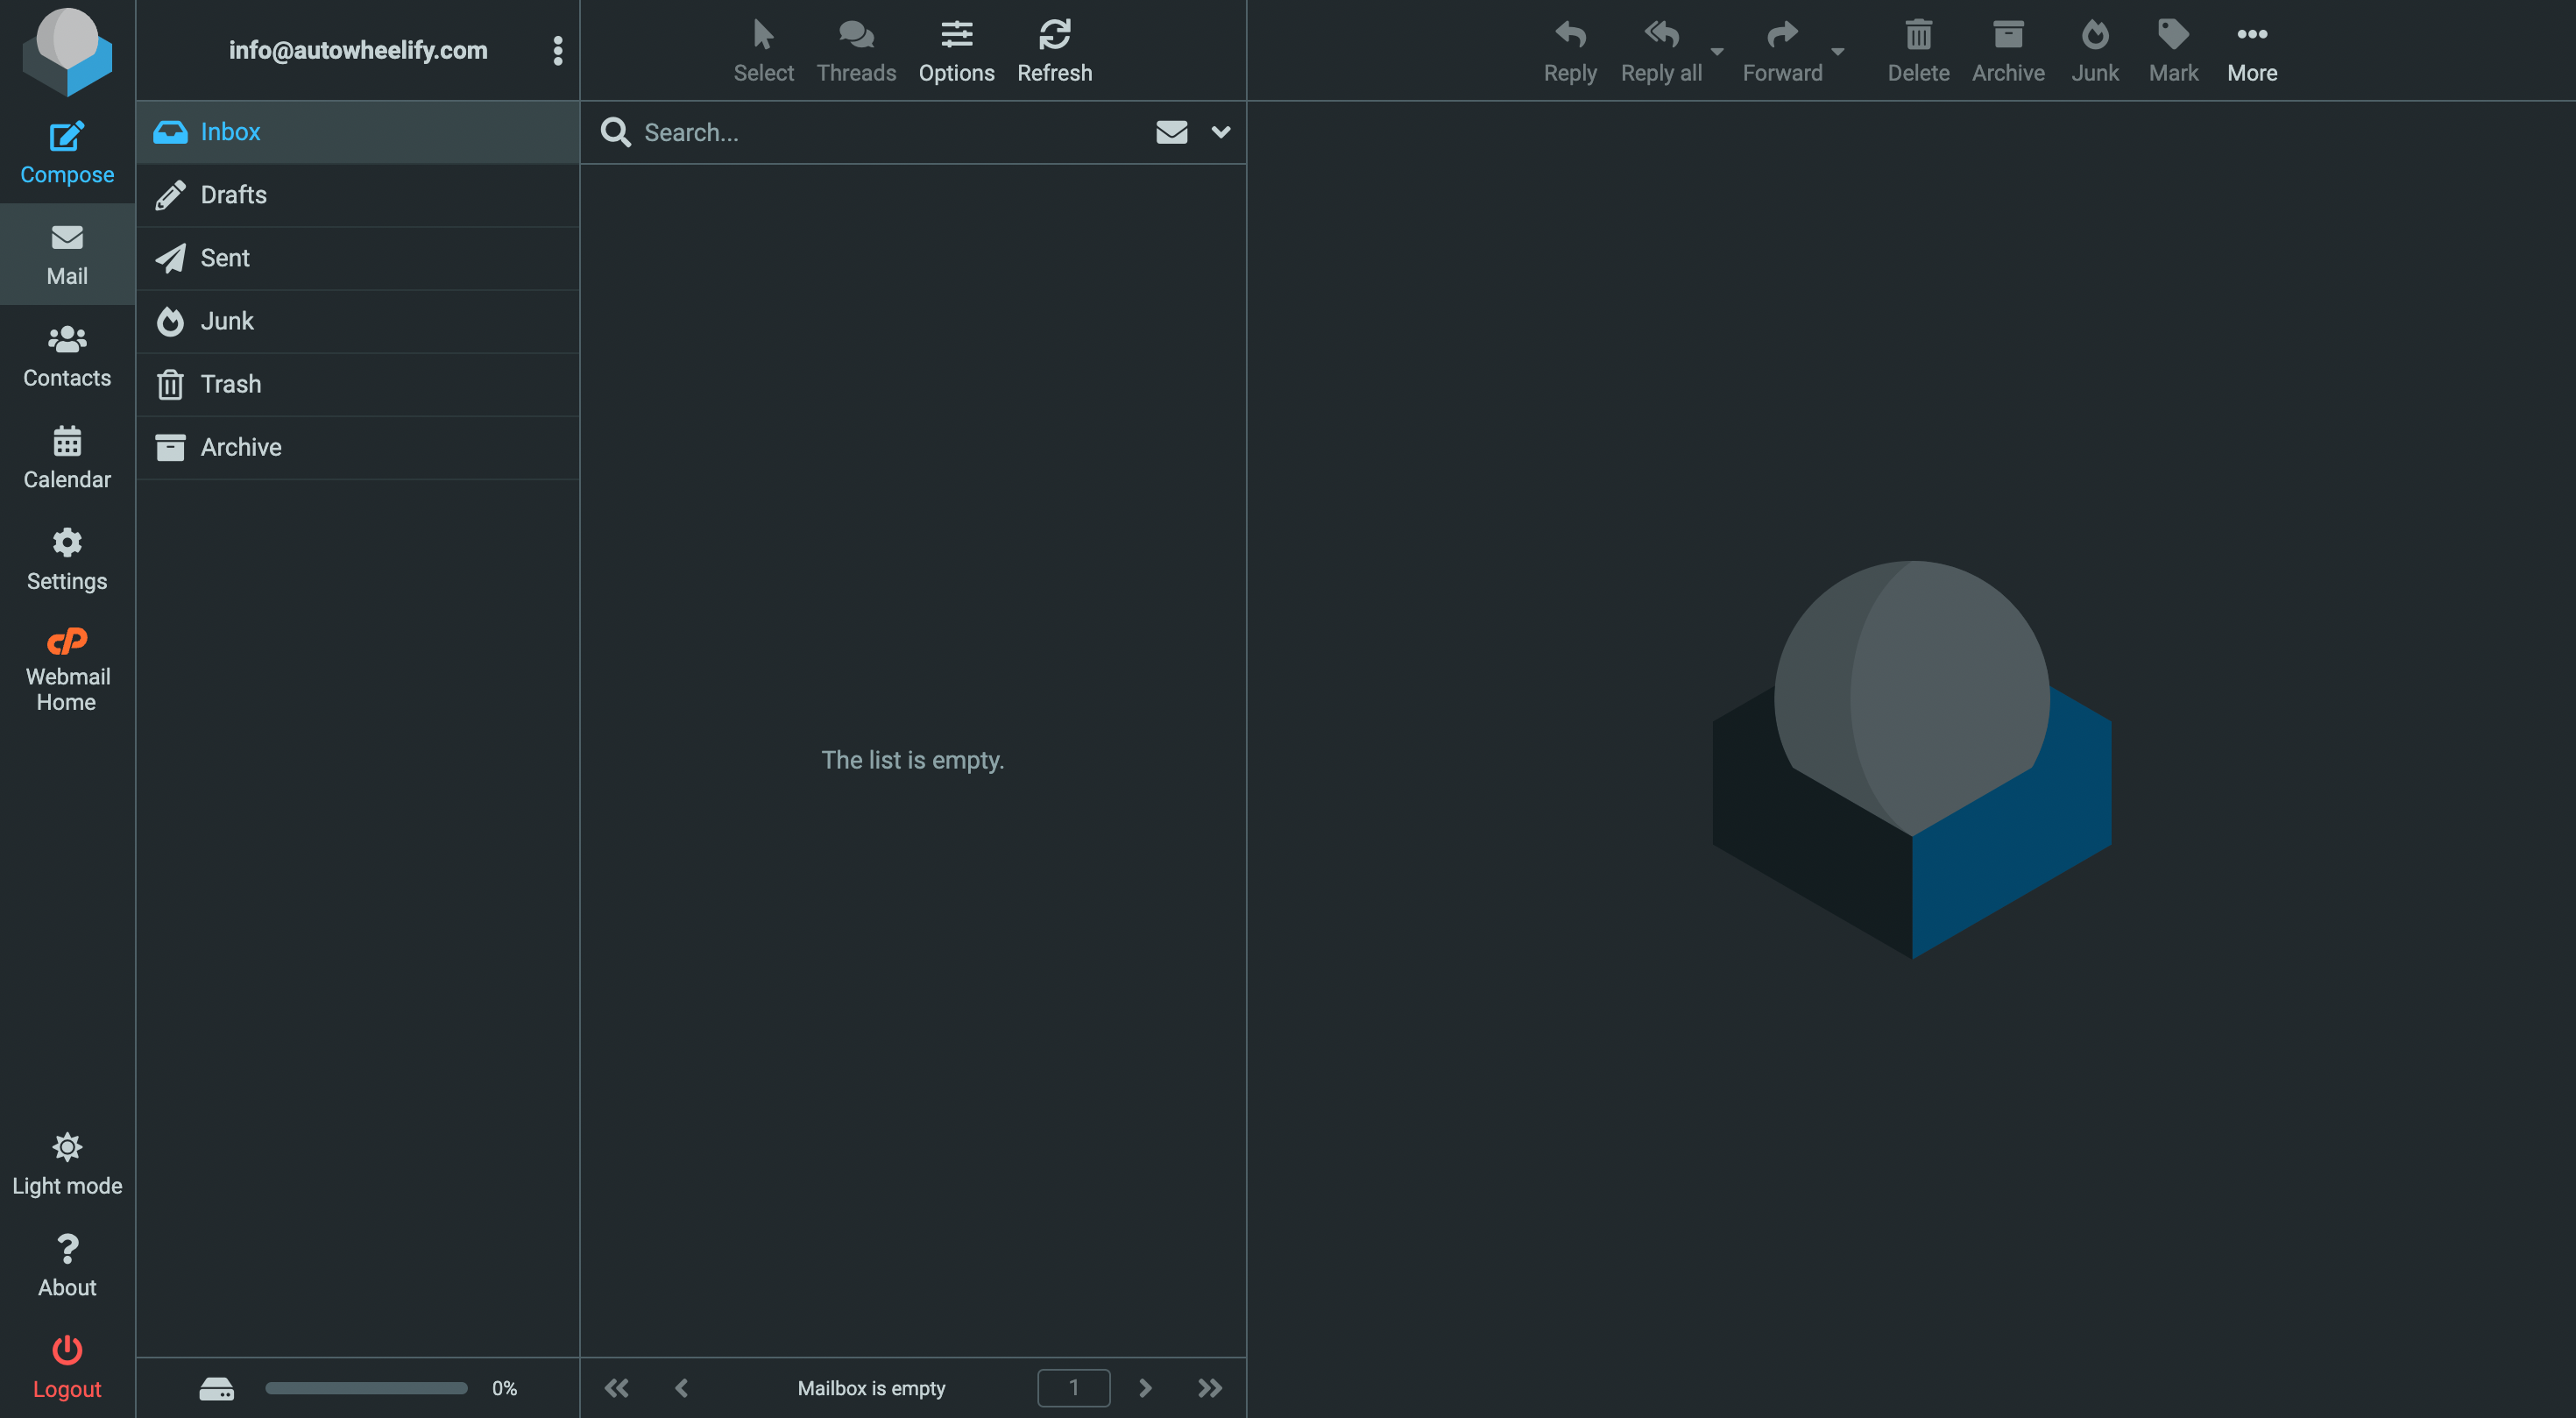
Now, you have created an entirely usable email account on your desired domain. So, you just created an email in cPanel. Wasn’t that cool? You can now check and send emails from the email you just made, just like you do on your Gmail account.
Kudos! You have completed the creation process to create an email in cPanel. See! Wasn’t that easy? Look around Nest Nepal for more educational content.
If you want to learn more about creating addon domain on cPanel, Check this blog out: Create addon domain in cPanel
You can also follow us on Facebook: https://facebook.com/nestnepalofficial.
Frequently Asked Questions(FAQ)
Can I create multiple email accounts using cPanel?
Yes, you can create multiple email accounts using cPanel.
Can I use custom domain for all my email accounts in cPanel?
Yes, you are able to use a custom domain for your cPanel email accounts. You can choose the domain connected with your hosting account when creating an email account. By selecting a custom domain, you can have professional-looking email addresses (for example, info@yourdomain.com) that correspond to your website or business.
How do I delete my email account in cPanel?
To delete an email account in cPanel, follow these steps:
1) Access cPanel and navigate to the Email section.
2) Click on the “Email Accounts” or “Email Management” option.
3) Click on “Manage” on the side of your Email.
4) Scroll down and look for Delete Email Account.
5) Click on “Delete Email Account”
6) Your Email Account will be Deleted.