


React, a powerful JavaScript library for building user interfaces, has gained immense popularity for its efficiency and flexibility. Meanwhile, cPanel, a web hosting control panel, remains a favored choice for managing websites due to its user-friendly interface and robust features. In this guide, we’ll explore how to seamlessly deploy React app in cPanel in just five minutes, unlocking the full potential of your web development projects.
Steps to Deploy React App in cPanel
1. Purchase Hosting And Domain
To make your website live on the internet, you need two things: a domain name (like www.yourwebsite.com) and a hosting plan. You can buy these from companies like Nest Nepal and Bitmoro. If you get them together, they’ll connect automatically. If not, don’t worry, this guide can help you through the process.
2. Preparing Your React App
Before diving into the deployment process, ensure that your React app is optimized for production. If you haven’t created one, you can create a react app using command “npx create-react-ap my-react-app” Once you’ve created your react app use command cd my-react-app to go into your react app directory.

3. Add the Homepage to your package.json File
Open your react app directory and add the homepage attribute in your package.json file.
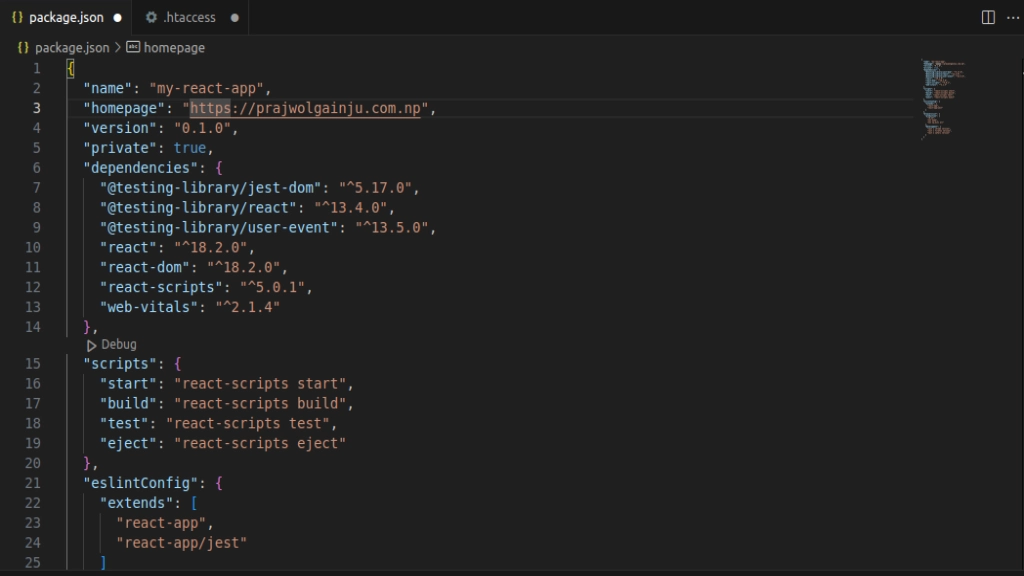
The format should be like this- “homepage”: “https://yourdomainname.com”
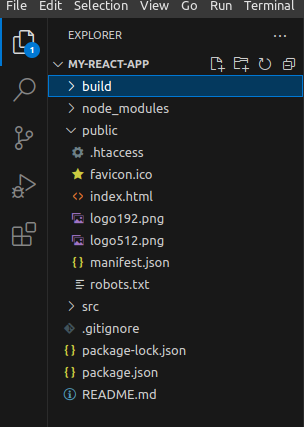
4. Create the Build File
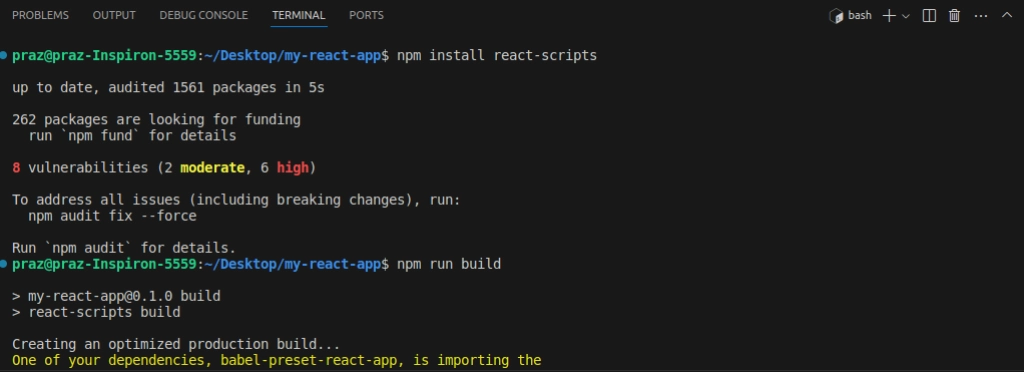
Run the command to generate a production build, which bundles your code and assets for optimal performance. In your app’s main folder, use ‘npm install’ to get the latest updates for your app. After that, run ‘npm run build’. And if it shows any error run ‘npm install react-scripts’ command before ‘npm run build’. 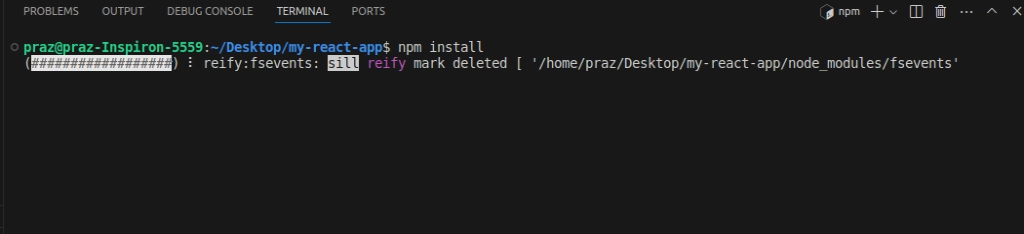
This will make a new folder called ‘build’ in your project. Inside ‘build’, your entire app is condensed and ready for your browser to understand and run smoothly.”
5. Accessing cPanel
To begin the deployment process, log in to your cPanel account using your credentials. Once logged in, navigate to the File Manager section, which allows you to manage files and directories on your hosting server easily.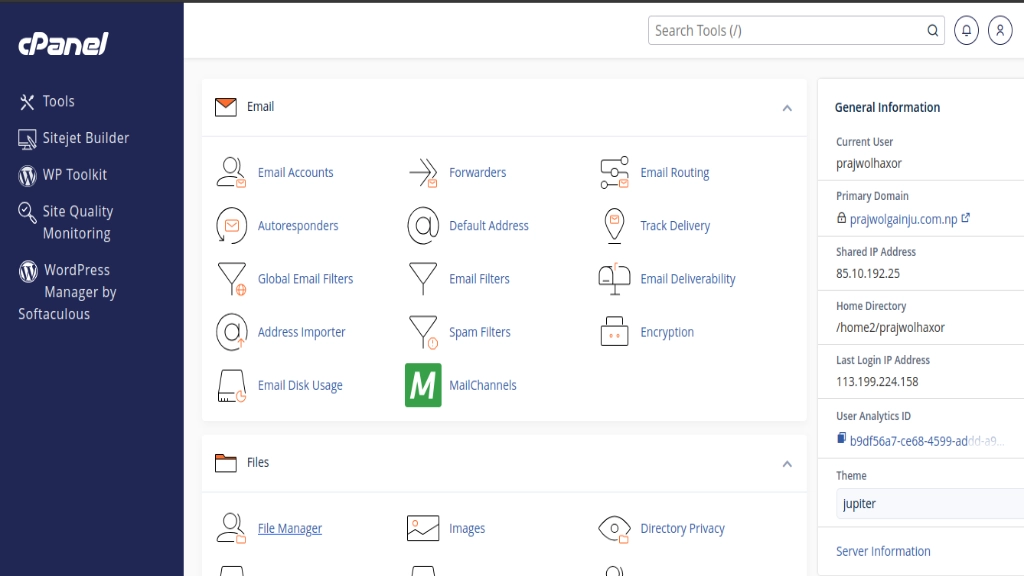
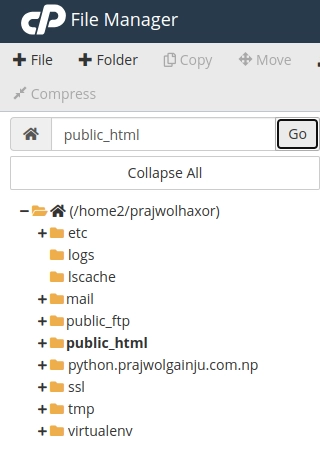
Go to the File Manager. You’ll see a list where you can choose different folders. Look for one called public_html and click on it.
6. Uploading Build File
You can make a zip file of the build file, then upload it to public_html. After uploading, you can unzip all the files in public_html. You can choose to keep or remove the zip file afterward.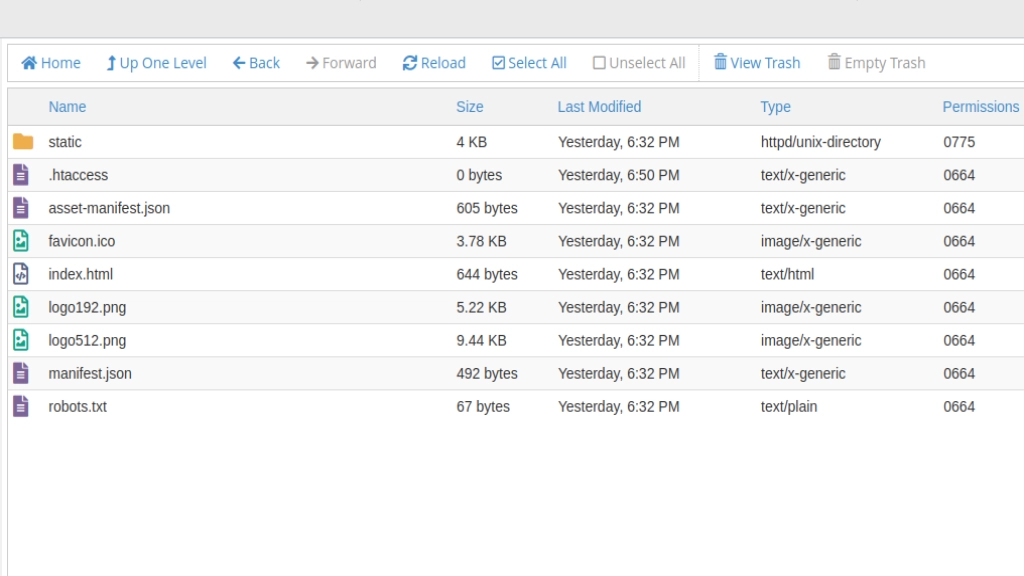
7. Create and Upload .htaccess file
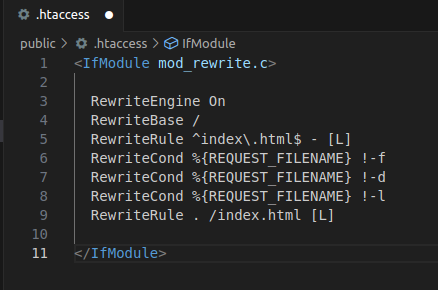
To make the routes work in your React app, you have to include a .htaccess file. Go to the public_html folder and create a new file named .htaccess. You can also create .htaccess files before in the build file and upload them together. Enable the RewriteEngine and specify the RewriteBase to ensure that requests are properly redirected to the main entry point of your React app.
Then, open the file and add the following basic information.
<IfModule mod_rewrite.c>

RewriteEngine On
RewriteBase /
RewriteRule ^index\.html$ - [L]
RewriteCond %{REQUEST_FILENAME} !-f
RewriteCond %{REQUEST_FILENAME} !-d
RewriteCond %{REQUEST_FILENAME} !-l
RewriteRule . /index.html [L]

</IfModule>
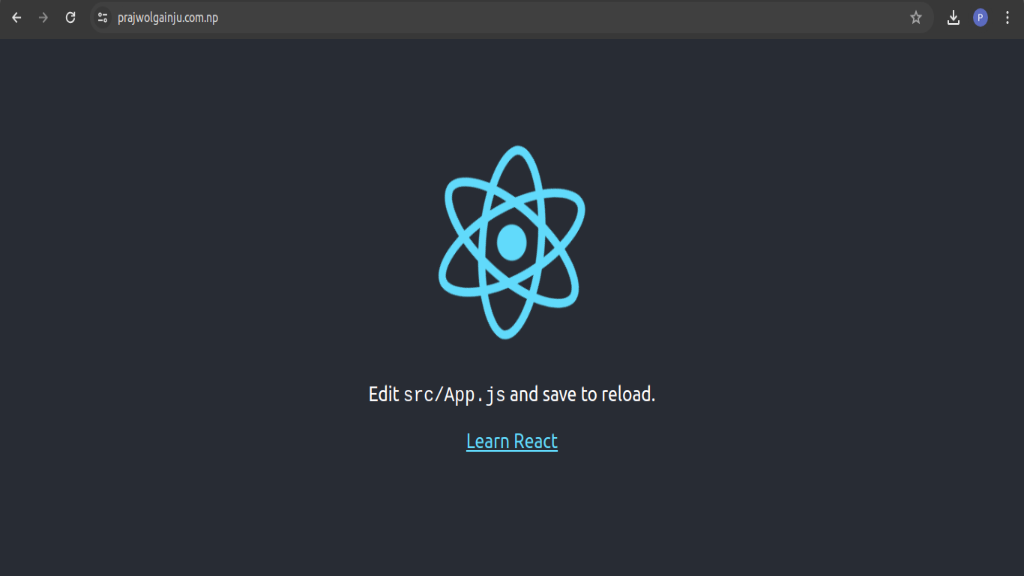
8. Verifying Deployment
For advanced users seeking further customization, consider integrating custom domains for your React app or optimizing performance through caching mechanisms and asset compression. Explore cPanel’s additional features and plugins to enhance the scalability and reliability of your deployed React app further.
9. Advanced Customization (Optional)
For advanced users seeking further customization, consider integrating custom domains for your React app or optimizing performance through caching mechanisms and asset compression. Explore cPanel’s additional features and plugins to enhance the scalability and reliability of your deployed React app further.
Conclusion
In just five minutes, you can deploy your React app in cPanel and unleash its full potential to the world. By following these simple steps, you can seamlessly integrate your React projects into your web hosting environment and provide users with a smooth and immersive experience. Don’t hesitate to explore further customization options and features offered by cPanel to elevate your web development projects to new heights.
About FileZilla:
Some people use FileZilla to put their own web apps online. I didn’t need it, but if you want to try:
- Download and open FileZilla.
- Get your website’s IP address from your hosting provider.
- Type in the IP address, cPanel login, cPanel username, and port (usually 21 or your hosting provider should provide that info for you) at the top.
- Click QuickConnect.
- Once connected, find your app’s files on the left, select them, and copy them.
- Go to public_html on the right in cPanel, then paste the files there.
- Make a .htaccess file with the same info as above.
This way, you can use FileZilla if you want to, but it’s not necessary for everyone.
Learn more: Get Ultimate Hosting Upgrade with VPS Hosting