


Create an Addon Domain

In this blog, we will see how we can create an addon domain cPanel provided by Nest Nepal. The steps are straightforward, and you will not need to do any coding or scripting. Even a person from non-computer science background can conduct this installation.
15 Easy Steps to Create an Addon domain in cPanel:
1. Open the link for cPanel given to you by Nest Nepal. This link will be sent to you by Nest Nepal in your email while creating an account at the company.
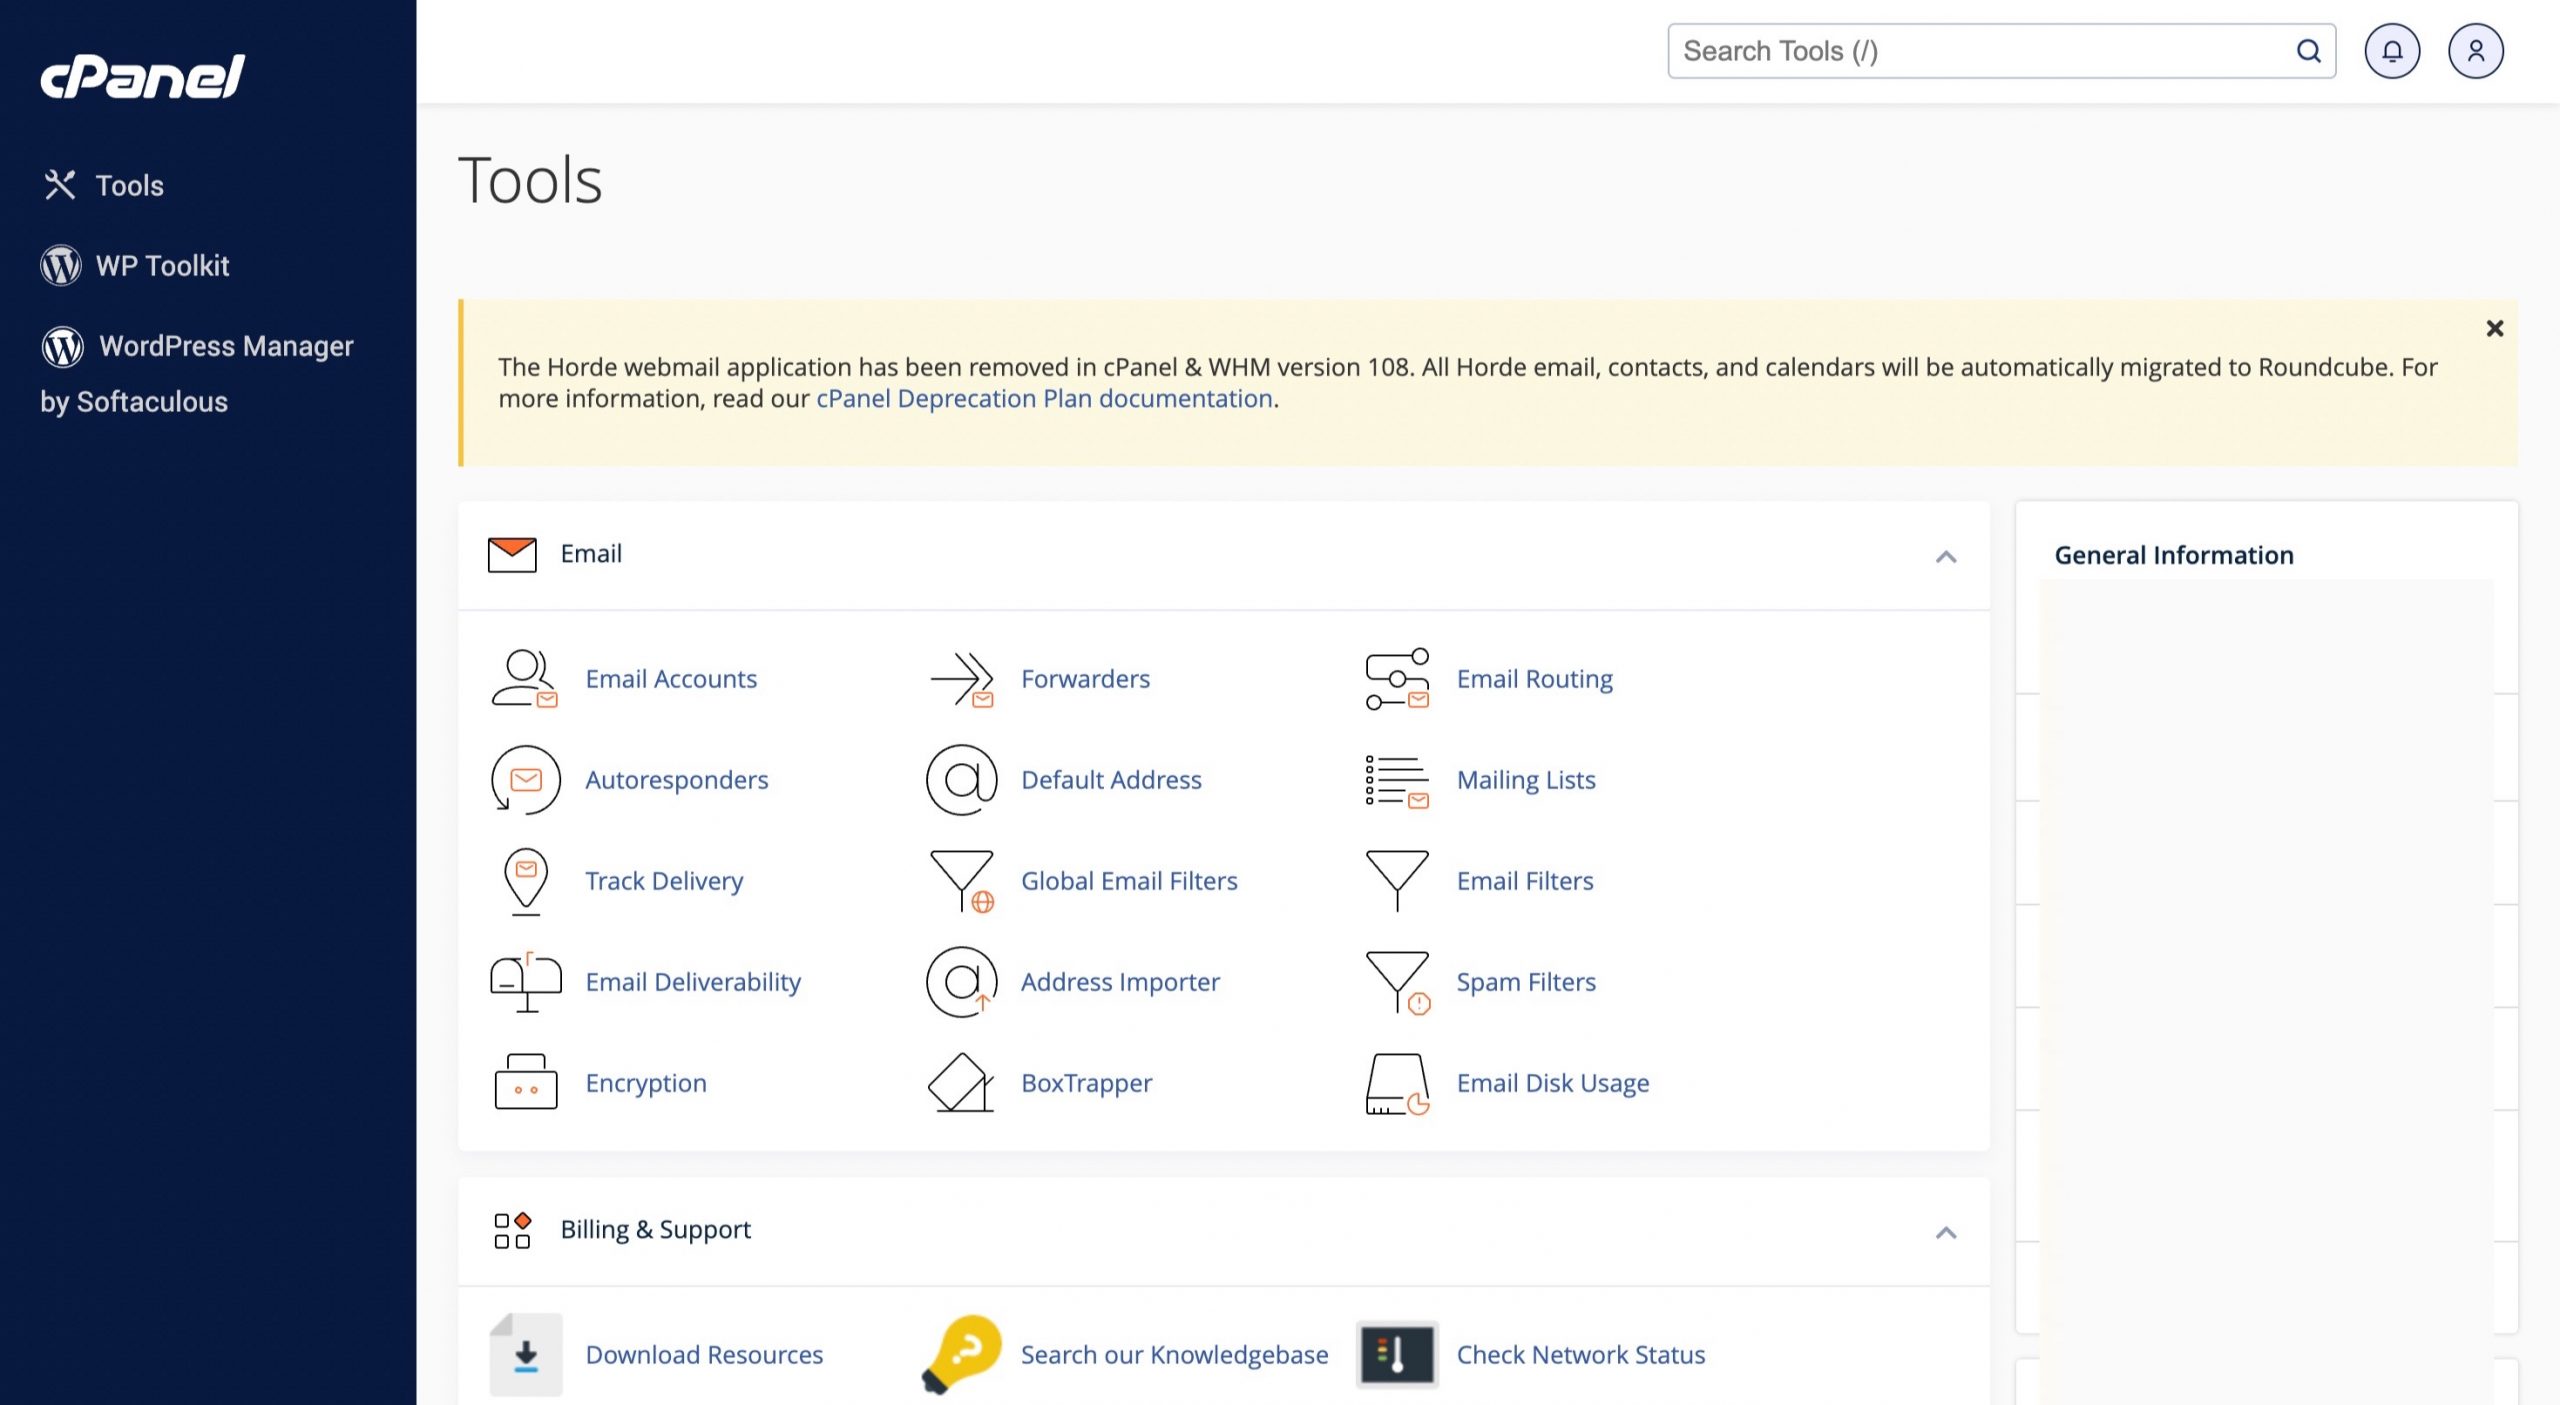
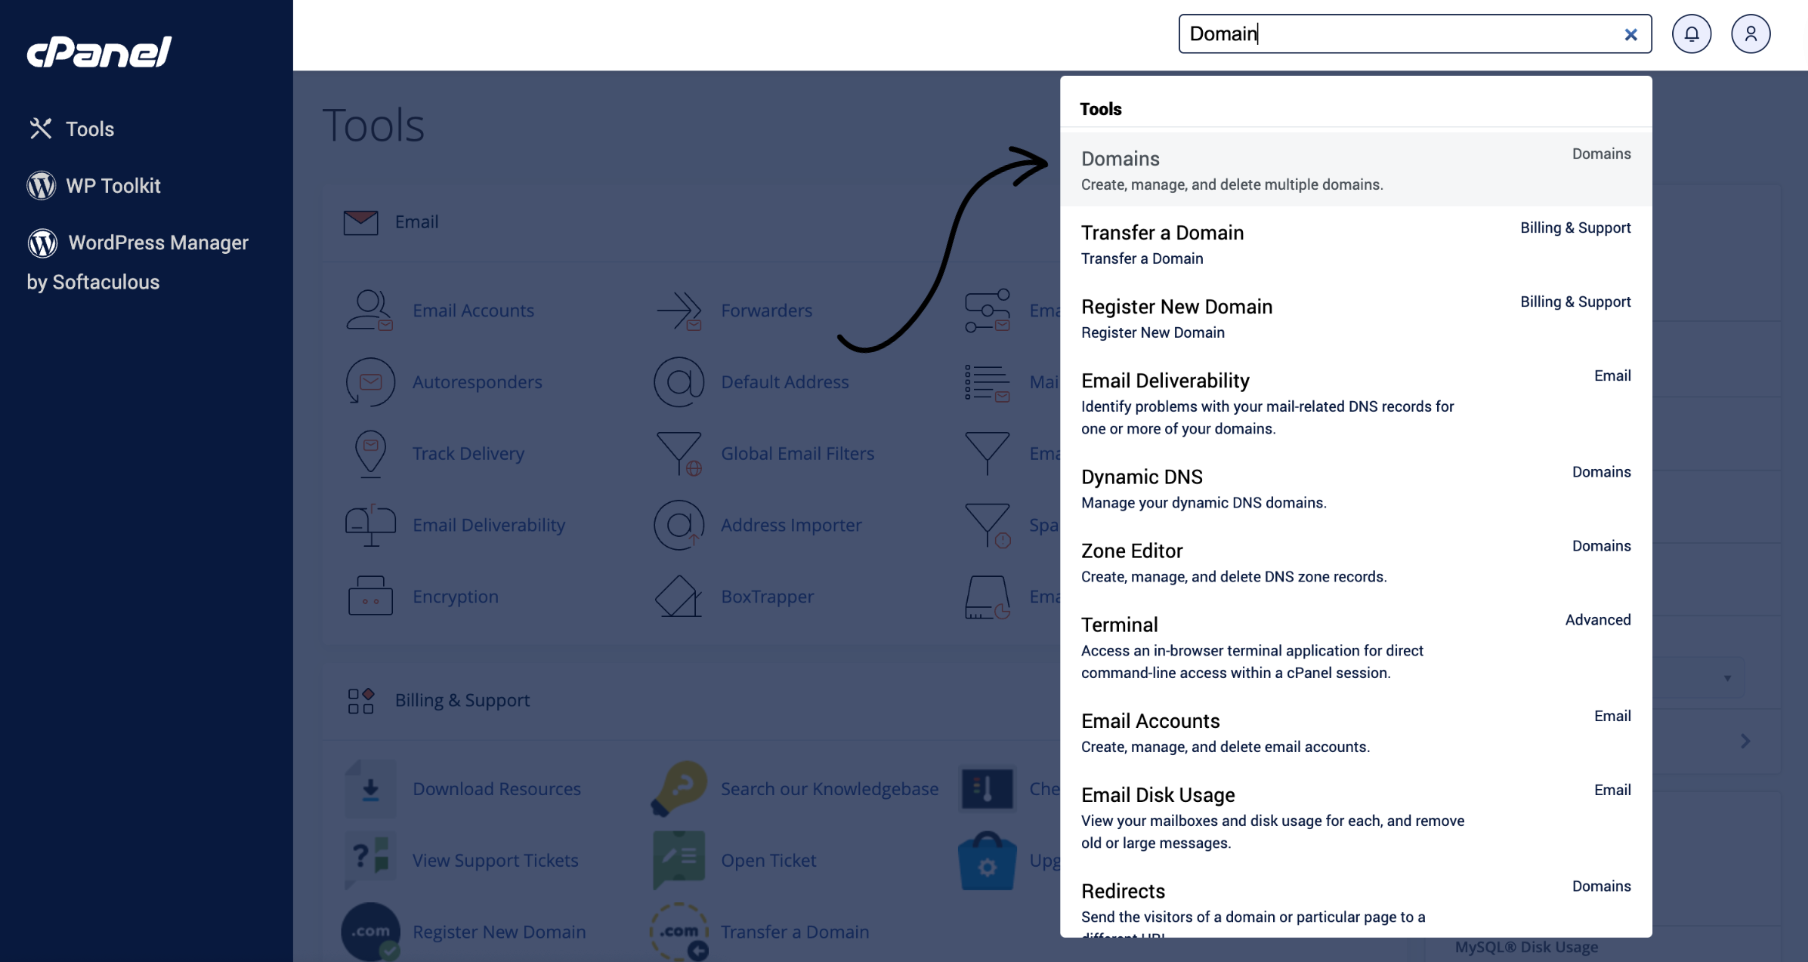
2. Once you log in, you will see the homepage of the cPanel. Here, Search for the “Domain” on the Search Bar and Click on “Domain”.
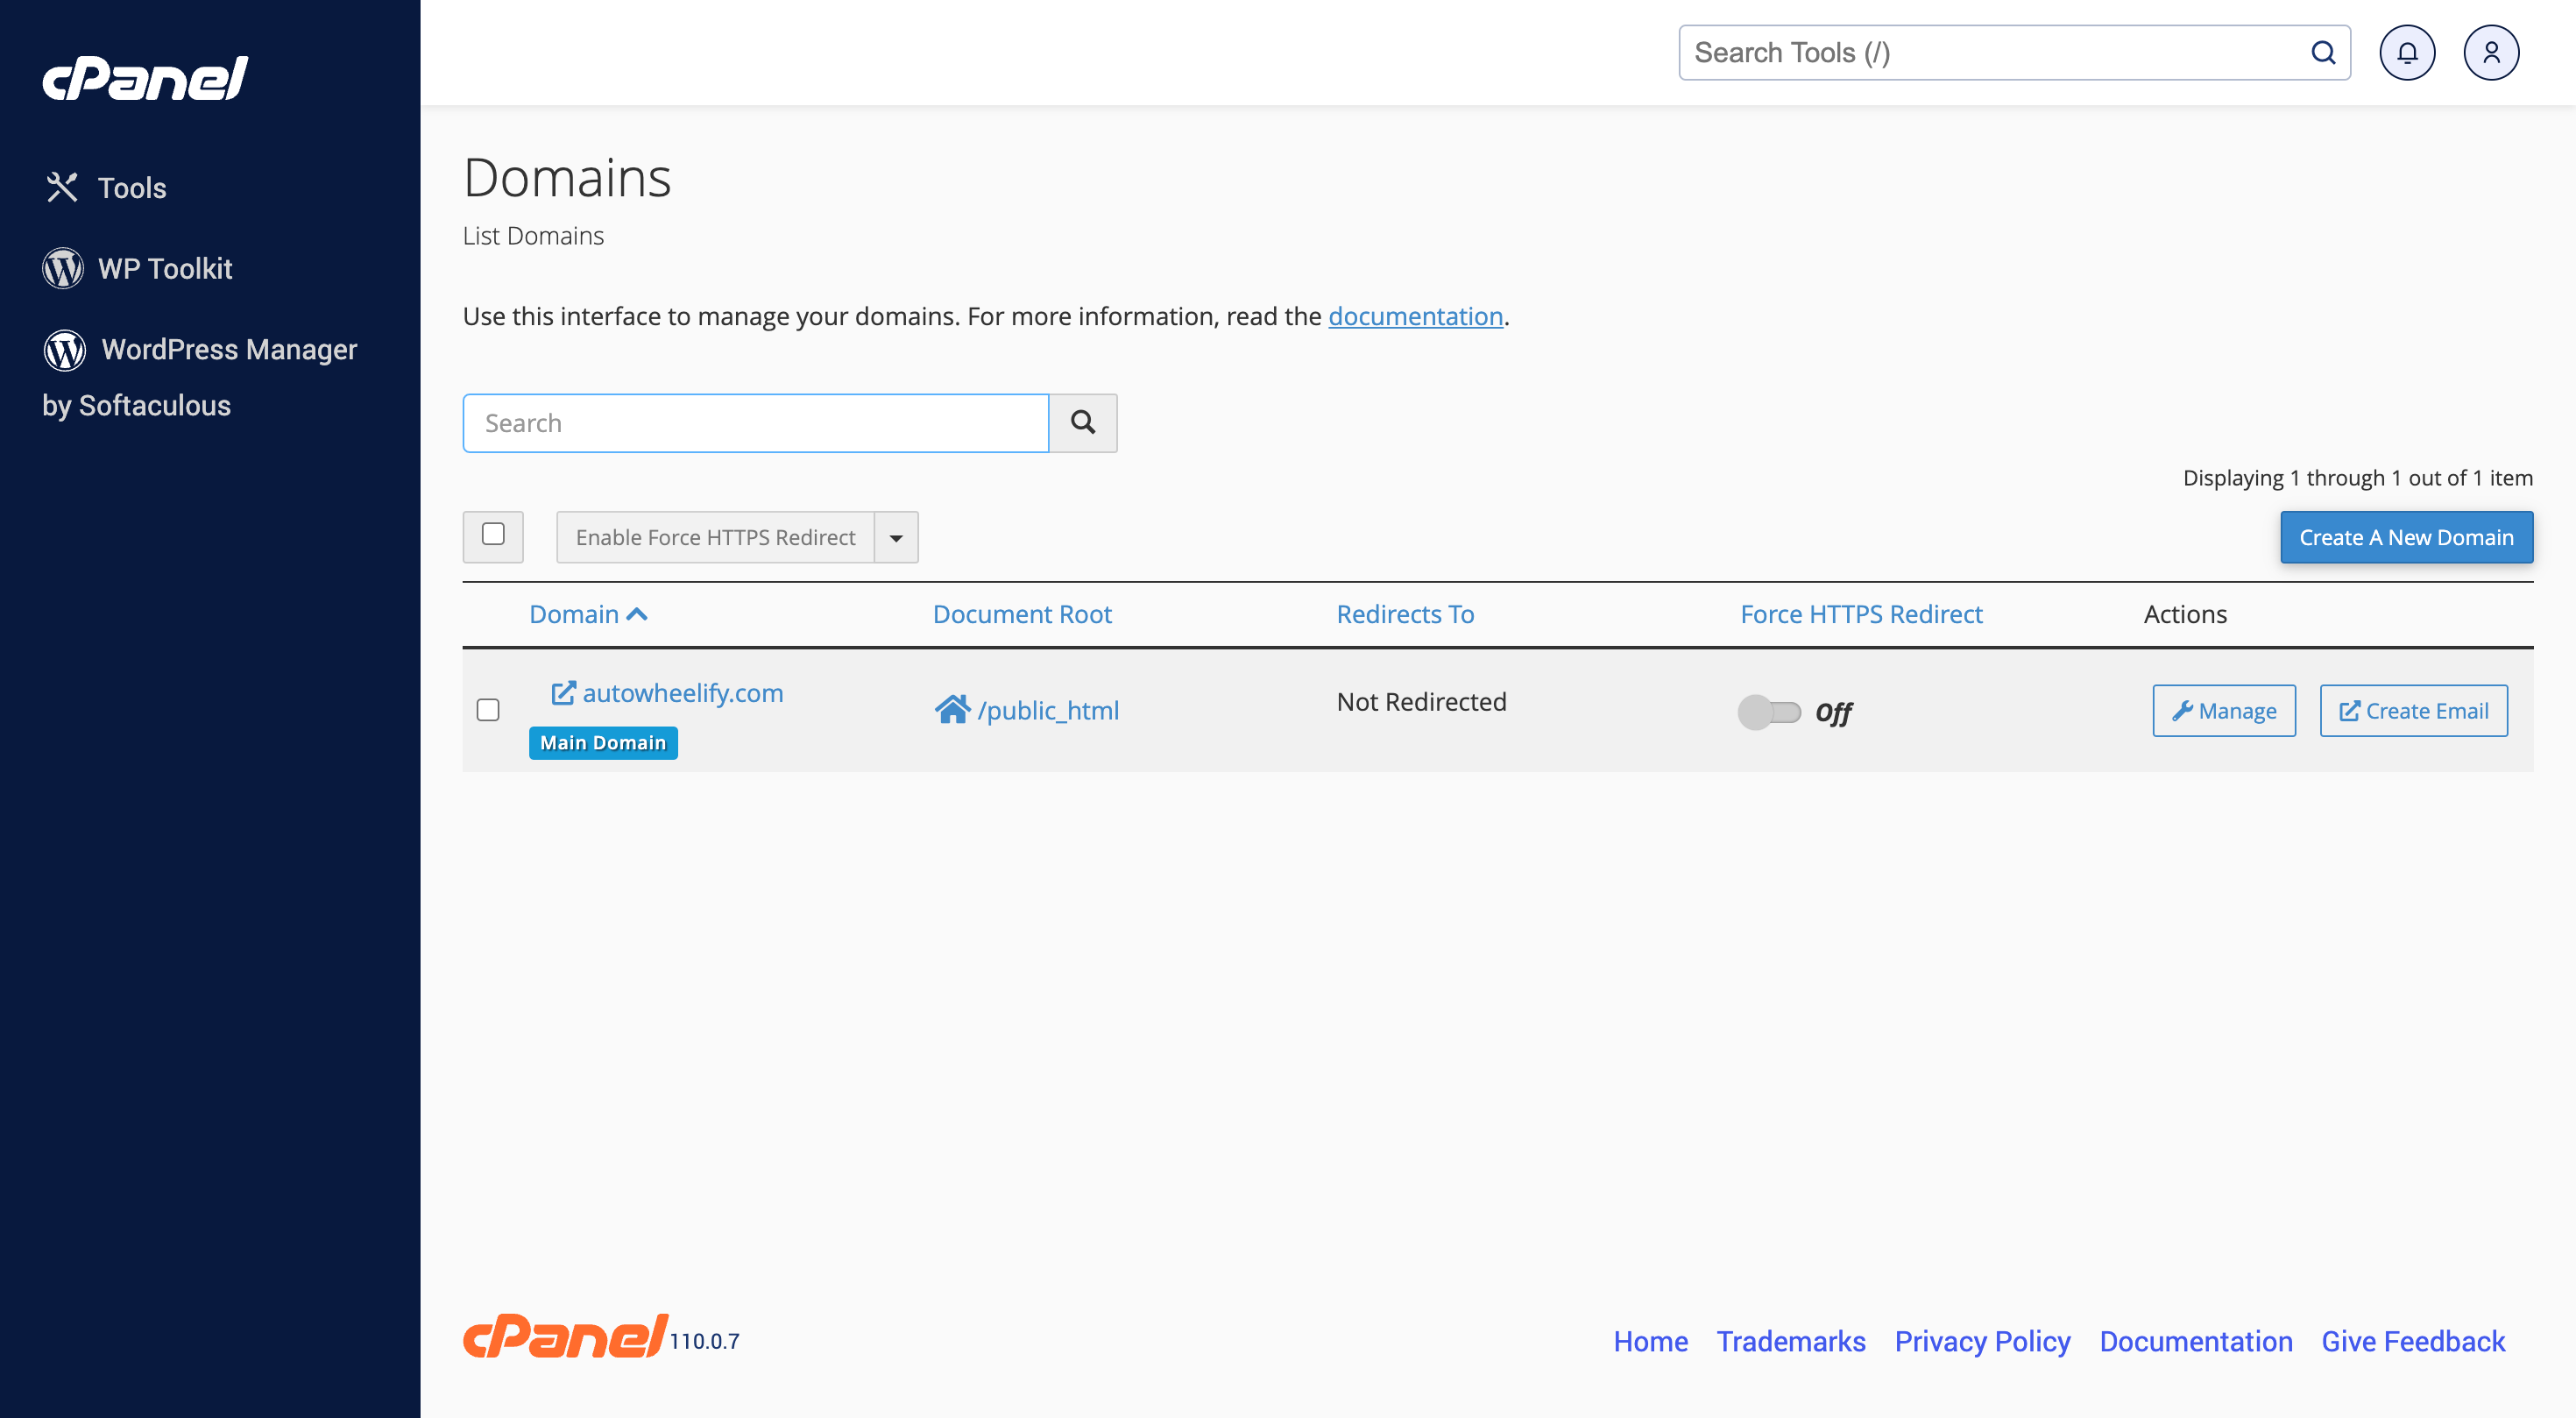
3. Now, you will see the Domain Page where you can “Create A New Domain” then click on it.
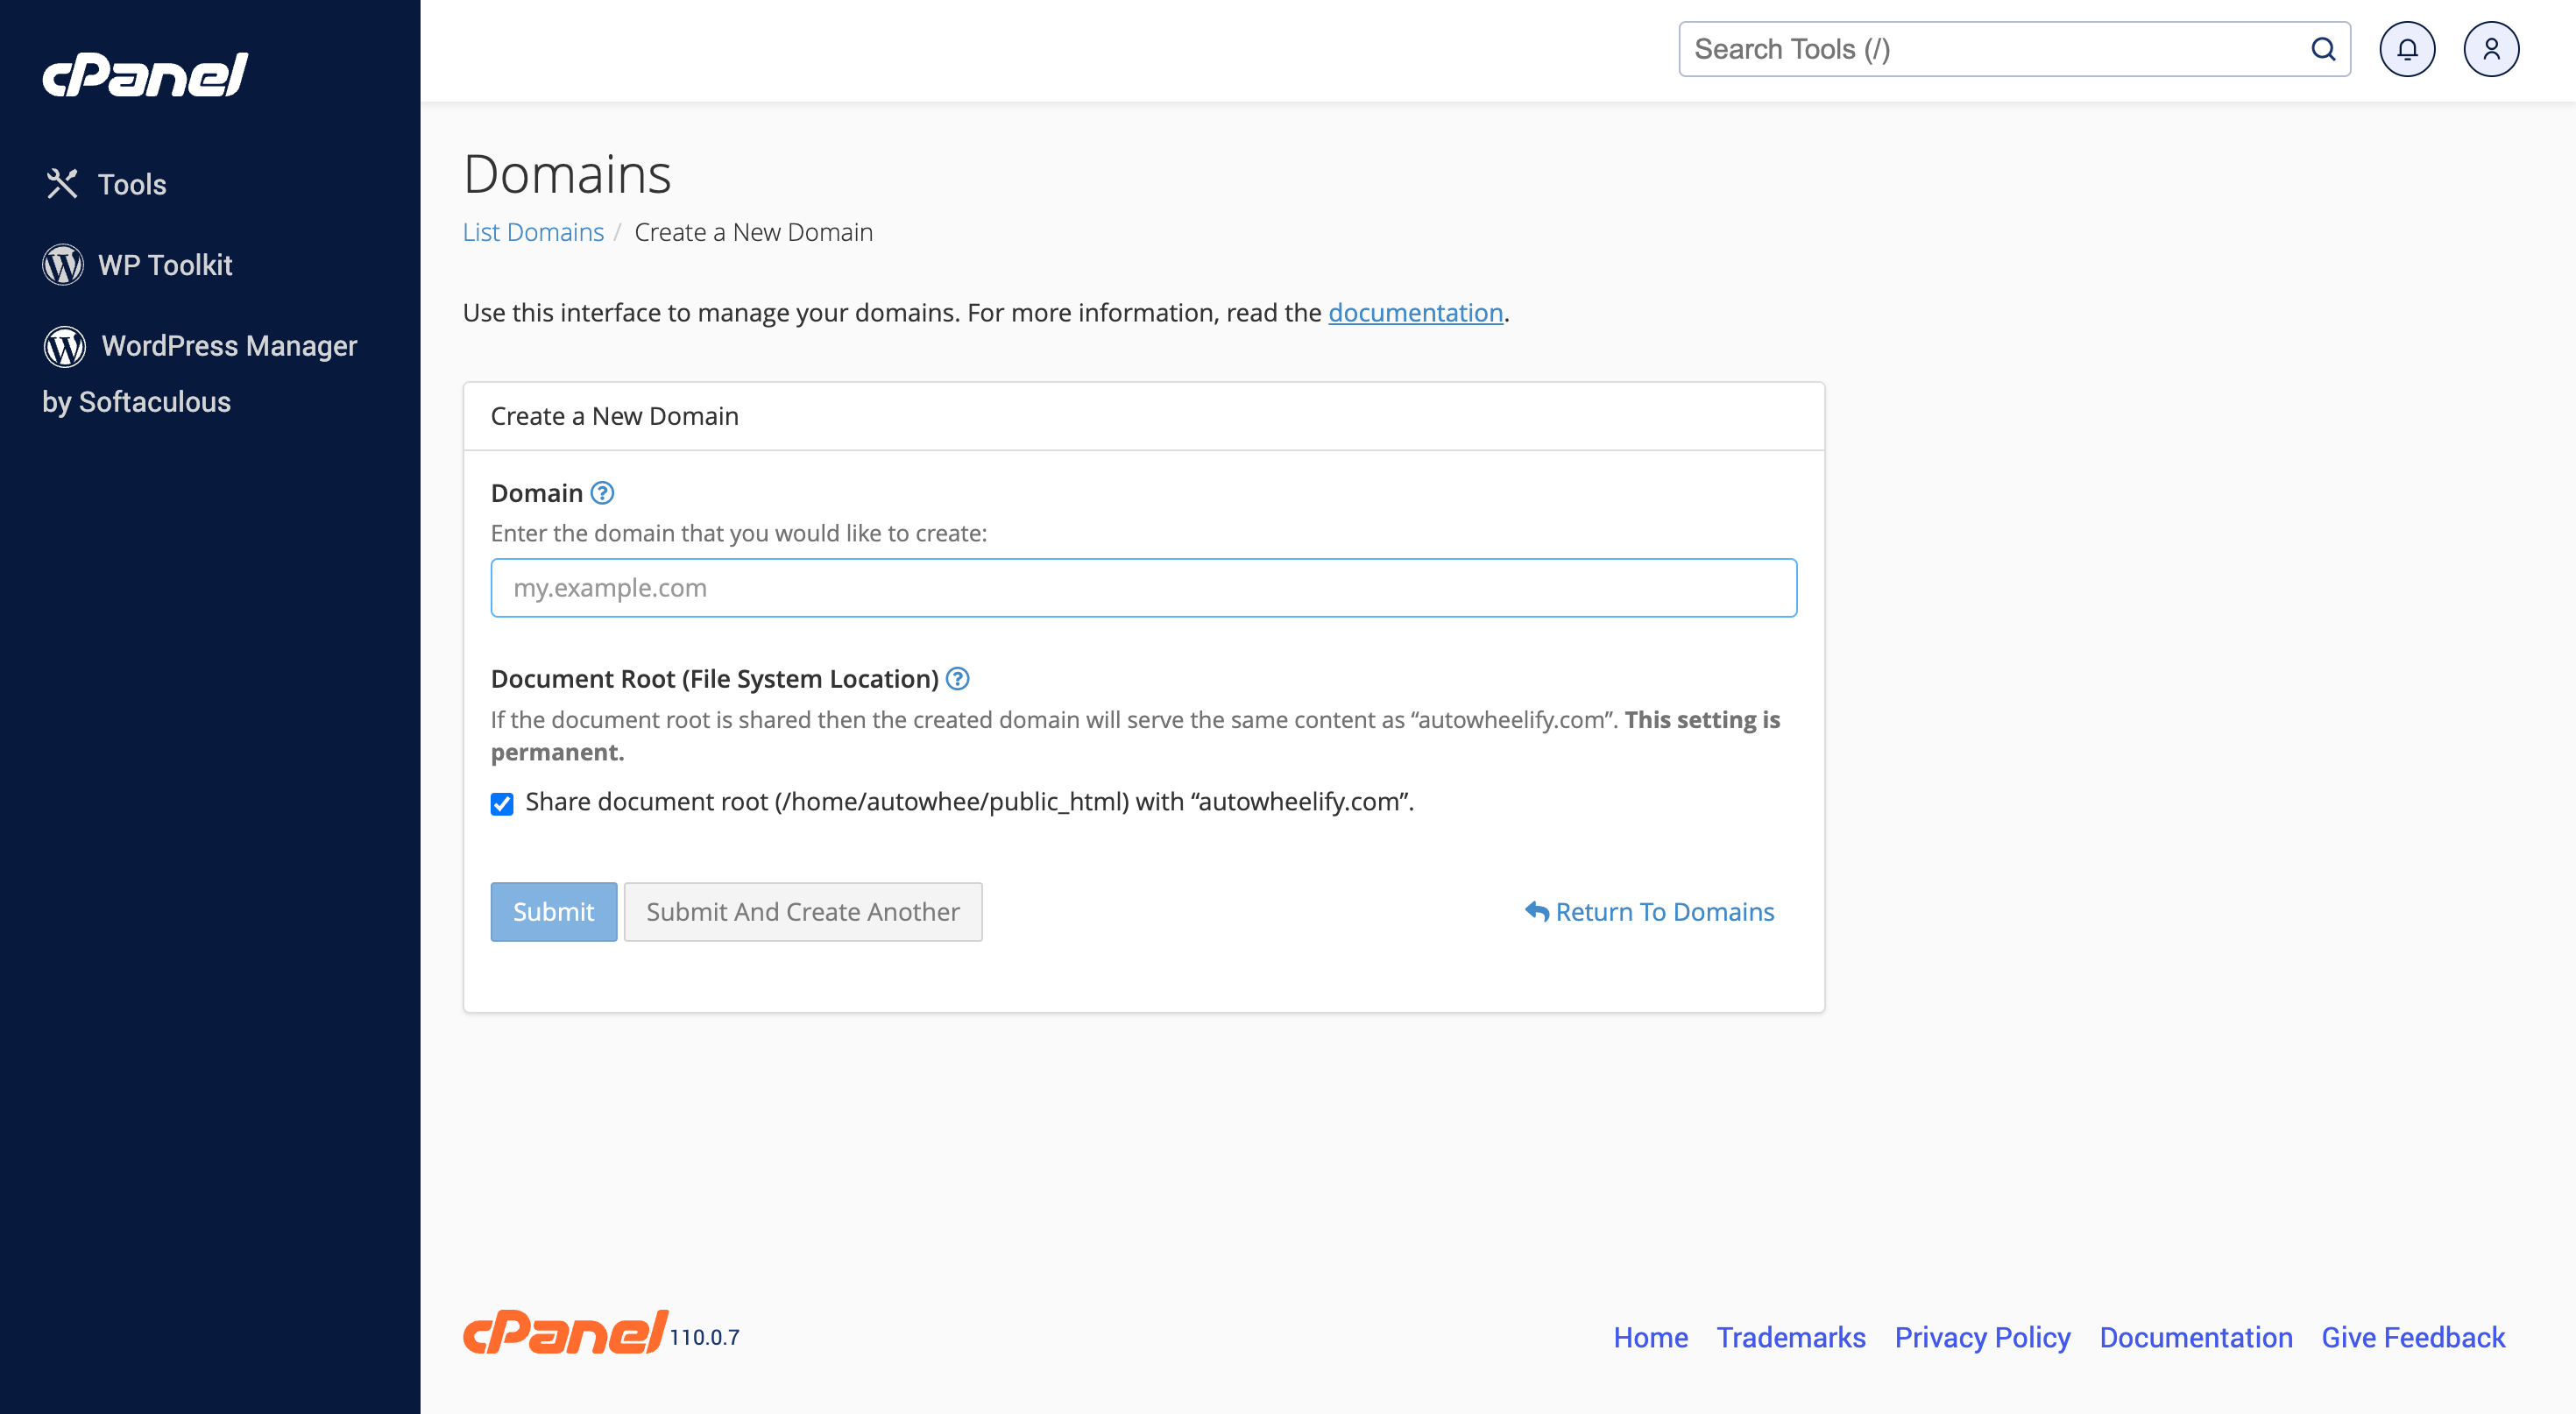
4. After you fill your desired domain, You can leave it as it is. Now, click on the “Submit”.

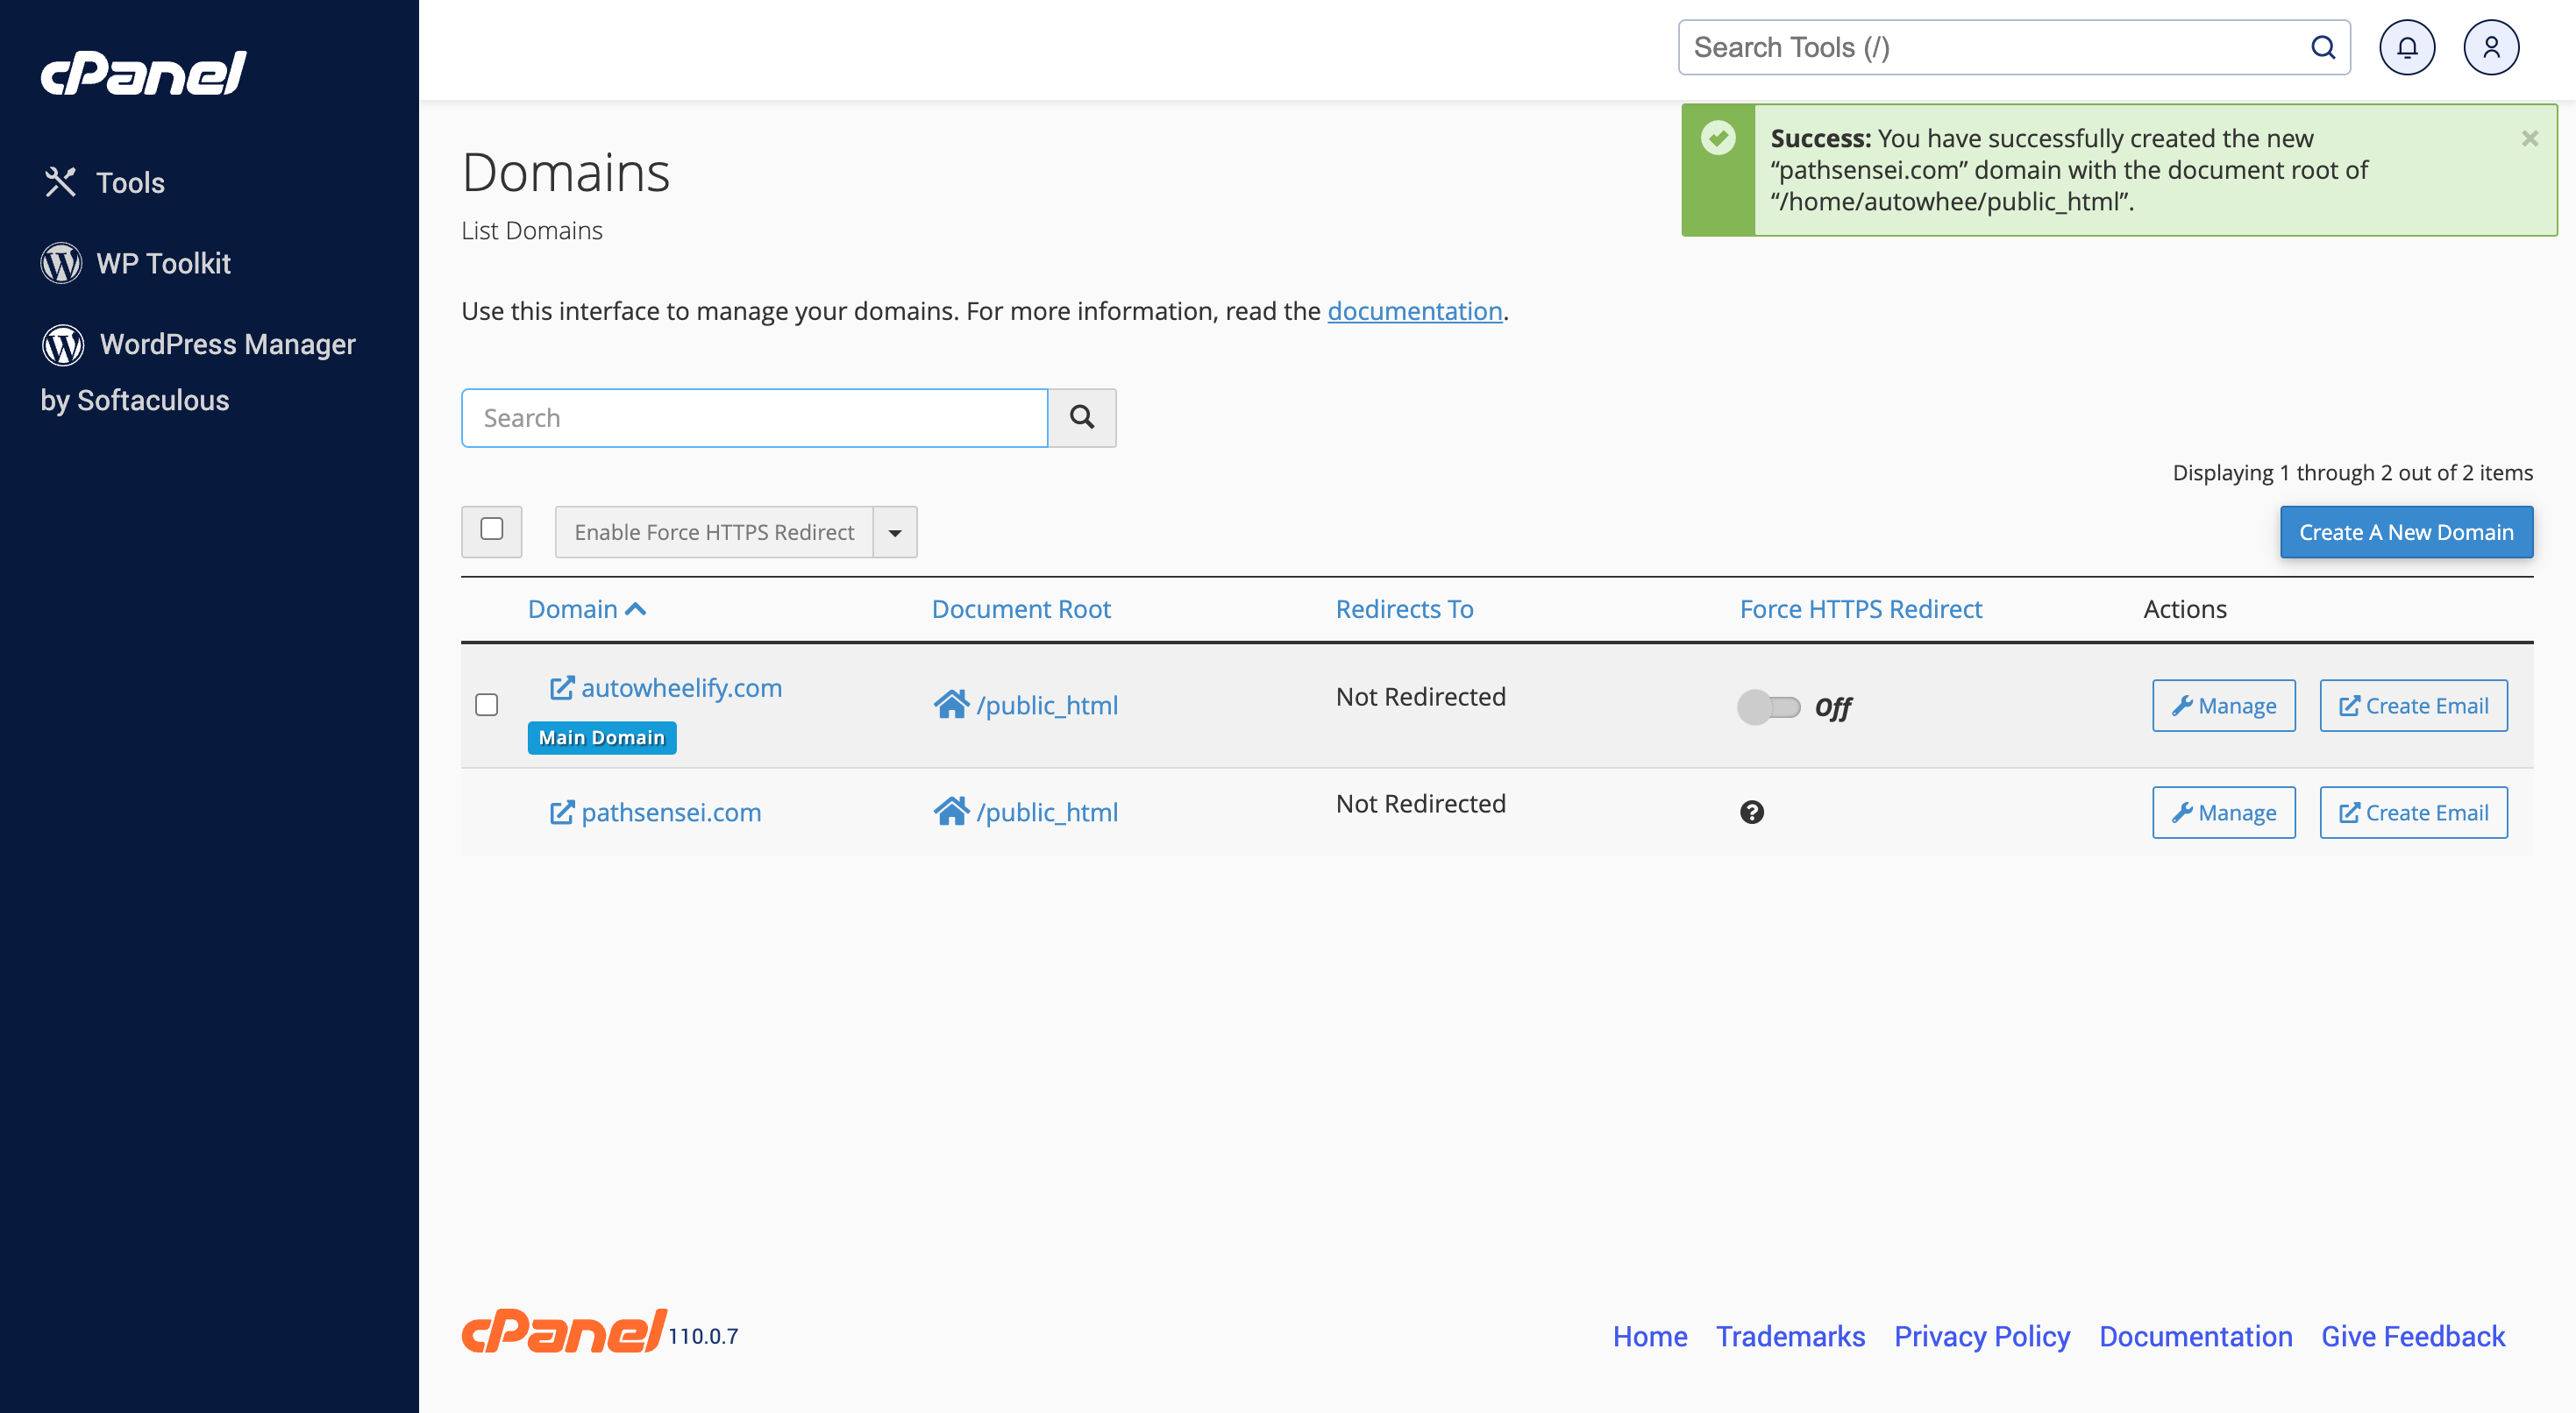
5. Now, you will be redirected to the “Domain” page showing Success message. Here, click on the Go Back button.
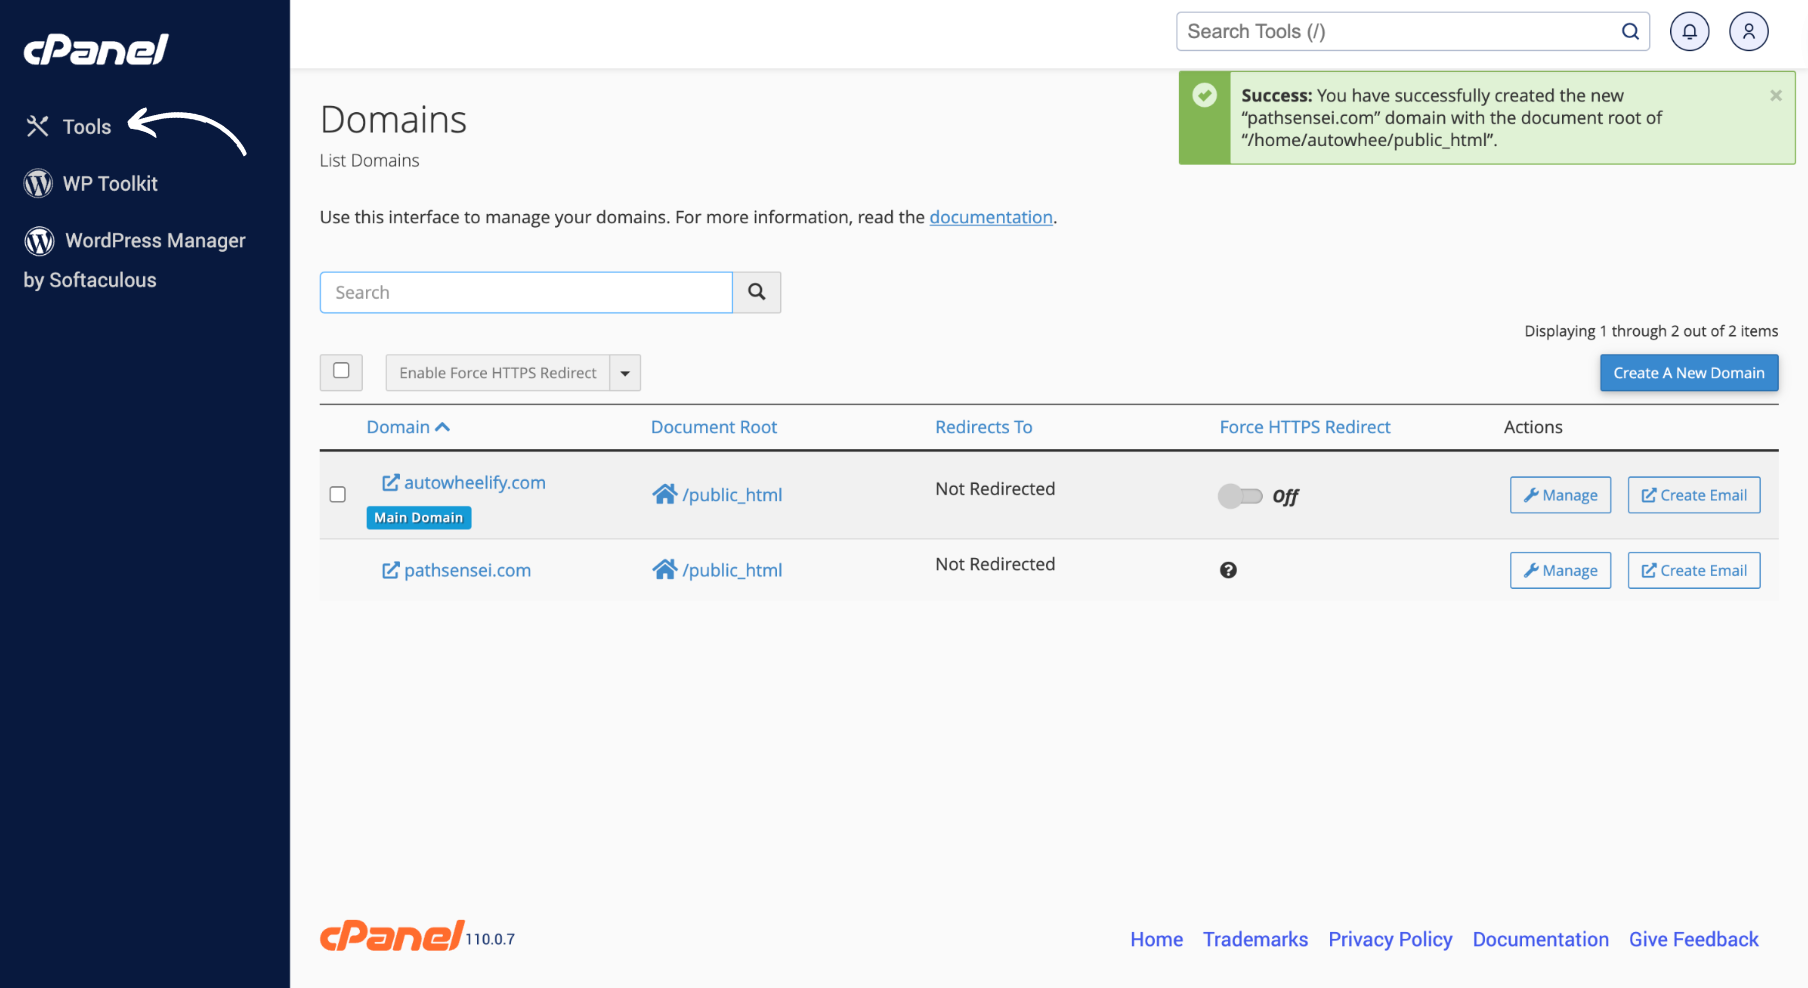
6. Likewise, click on the “Tools” option on the top left of the page which will redirect you to the home of the cPanel.
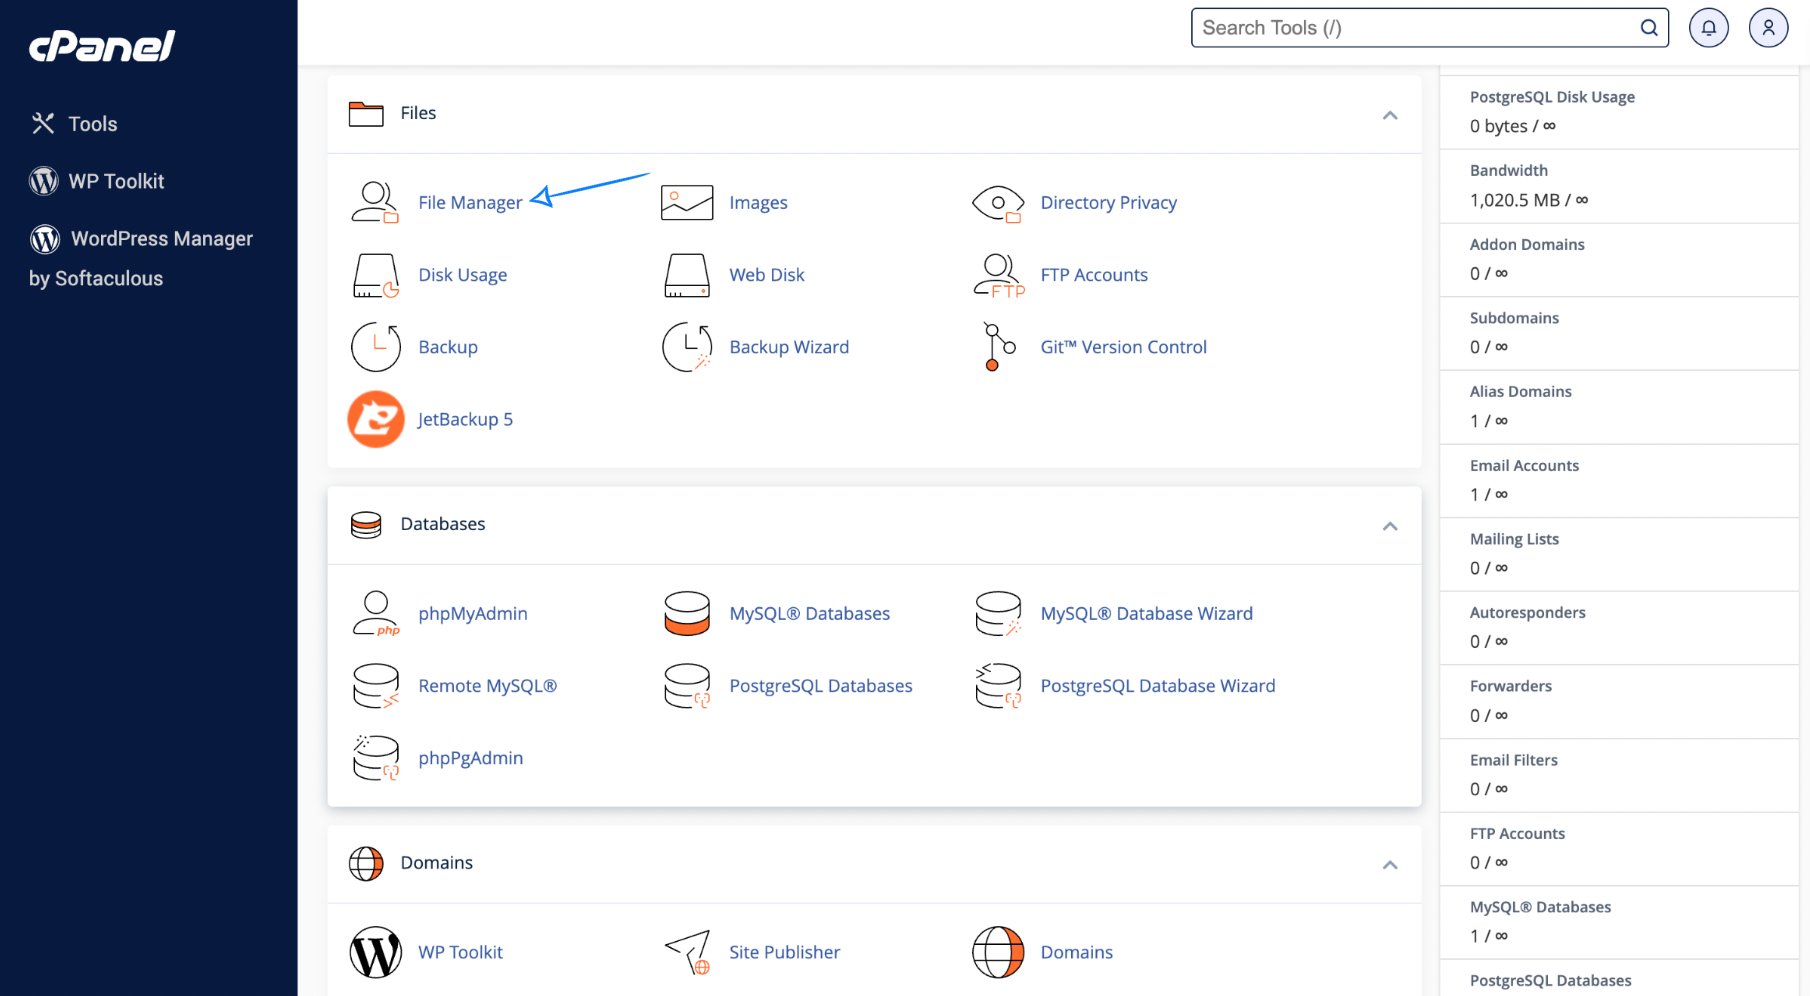
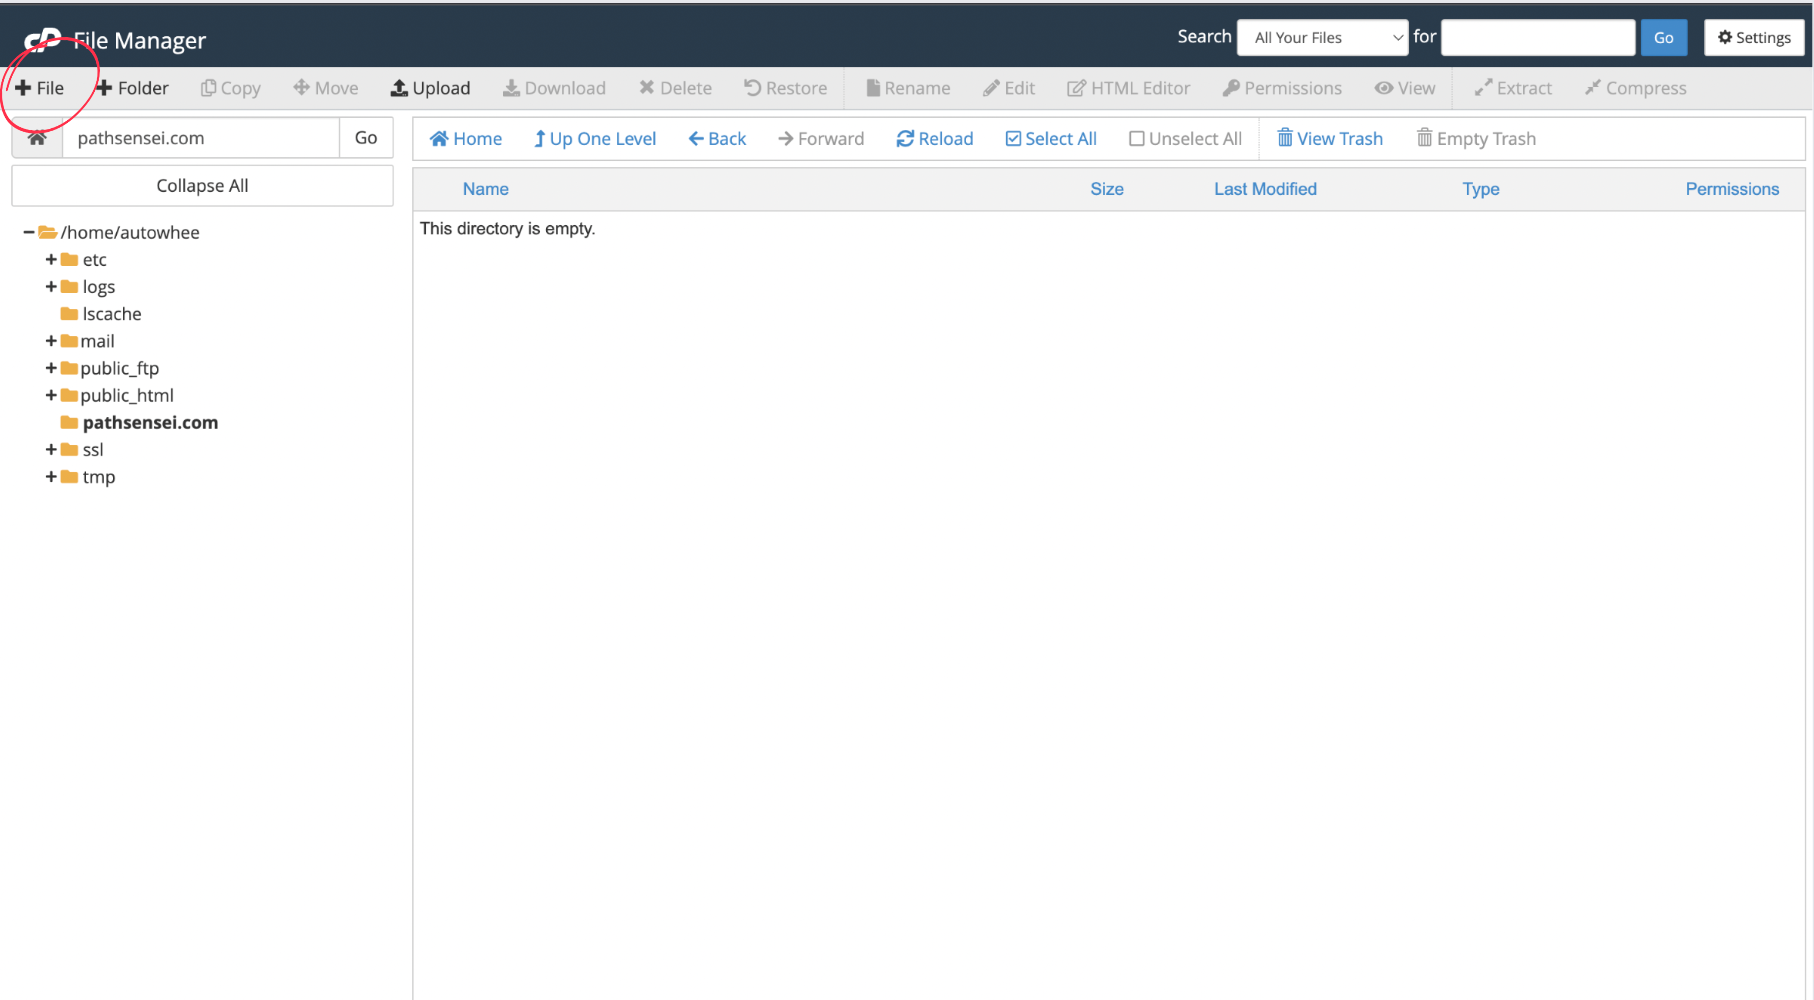
7. Now, scroll down to the “Files” section and click on the “File Manager”
8. You will now be redirected to the File Manager of cPanel. Search for the Document Root Name we created before. In my case, the document root is “pathsensei.com”.
![]()
9. Double Click on the file”pathsensei.com” and search for the “File” option on the top left of the page. Click on it.
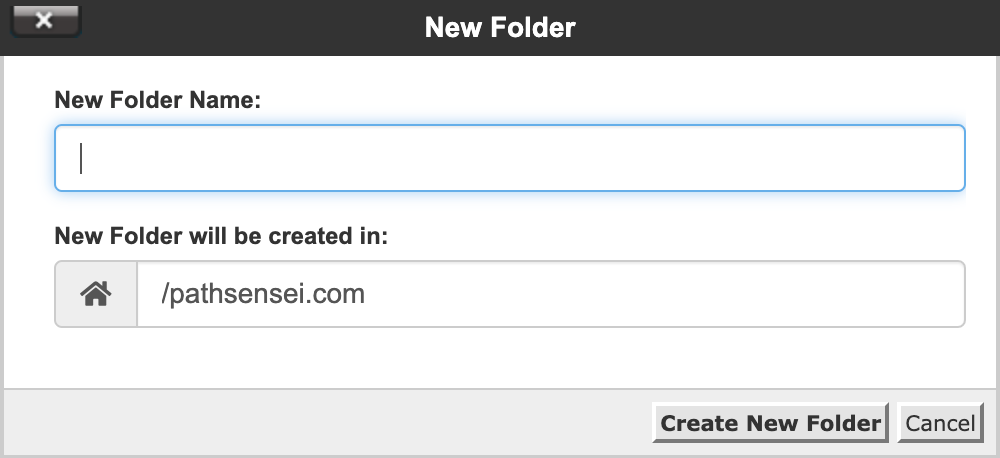
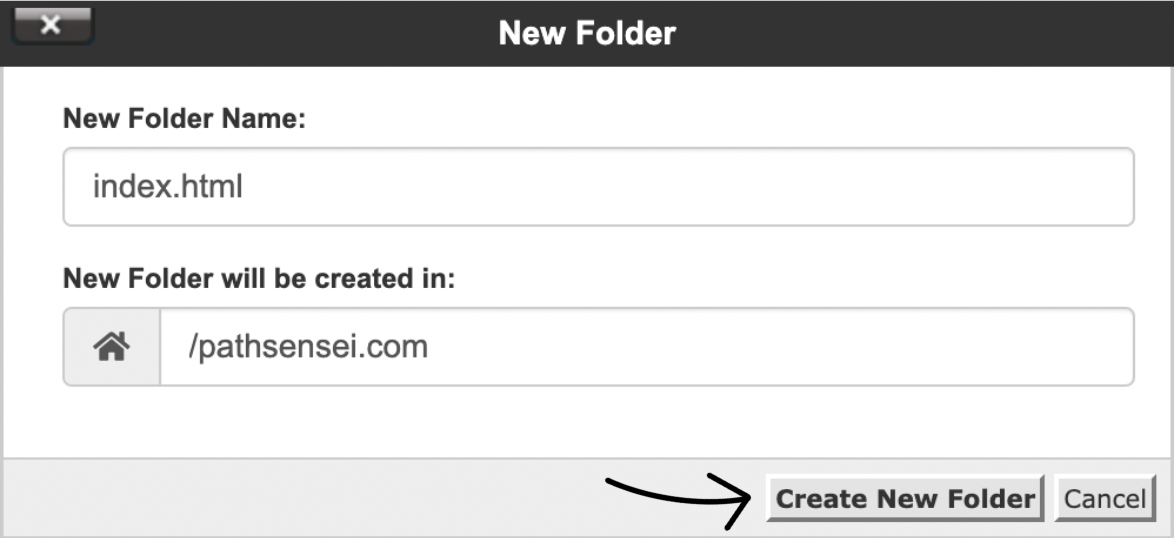
10. Likewise, type in “index.html” and click on “Create New File”.
11. Allow all the permissions and reload the page. Right Click on the “index.html” and edit the file.
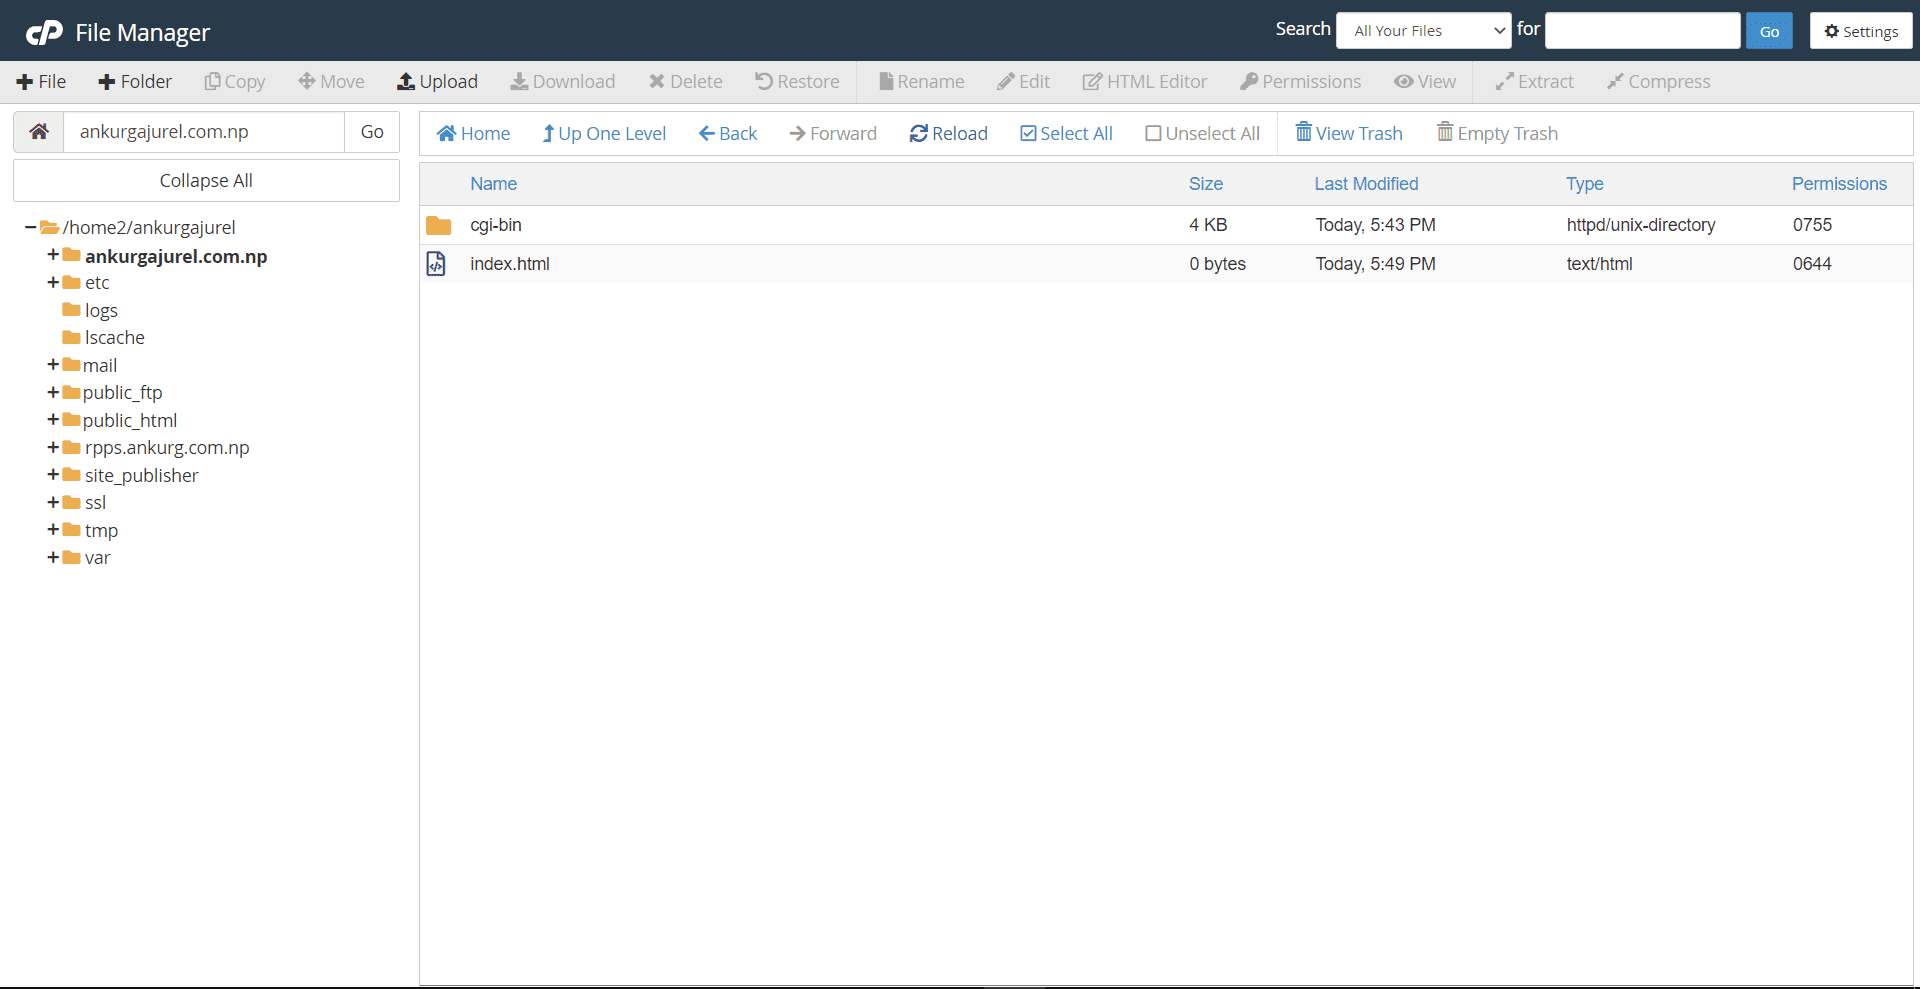
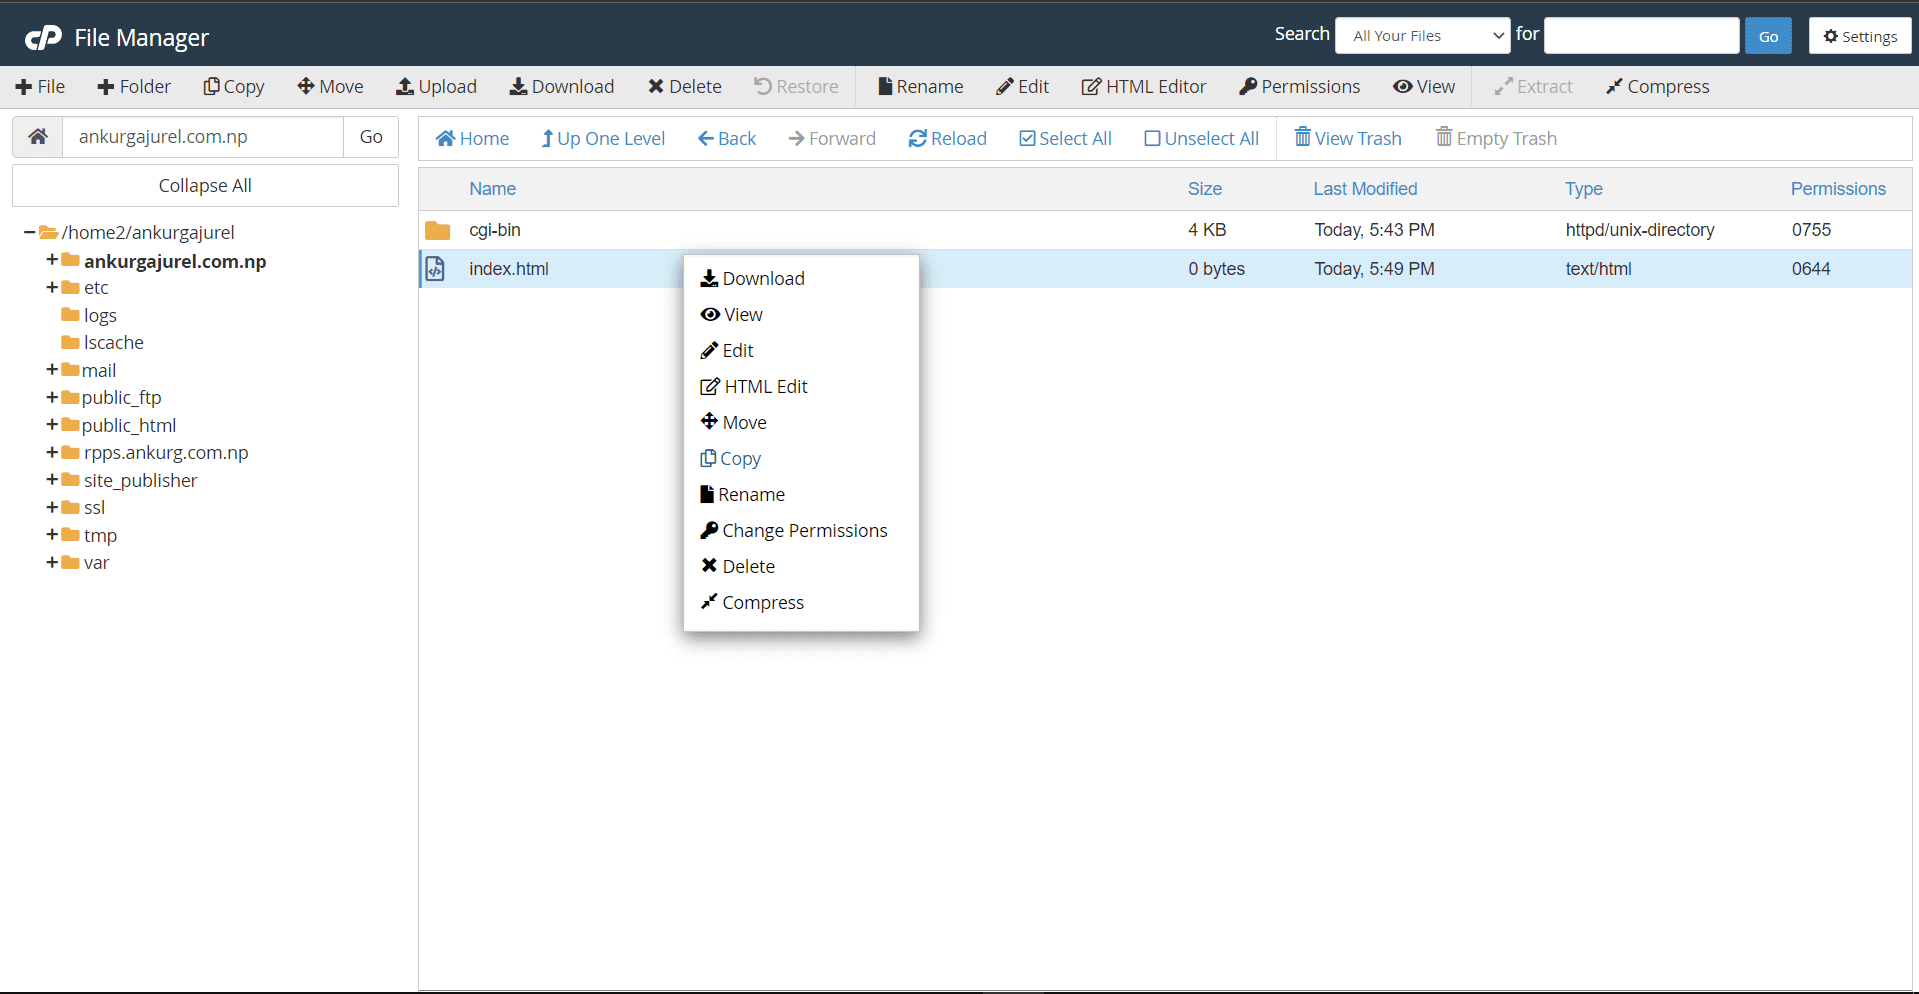
12. Allow all the permissions and click on “Edit”. You will now be redirected to the code editor.
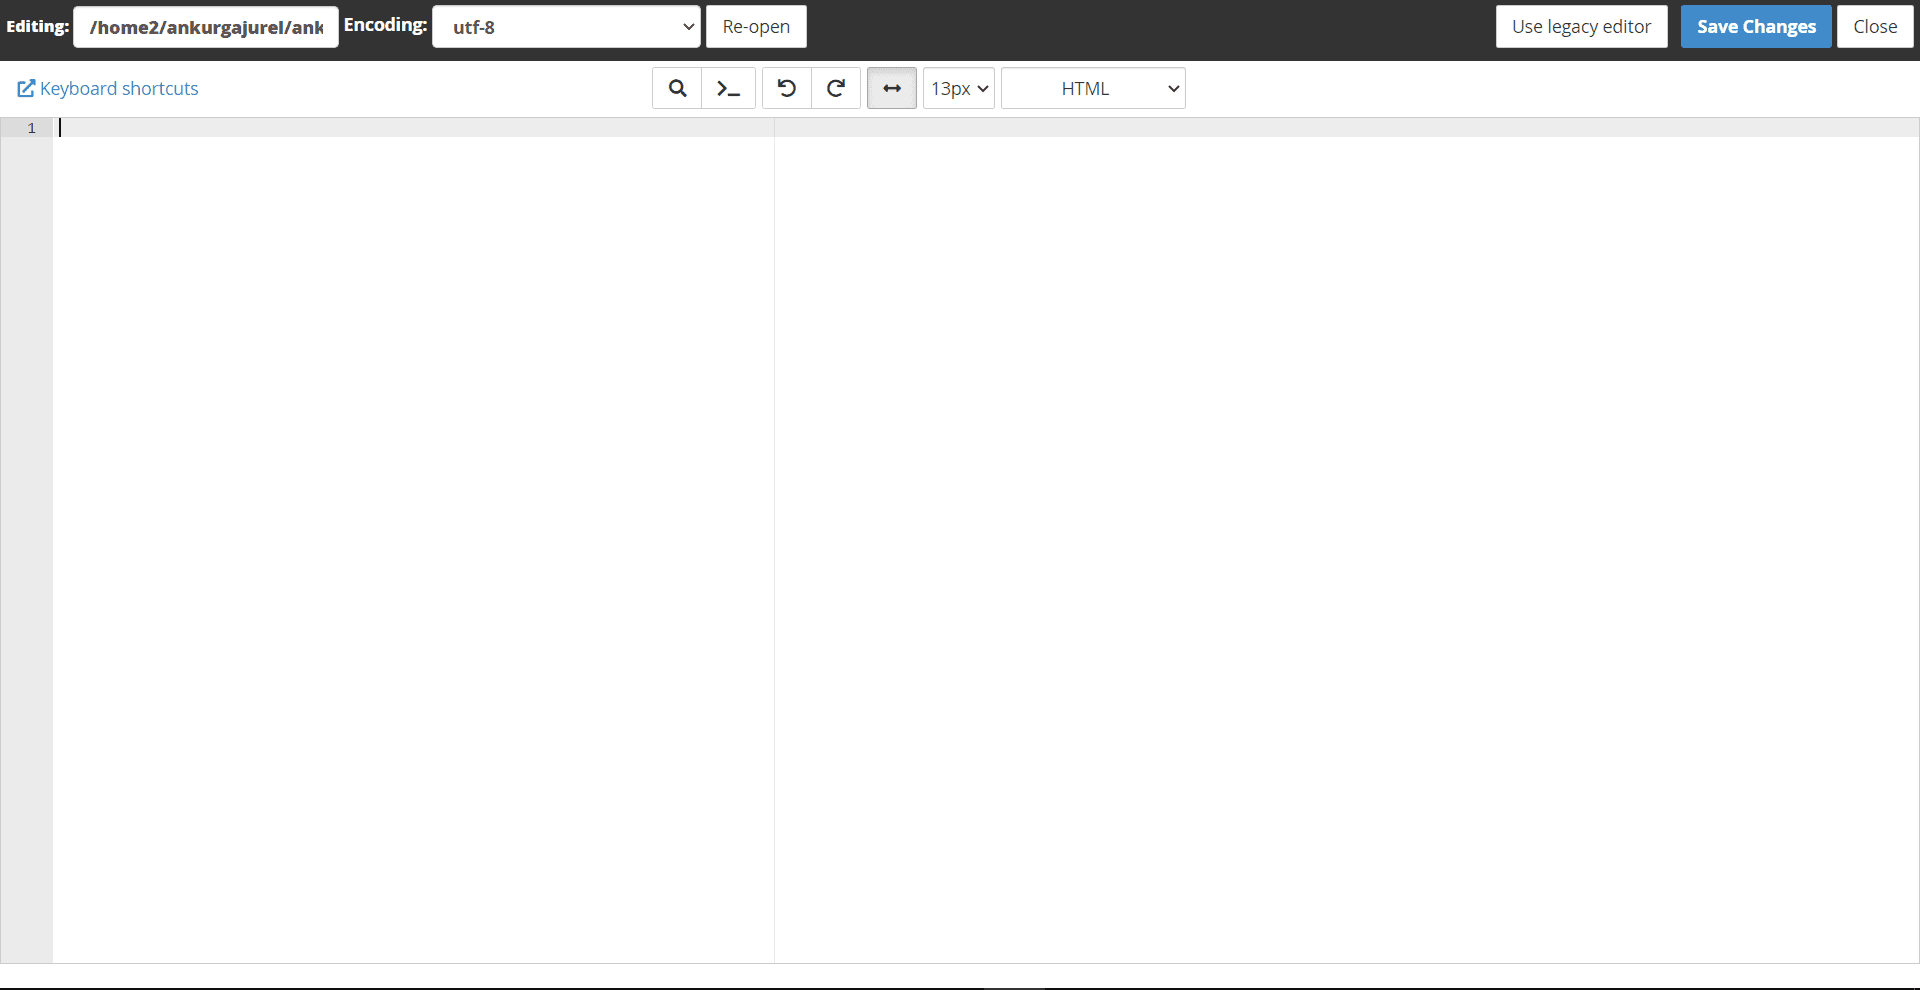
13. Now, write your sample code. You can also copy my code:
<html>
<body>
This is the file we just created on our new domain.
</body>
</html>

14. After writing you HTML code, click on the “Save Changes” button on the top right of the page.

15. All the work is now done. You can now exit the page and open the domain we just created. Mine is ready. What about yours?

Congrats! You can now create an addon domain in cPanel. See! Wasn’t that easy? Look around Nest Nepal for more educational content.
You can check out our blog page, if you want to learn more about how to enable litespeed in cpanel.
You can also follow us on Facebook.